Start by listing your garden tasks, then design a bench-height potting surface, washable floor, and wall storage around your longest tools. Place the shed near your work zones on high, well-drained ground, and right-size it with aisle space so you don’t pay for empty square footage. Choose climate-smart materials, corrosion-resistant fasteners, and LED lighting instead of extra windows. Add the right door, high windows, and organized bins, then match roof, trim, and paint to your home—more tips are up next.
Key Takeaways
- List your shed tasks first, then include a bench-height potting surface, washable floor, and tool-specific storage for efficient workflow.
- Place the shed near garden work zones on well-drained, graded ground, with a clean gravel path and hose area to reduce mud.
- Right-size the footprint around your longest tools plus aisle space, keeping heavy items low and frequently used gear close to the door.
- Choose climate-appropriate materials and fasteners, plus durable roofing and underlayment, to minimize maintenance and withstand local weather.
- Match roof pitch, shingles, trim, and paint to your home, then add simple landscaping and practical lighting for a cohesive, attractive look.
Plan Your Garden Shed Around Your Tasks
Before you buy lumber or sketch a floor plan, list the jobs you’ll actually do in the shed and size everything around them. If you’ll pot plants, reserve a bench-height surface and a washable floor area. If you’ll store tools, measure the longest items, then plan wall hooks and vertical racks to keep the footprint small and costs down.
If you’ll run a mower, note turning clearance and a smooth threshold so you won’t fight the door. Budget early for garden shed lighting: a bright overhead LED plus a task light beats extra windows and reduces cluttered shadows.
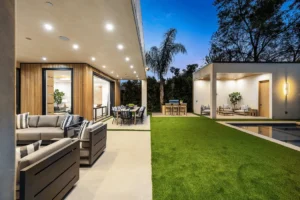
For Garden shed landscaping, plan a clean path, a small drip-edge gravel strip, and a hose-friendly zone so muddy boots and splashback don’t track inside.
Choose Garden Shed Placement, Size, and Layout
Once you’ve listed the jobs your shed needs to handle, pick a spot and footprint that make those tasks easy without overbuilding. Place it near the work zone—garden beds, driveway, or compost—so you don’t waste steps, but keep it out of drainage paths and low spots. Check setbacks, door swing, and snow or leaf fall from trees.
Size it to your longest tool plus aisle space; you’ll save money by right-sizing now instead of buying shelves later. Sketch a simple plan: heavy items low, frequently used gear by the door, and a clear corner for future needs.
For Garden shed landscaping, grade soil away, add gravel or pavers for clean access. Improve pest prevention by keeping a tidy perimeter, trimming vegetation, and leaving inspection space around the shed.
Choose Durable Garden Shed Materials for Your Climate
Although any shed can look good on day one, your climate will decide how long it stays square, dry, and low-maintenance—so choose materials that match your weather, not just your budget.
In wet regions, prioritize pressure-treated framing, rot-resistant siding like cedar or fiber cement, and a corrosion-resistant roof (galvanized steel or quality shingles).
In hot, sunny areas, pick UV-stable finishes and lighter roofing to cut heat stress and warping.
In snowy zones, use thicker roof sheathing, ice-and-water underlayment, and structural lumber rated for heavier loads.
In coastal air, avoid bare steel fasteners; use stainless or hot-dipped galvanized hardware.
Spend a bit more upfront on Weather resistant materials to reduce repainting, replacements, and callbacks. That’s Climate specific durability in practice.
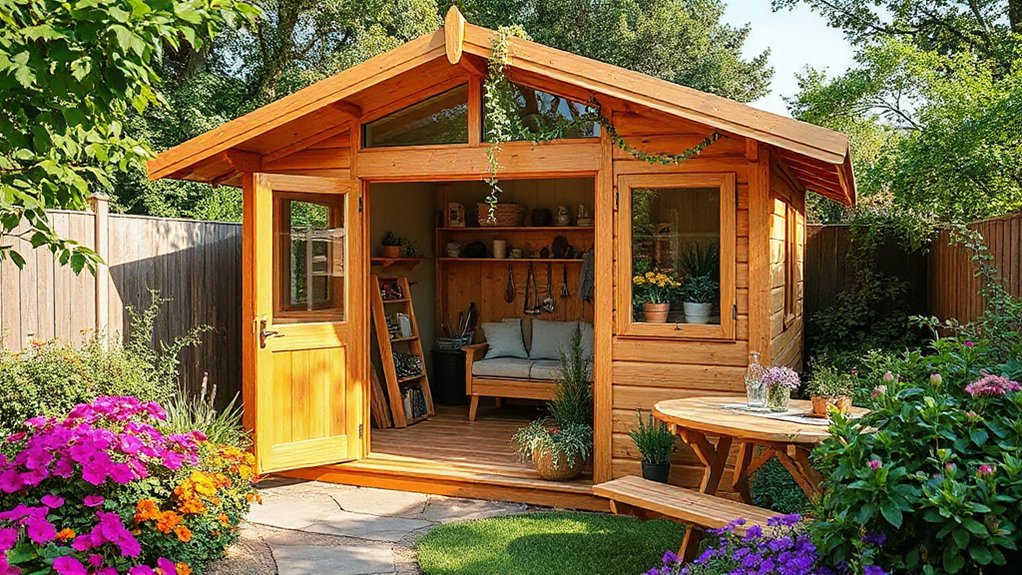
Add Garden Shed Doors, Windows, and Storage
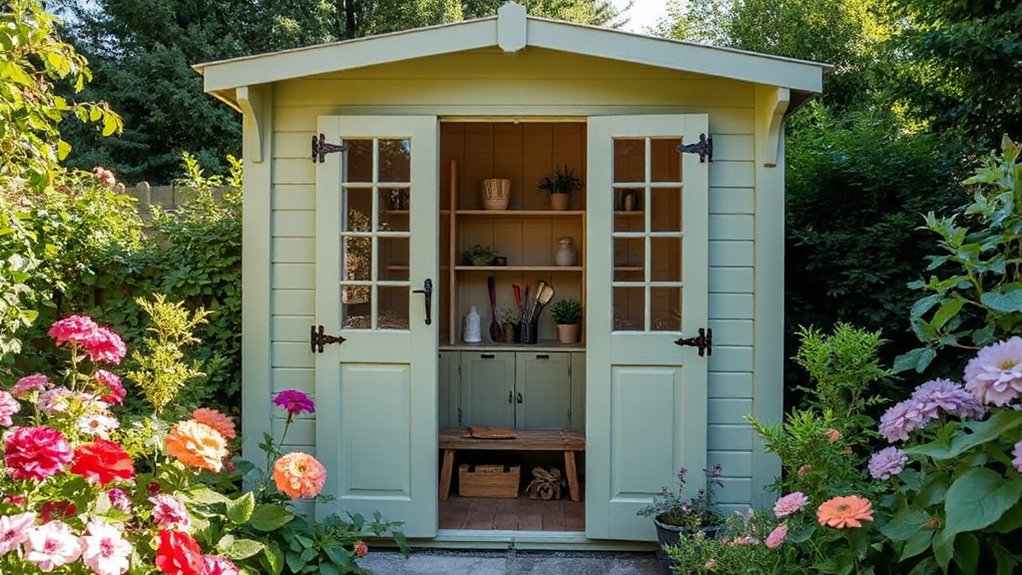
Durable materials keep your shed standing up to the weather, but the doors, windows, and storage layout determine how well it works day to day. Choose Garden shed doors that match your use: double doors for mowers, a single door for tight spaces, and a padlock-ready latch for security. Add a simple threshold and drip cap to block water without pricey upgrades.
For light and airflow, place windows high to keep wall space for shelves. Use one operable window or a vented skylight if you’re drying tools or paint; fixed panes cost less.
For windows, and storage ideas, start with pegboard, wall rails, and labeled bins. Hang long-handled tools, add corner shelves, and build a loft from scrap plywood. This plan focuses on Enhancing shed functionality.
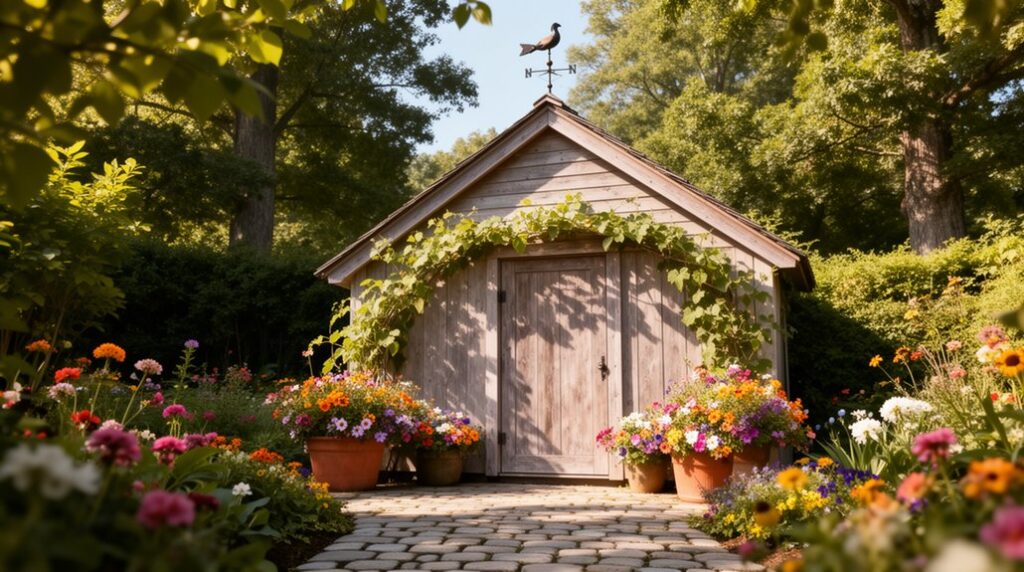
Match Your Garden Shed to Your Home’s Exterior
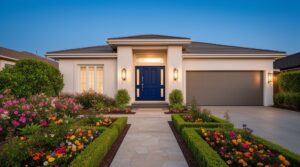
If you match your garden shed’s exterior to your house, you’ll get a cohesive look without spending extra on fancy features. Start with the same roof pitch and shingle color so it blends in from the street. Use matching trim width and corner boards; these are inexpensive upgrades that read “built-in,” not “tacked-on.”
Paint the siding to mirror your home’s main color, then pick one accent color for doors or window frames.
Carry over materials where you can: leftover house paint, spare shingles, or reclaimed brick for a small threshold.
Tie the base into your yard with simple landscaping ideas like gravel edging, a mulch strip, or a narrow planting bed.
Add practical lighting options—solar path lights or a single motion-sensor sconce for safer access.
Frequently Asked Questions
Do I Need a Building Permit for a Garden Shed?
You might need a building permit for a garden shed, depending on your local rules. Check your city or county office for Building code regulations tied to shed size, height, foundation type, electrical wiring, and setbacks.
If you’re near property lines or easements, you’ll face stricter review. Budget for permit fees, plan checks, and inspections.
Also factor in landscaping considerations like drainage, tree roots, and access paths.
How Much Does It Cost to Build Versus Buy a Shed?
You’ll usually spend less buying a basic shed, but you can save by building if you already own tools and stick to a simple design.
For a Cost comparison, prefab 8×10 sheds often run $1,500–$5,000 delivered, while DIY materials can land around $1,000–$3,500 plus time.
DIY vs. professional: hiring a builder commonly adds $1,000–$4,000 labor.
Don’t forget foundation, roofing, and permits costs.
What Foundation Type Is Best for Long-Term Stability?
For long-term stability, you can’t beat a poured concrete slab with proper drainage and a compacted gravel base.
Among Foundation options, it resists frost heave, spreads loads evenly, and keeps critters out, though it costs more up front.
If you need a cheaper route, set concrete piers below frost line and tie them with treated beams.
For Longevity considerations, prioritize site grading, gutter runoff control, and vapor barrier.
How Do I Wire Electricity and Lighting Safely in a Shed?
Run a dedicated buried cable (UF or conduit) from your main panel, and put it on a GFCI-protected breaker for Electrical safety.
You’ll pull a permit, bond/ground the shed, and use weather-rated boxes, strain reliefs, and proper staples.
Keep wiring above potential moisture and protect it with conduit where exposed.
For Lighting options, choose LED shop lights or sealed vapor-tight fixtures, and add a switch by the door.
What Regular Maintenance Keeps a Shed Looking New?
Treat your shed like a time-traveling pocket watch: keep it tuned, and it stays sharp. You’ll wash siding yearly, clear gutters, and touch up paint or stain before bare spots spread. You’ll seal cracks, replace warped trim, and lubricate hinges to stop rust.
You’ll check the roof after storms and re-caulk joints. For shelf organization, you’ll declutter monthly. For pest prevention, you’ll store feed sealed and set traps early.
Conclusion
When you design your shed around what you actually do, you’ll get a space that works as hard as you do—like a well-packed toolbox. Place it where access is easy, size it to your tools, and keep the layout simple to cut wasted square footage. Choose materials that handle your climate so you won’t pay twice. Add a wide door, a few windows, and smart storage. Finish with colors and trim that match your home.