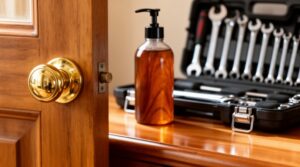
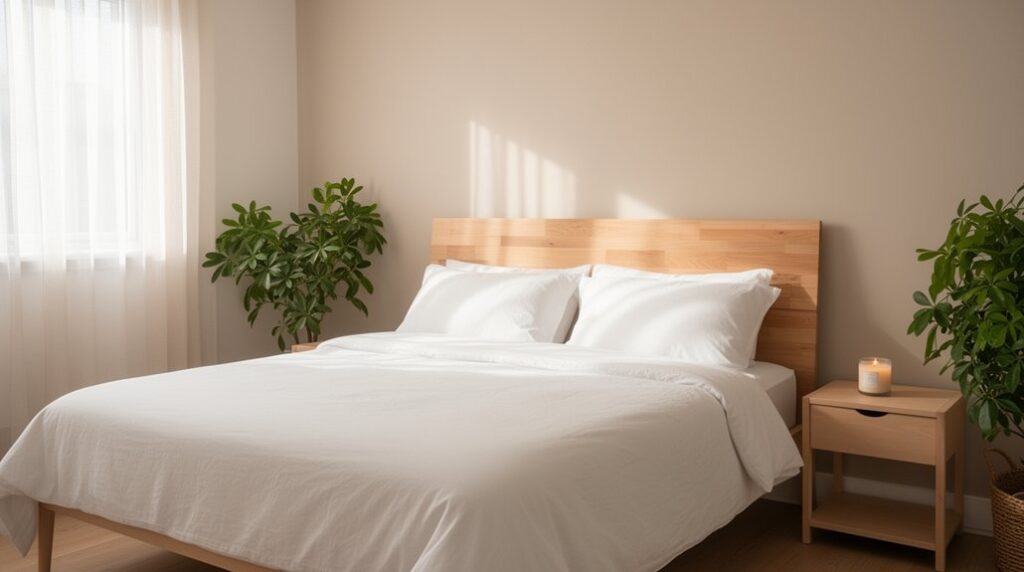
Start with a 30-minute reset in three zones: make the bed, clear and wipe surfaces, then pick up laundry and vacuum edges. Add a door drop zone with stud-mounted hooks plus a shallow tray for keys and meds. Build a divided nightstand catch-all and set up a single-outlet, surge-protected charging station with short cables. Install drawer dividers and add a closet rod and shelf on anchored brackets. Manage cords with clips, raceways, and wraps—more tips are next.
Key Takeaways
- Do a 30-minute reset in three zones—bed, surfaces, floor—then open curtains and switch on warm light to signal calm.
- Build a door drop zone with mounted hooks and a shallow tray, plus labeled bins for keys, wallet, meds, and chargers.
- Add a felt-lined nightstand catch-all tray with dividers, leaving 3–4 inches of clear space for easy access and cleaning.
- Install drawer dividers and a second closet rod with shelf to prevent overstuffing and keep clothing categories separated.
- Create a bedside charging station and hide cords with clips, raceways, and wraps to clear surfaces and eliminate tripping hazards.
Do a 30-Minute DIY Bedroom Reset (3 Zones)
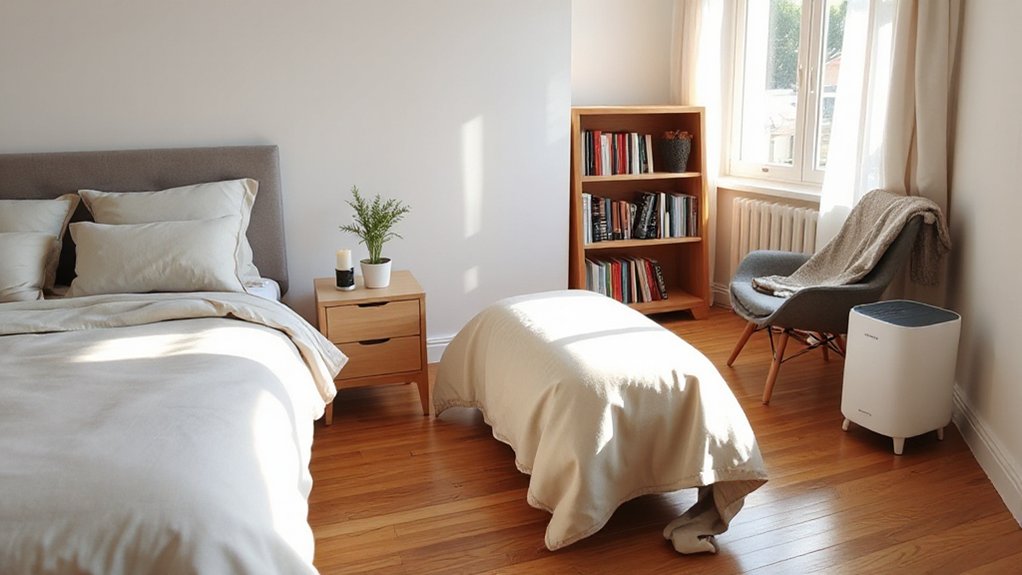
If your bedroom’s gotten out of hand, you can reset it in 30 minutes by working in three zones—bed, surfaces, and floor—so you don’t waste time bouncing around.
Start with the bed: strip clutter, shake out pillows, pull sheets tight, and smooth the comforter to instantly reset your bedroom decor.
Next, clear surfaces: collect cups, trash, and loose items into one bin, then wipe nightstands and dressers with a damp microfiber cloth; avoid spraying near outlets or charging cords.
Finally, tackle the floor: pick up laundry, check for tripping hazards, and run a quick vacuum pass along edges.
Finish by opening curtains and switching on a lamp with calming colors to signal “done” fast.
Make a Simple Drop Zone by the Door
Set up a drop zone right by your bedroom door with sturdy wall hooks and a shallow tray. Mount everything into studs (or use rated anchors) so it won’t pull out under daily use.
Add labeled bins for essentials like keys, wallet, meds, and chargers so you can grab them fast without cluttering the floor.
Keep the setup at shoulder height and out of the swing path of the door to prevent snags and trips.
Choose Hooks And Tray
Where do your keys, wallet, and earbuds land the second you walk in—on a dresser, the floor, or lost in a pocket? Pick a small wall section by the bedroom door and plan a tight drop zone: hooks above, tray below.
Choose decorative wall hooks with rounded edges and a load rating that matches your daily items; avoid sharp pegs at eye level. Mount into a stud when you can, or use the correct wall anchors for drywall, then tighten screws firmly.
Hang keys, a lanyard, and a light bag. Below, add one of several stylish tray options—ceramic, wood, or metal—with a non-slip base to prevent slides.
Keep it chest-high and out of kids’ reach.
Label Bins For Essentials
With your hooks and tray in place, add labeled bins to catch the small stuff that still drifts—chargers, sunglasses, hand sanitizer, earbuds, and spare change. Choose low-profile, shatter-resistant containers that won’t tip if you bump them at night. Set them on a narrow shelf or inside a basket so nothing blocks your doorway path. Keep lids off for speed, but use divided bins to prevent tangles and sticky leaks.
For Decor organization, assign one bin per category and label the front with large, high-contrast text. Use label bin colors to cue habits fast: black for tech, clear for daily carry, blue for hygiene, and yellow for “return upstairs.”
Add a quick weekly reset: empty coins, wipe bins, and toss expired sanitizer.
Install Wall Hooks for Tomorrow’s Essentials
Before you crawl into bed, install a small row of wall hooks near your door or nightstand so tomorrow’s essentials don’t end up lost on a chair or the floor. Pick a stud-backed spot when possible; if you can’t, use rated drywall anchors and match screw length to wall thickness. Measure level, mark pilot holes, and keep hooks 48–60 inches high so you won’t snag sleeves.
Choose Decorative wall hooks with rounded ends to protect fabric and skin. Assign one hook each for keys, badge, headphones, and a light jacket, and cap the load to the hardware rating.
Do Seasonal hook updates by swapping heavier winter hooks for slim summer ones, and tighten screws monthly to prevent wobble.
Add Under-Bed Bins With Labeled Categories
Although under-bed space can turn into a dust trap fast, you can reclaim it by sliding in low-profile bins and labeling them by category so you always know what’s stored and what shouldn’t be.
Choose lidded bins that fit your bed’s clearance, and measure first so nothing scrapes the frame or blocks vents. Wipe the floor, then add felt pads or a rolling platform to prevent gouges and make pulling safer on your back.
Sort by clear categories—“off-season,” “linens,” “cables,” “documents”—and keep heavy items centered to avoid tipping. Use large, legible labels on two sides for quick checks.
These storage solutions reduce clutter and allergens while reinforcing organization tips you’ll actually follow. Recheck monthly and purge duplicates.
Build a Nightstand Organizer Tray (Catch-All)
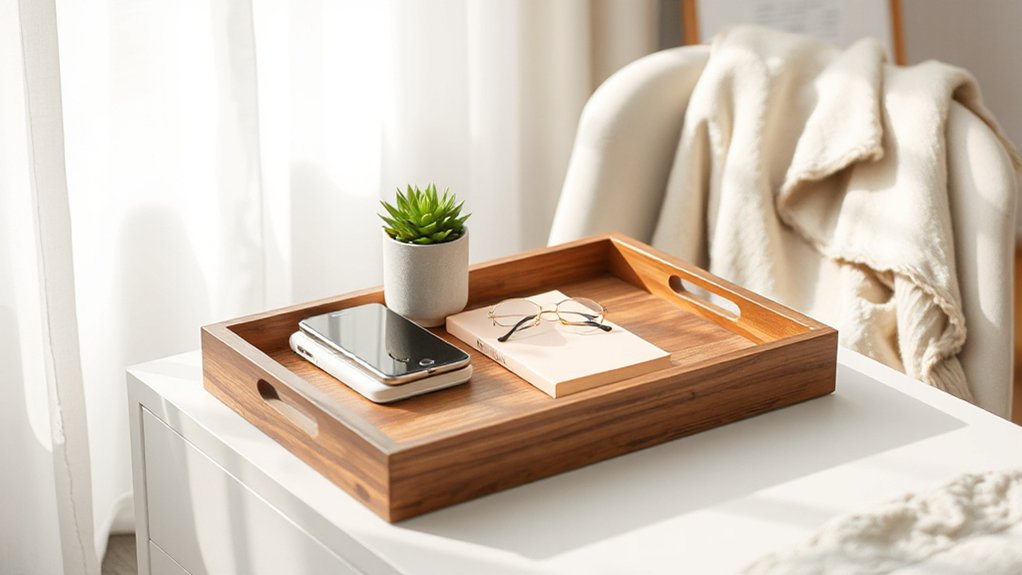
Start by choosing a tray size that fits your nightstand without overhang, and measure twice before you cut to keep your hands clear of the blade.
Add divided compartments with securely glued or brad-nailed strips so your phone, glasses, and keys don’t pile up or scratch each other.
Finish by bonding a felt lining to the base and sides, trimming carefully with a sharp utility knife on a protected surface for a clean, safe edge.
Choose Tray Size
How big should your catch-all tray be to keep clutter contained without hogging your nightstand? Start by measuring your usable surface: leave at least 3–4 inches clear on one side for your hand to set down a drink or reach a lamp switch.
Common tray size options include 6×8 inches for essentials only, 8×10 for daily carry items, and 10×12 if you keep a book and glasses together.
Match depth to what you drop: 1–1.5-inch sides stop small items from sliding off, while lower edges make access easier.
Choose functional tray styles with rounded corners to reduce snagging on sheets, and add non-slip feet or a cork base so it won’t skate when you bump it.
Add Divided Compartments
Where do your small items actually pile up—keys with coins, rings with earbuds, or a pen rolling into your charger? Add divided compartments to your nightstand tray so every category gets a home and you’ll stop chasing tiny stuff at bedtime.
Measure your tray’s inside dimensions, then plan 2–4 sections based on what you carry daily. Rip thin wood strips (or use pre-cut lattice) to height, dry-fit, and mark cut lines with a square. Sand edges to prevent splinters.
Glue dividers in place, then pin with brads or clamp until cured; keep fingers clear and wear eye protection. Pre-drill to avoid splitting.
These simple storage solutions improve clutter management and make grab-and-go mornings faster.
Finish With Felt Lining
With your dividers glued and locked in, line the tray with felt to quiet rattling items and protect the wood finish. Measure each compartment, then cut pieces slightly oversized so they compress into corners without lifting later. Dry-fit first, trimming with sharp scissors or a craft knife on a cutting mat, and keep blades capped when you pause.
For adhesion, use spray adhesive or thin wood glue; ventilate the room, wear a mask if you’re using aerosols, and protect your nightstand with paper. Press from center outward to avoid bubbles, then clamp with books for 30 minutes.
Choose dense Felt lining for better cushioning; it acts like simple soundproofing materials, reducing clinks from keys, coins, and chargers. Let cure overnight before loading items.
Create Drawer Dividers for Socks and Basics
If your sock drawer turns into a tangled pile by midweek, simple DIY dividers will keep every pair and basic item in its own lane. Measure the drawer’s interior, then sketch a grid for socks, underwear, and tees so you’re using smart Organizational strategies, not guesswork.
Cut 1/8-inch plywood, foam board, or corrugated plastic to height, then notch pieces so they slot together. Sand wood edges, or tape sharp plastic cuts, to prevent snags and splinters.
Dry-fit the grid, adjust for clearance, and secure with removable double-sided tape so you can clean later. Label sections with a small marker.
Use these DIY storage solutions to stop overstuffing: keep one extra “overflow” cell and purge weekly. Wear eye protection when cutting.
Add a Closet Rod + Shelf With Basic Brackets
Although a closet can look “full,” you can usually double its usable space by adding a second rod and a shelf on basic brackets.
Start by measuring hanging lengths: install the upper rod around 80–84 inches high and the lower rod around 40–42 inches, adjusting for shirts vs. longer items.
Locate studs with a stud finder, mark level lines, and predrill to prevent splitting.
Anchor brackets into studs; if you can’t, use rated toggle bolts and stay within their load limits.
Wear eye protection and keep fingers clear when cutting the rod.
Add a shelf board above the top rod for bins to improve closet organization.
Finish by spacing hangers evenly and purging rarely worn pieces—simple wardrobe maintenance that keeps everything easy to see.
Set Up a One-Cord Bedside Charging Station
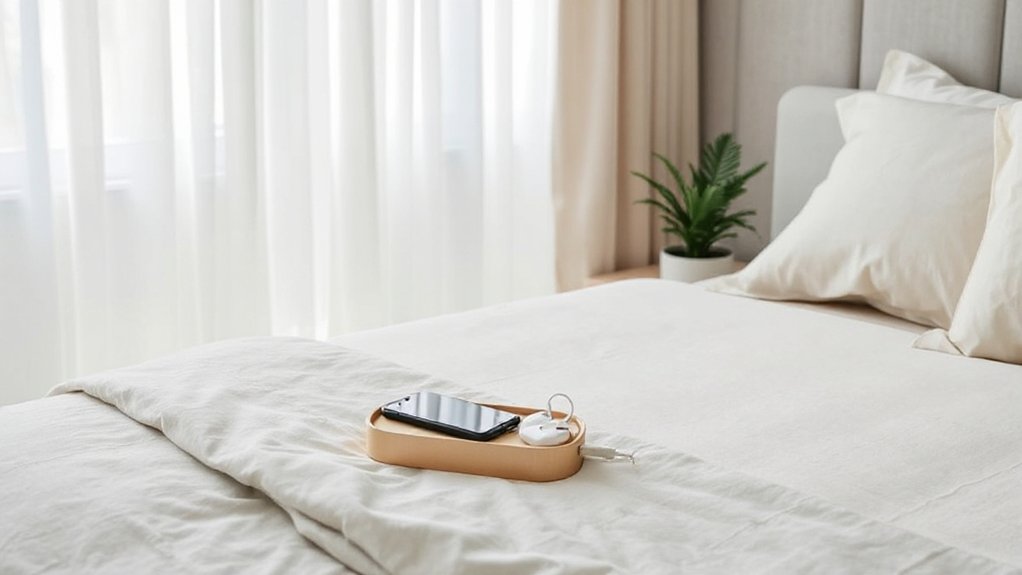
Extra closet space helps your room feel calmer, and you can keep that momentum by taming the mess on your nightstand with a one-cord bedside charging station. Start by choosing a quality multi-port USB-C charger or compact power strip with surge protection, then plug it into a single wall outlet.
Add a small charging tray or dock on the nightstand. If you use wireless charging, pick a Qi-certified pad with a non-slip base, and keep coins or keys away to prevent heat buildup. Label each port so you don’t unplug the wrong device at night.
For cord management, use short, right-angle cables sized for your devices, and keep a clear gap around the charger for ventilation. Don’t overload the strip; check the watt rating and avoid daisy-chaining adapters.
Hide Bedroom Cords Fast (Clips, Raceways, Wraps)
Once you’ve got your charging setup dialed in, you can make the whole bedroom look cleaner in minutes by hiding the cords with the right fast-fix hardware. Start with adhesive cord clips to route lamp and charger leads along the back of a nightstand; clean the surface first and press firmly for 30 seconds.
For longer runs, use paintable stick-on raceways: measure, cut with a miter box, and snap the cover shut for tidy cable concealment along baseboards. Bundle slack with hook-and-loop wraps, not zip ties, so you won’t pinch insulation or make future swaps hard.
Keep cords off walk paths and away from heater vents. Don’t run power cords under rugs, and avoid overloading strips—cord management should reduce clutter without adding heat or strain.
Frequently Asked Questions
What Paint Colors Make a Bedroom Feel Calmer and More Spacious?
Choose light, cool hues like soft blue, pale green, misty gray, or warm off-white to make your bedroom feel calmer and more spacious. Color psychology says these tones lower visual “noise” and push walls back.
Use the same shade on walls and trim to reduce contrast.
Pick low-VOC paint for safer air, and ventilate well.
For paint finishes, choose matte/eggshell on walls and satin on trim.
How Can I Reduce Bedroom Dust and Allergens With Simple DIY Upgrades?
Seal, swap, wash: you’ll cut bedroom dust and allergens fast with simple DIY upgrades.
Start by adding Dust mite barriers—zippered mattress and pillow encasements—and wash bedding weekly at hot settings per labels.
Replace HVAC and vacuum filters, and vacuum with a sealed HEPA machine.
Choose Air purifier options sized for your room, and change cartridges on schedule.
Fix drafts, caulk baseboards, and ventilate when cleaning.
Which Low-Cost Soundproofing DIYS Help Block Noise While Sleeping?
You’ll block sleep noise cheaply by sealing air gaps and adding soft mass. Install weatherstripping and a door sweep; use acoustic caulk on trim cracks (ventilate, wear gloves).
Add thick window treatments like blackout curtains plus a snug curtain rod wrap to reduce leakage.
Improve furniture arrangement: place a full bookcase or dresser against the shared wall, add felt pads, and layer a rug with underlay to cut vibrations.
What’s the Best Way to Add Bedside Lighting Without Hardwiring?
Use plug-in lamps or wall-mounted plug-in sconces paired with smart bulbs and wireless switches, so you control light without opening walls.
Mount the fixture with anchors into studs or rated drywall, then route the cord in paintable raceway to avoid pinch points and tripping hazards.
Choose LEDs to reduce heat, and keep cords clear of bedding.
If you rent, use heavy-duty removable strips rated for the lamp’s weight.
How Do I Choose Blackout Curtains or Shades for Better Sleep?
Choose blackout curtains or shades by blocking light like you’re staging your own “midnight” scene. Start with window treatments labeled 100% blackout, or pair lined curtains with a blackout roller shade for layered blackout options.
Measure inside/outside mount carefully and add 2–4 inches overlap to stop edge glow.
Pick tight-weave fabrics, wraparound rods, or side channels.
Keep cords secured with cleats or cordless designs for child and pet safety.
Conclusion
You’ve now got a calmer bedroom because you tackled the mess at its sources: entry clutter, daily essentials, hidden storage, drawers, closet space, and cords. Remember, a place for everything and everything in its place. Keep your 30-minute reset on a timer, wipe surfaces, and return items to their zones. When mounting hooks or brackets, hit studs or use rated anchors, and don’t overload shelves. Route charging cords with clips, keep cables off walkways, and unplug before adjusting.