
Start with a basic kit (#2 Phillips, quality bits, torpedo level, utility knife, painter’s tape) plus safety glasses and a voltage tester; shut off breakers, lockout/tagout when possible, and verify the circuit’s dead before opening any box. Tighten hardware by hand with the exact bit, replace stripped screws, and use proper anchors for drywall or tile. Fix drips fast, clean aerators in vinegar, and keep exhaust fans moving air to prevent mold and scale. Next, you’ll pick up a simple monthly checklist.
Key Takeaways
- Stock proper tools, safety gear, and surface protection; de-energize circuits, verify power is off, and follow local code before fixture work.
- Use the exact driver and correct anchors, hand-tighten to snug, and replace stripped fasteners to prevent loosening and substrate damage.
- Fix squeaks and misalignment by cleaning, adjusting, and using dry PTFE/graphite; use thread locker only on metal-to-metal hardware.
- Maintain faucets by shutting valves, replacing worn O-rings/cartridges, and cleaning or replacing aerators to prevent leaks and mineral buildup.
- Control moisture: run exhaust fans, keep airflow clear, wipe edges dry, and inspect/seal grout and caulk to prevent rot, mold, and corrosion.
Build Your Interior Fixture Toolkit and Safety Prep
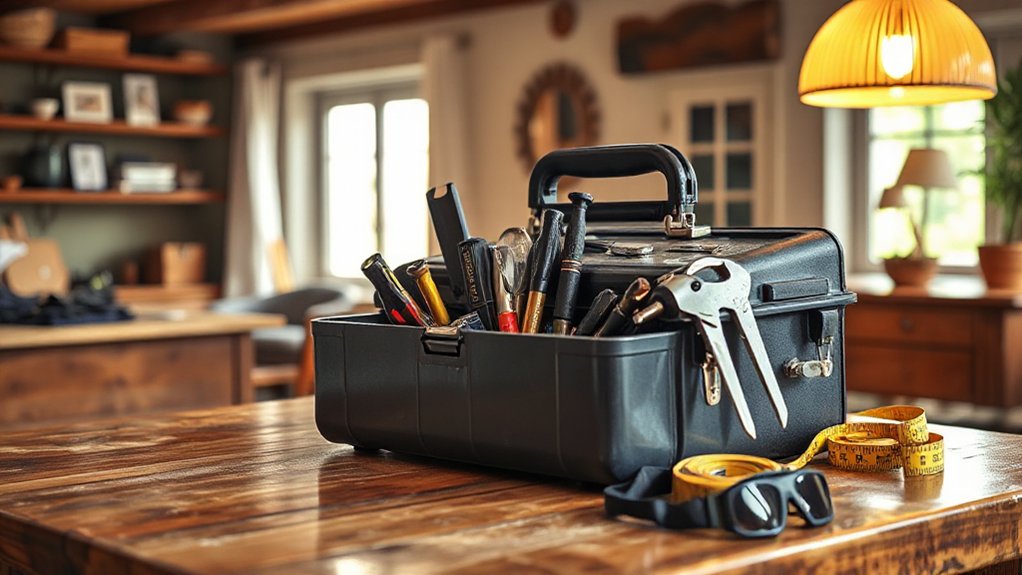
Before you start tightening screws or pulling trim, set yourself up with a small, reliable toolkit and a basic safety routine so you don’t damage finishes—or yourself. Stock a #2 Phillips, stubby driver, quality bits, non-marring pry tool, utility knife, torpedo level, tape measure, painter’s tape, and a magnet tray.
Add a voltage tester, insulated screwdriver, and headlamp for lighting fixtures. Keep wood shims, felt pads, and clear silicone for Decorative accents and trim edges.
Wear safety glasses, cut-resistant gloves, and a dust mask when sanding or drilling. De-energize circuits at the breaker, lockout/tagout if possible, and verify dead with a tester; follow local code and box-fill limits.
Protect surfaces with drop cloths and tape.
Tighten Loose Interior Fixtures Without Stripping Screws
Although a loose towel bar, cabinet pull, or light canopy seems like a quick fix, you’ll get a longer-lasting, code-safe repair by matching the driver, torque, and fastener to the substrate instead of muscling the screw.
Identify screw head types first—Phillips, Pozidriv, Torx, hex, or Robertson—and use the exact bit so you don’t cam-out. Back the screw out, inspect threads, and replace rounded fasteners.
If the hole’s blown out, don’t overtighten: install the correct anchor for drywall, tile, or masonry, or hit a stud with an appropriate wood screw. Tighten by hand until snug, then stop.
For metal-to-metal parts, add medium-strength Thread locking, but keep it off plastic and any electrical bonding points. Verify the fixture stays secure under normal load.
Stop Squeaks in Hinges, Handles, and Cabinet Hardware
When a hinge, pull, or latch starts squeaking, treat it as a friction-and-fit problem instead of drowning it in oil. First, check alignment: tighten mounting screws, then open/close to see if the door rubs.
If the hinge knuckles bind, remove the pin, wipe grime, and re-seat it. For Hinge lubrication, use a dry PTFE or graphite product; apply sparingly, cycle 20 times, then wipe residue so dust doesn’t paste up.
If a handle squeaks against a door face, add a nylon washer or slightly back off the screw, then re-tighten to snug.
Stripped or bent hardware isn’t worth nursing—do Handle replacement with matching hole spacing, and torque screws evenly like you’re seating a gasket.
Fix Common Faucet Leaks (O-Rings, Cartridges, Aerators)
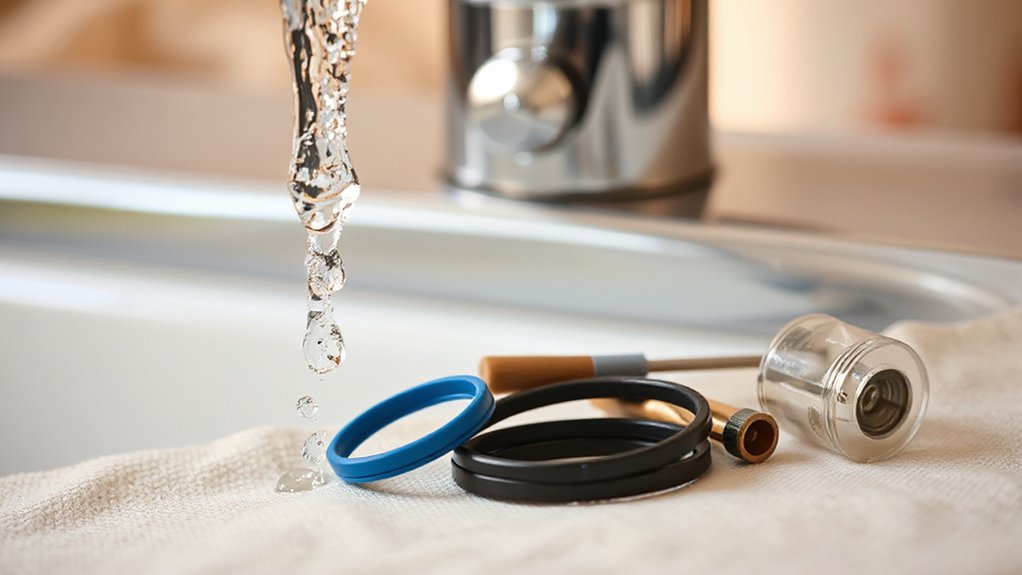
Start by isolating the leak source: dripping at the spout points to the cartridge. Water at the handle usually means a worn O-ring, and spray or low flow suggests a clogged aerator.
Shut off the stop valves, disassemble the handle, and replace any flattened or cracked O-rings with the correct size and plumber’s grease. Keep parts aligned per the manufacturer’s diagram.
Unscrew the aerator, soak and brush out mineral buildup or swap in a matching flow-rated unit to stay within local code limits.
Diagnose Leak Source
Where’s that drip really coming from—spout, handle, or base? Start with leak detection: dry the faucet, then run cold and hot separately for 60 seconds. Drip at the spout with handles off points to a worn cartridge or valve seat; a splashy, uneven stream suggests a clogged aerator.
Water beading under the handle usually indicates a stem packing or cartridge seal issue. Moisture at the base or escutcheon can mean a loose mounting nut or supply-connection seepage.
Shut off the stop valves, then do a quick pipe inspection: check compression nuts, braided connectors, and the shutoff body for mineral tracks. Use a flashlight and paper towel to confirm the wettest point before you disassemble anything.
Replace Worn O-Rings
Why does a faucet that’s “off” still weep or leave moisture around the handle? Usually the stem’s O-rings have flattened, cracked, or hardened, letting pressurized water bypass the seal.
Shut off the stop valves, open the faucet to relieve pressure, then plug the drain. Remove the handle and trim, noting screw locations, and pull the stem or cartridge per the manufacturer’s diagram.
For O ring replacement, match size and material (EPDM for water; avoid random assortments). Clean the groove, then apply code-safe silicone plumber’s grease—don’t use petroleum on rubber.
Use firm, even seating as sealing techniques: roll, don’t stretch, and avoid twisting. Reassemble, tighten to spec (no overtightening), restore water, and check for seepage.
Clean Or Swap Aerators
Sometimes a “leak” at the spout isn’t a failed cartridge at all—it’s a clogged or loose aerator letting water deflect, spray, or seep around the tip.
Start aerator maintenance by wrapping the tip with tape and using slip-joint pliers to turn it counterclockwise. If it’s recessed, use an aerator key.
Disassemble parts in order and note the screen orientation like you’re reading a stack trace. Rinse grit, then soak screens and housing in 1:1 vinegar/water for 15 minutes, scrub with a toothbrush, and flush.
Reassemble hand-tight, then snug 1/8 turn—don’t crush the gasket.
Test faucet flow and spray pattern; if threads are stripped or mineral buildup won’t clear, swap the aerator for the same GPM rating.
Clean and Protect Interior Fixtures by Finish Type
After you’ve stopped the leak, you’ll keep fixtures looking new by cleaning and protecting them based on their finish.
For stainless steel, you’ll wipe with mild soap and water, dry to prevent spotting, and follow the grain while avoiding chlorides, abrasives, and bleach that can pit the surface.
For brass and bronze, you’ll use a pH-neutral cleaner, rinse and dry fast, then preserve the patina (or maintain the clear coat) with a compatible wax or sealant so you don’t strip the finish or trigger corrosion.
Stainless Steel Care Tips
Although stainless steel looks nearly indestructible, your cleaning method can either preserve its finish or lock in scratches and dull haze. Start by identifying the grain; wipe with it using a microfiber cloth and warm water plus a pH-neutral dish soap. Skip steel wool, chlorine bleach, and abrasive powders—they violate most manufacturer care specs and can trigger pitting.
Rinse thoroughly, then dry immediately to prevent water spots and crevice corrosion around seams and fasteners.
For fingerprints, use 70% isopropyl alcohol on a soft cloth, then buff dry.
For Stainless steel polishing, apply a tiny amount of mineral oil or a stainless-specific polish, spread thin, and remove residue so it doesn’t attract dust.
For corrosion prevention, keep salts and acidic cleaners off surfaces, especially near sinks.
Brass And Bronze Protection
Because brass and bronze rely on a thin protective layer (lacquer, wax, or a living patina) for their look, you’ll get the best results by cleaning gently and deciding up front whether you’re maintaining shine or preserving patina.
Start by checking for lacquer: drip water on a hidden spot; beading usually means coated.
For lacquered fixtures, wipe with pH-neutral soap and water, then dry; don’t use Brass polishing, abrasives, or ammonia—they’ll breach the film.
For unlacquered brass, use a mild metal polish sparingly, rinse, dry, then seal with microcrystalline wax.
For bronze, treat Bronze patina like a finish: dust, wipe with damp microfiber, dry, and wax lightly.
If you spot green corrosion, dab 1:1 vinegar-water, rinse immediately, dry, then wax.
Prevent Bathroom Fixture Rust, Mold, and Mineral Buildup
If you treat your bathroom like a wet environment (it is), you can stop rust, mold, and mineral scale before they bond to fixtures and turn into a scrub-fest.
Run the fan during showers and for 20 minutes after; if you’re upgrading, size it per code (CFM ≈ bathroom sq ft, minimum 50 CFM intermittent).
Keep Bathroom ventilation paths clear: undercut doors, clean grilles, and don’t block returns.
Wipe metal and tile edges dry daily; use a microfiber cloth, not abrasives.
For scale, spray 1:1 white vinegar and water, dwell 5–10 minutes, then rinse and dry; avoid acid on natural stone.
Seal grout and apply mold resistant coatings on caulk and painted surfaces.
Fix drips fast to remove constant moisture exposure.
Interior Fixture Warning Signs to Check Monthly
When you take five minutes once a month to scan your interior fixtures, you’ll catch small failures before they turn into leaks, rot, or code-triggering repairs.
Check under sinks for damp cabinet floors, swelling, or musty odor; those often indicate trap seepage or a loose supply nut.
Inspect caulk and grout for gaps, soft spots, or dark staining, especially at tub-to-wall connection.
Operate valves and faucets: stiffness, grinding, or slow shutoff can signal mineral buildup or failing cartridges.
Look for hairline cracks in porcelain, loose toilet bases, or rocking—movement can compromise the wax ring and violate leak standards.
Verify GFCI protection near water.
Interior fixture design and fixture material selection affect what you watch for.
Frequently Asked Questions
When Should I Replace a Fixture Instead of Repairing It?
Replace a fixture instead of repairing it when you see repeated failures, unsafe wiring, leaks into walls, or cracked mounting that won’t hold torque.
For Repair versus replacement****, choose replacement if parts are discontinued, corrosion spreads, or repair labor exceeds 50% of a new unit.
Fixture durability drops after code-noncompliant installs, heat damage, or water intrusion. If it can’t meet current electrical/plumbing code, don’t patch it.
How Do I Match New Fixtures to Existing Holes and Spacing?
Start by measuring center-to-center spacing and hole diameter, then buy a fixture with the same “rough-in” dimensions.
Use Hole alignment techniques: a template, painter’s tape marks, and a level to confirm placement before drilling.
If holes don’t match, use an escutcheon/backplate or an adjustable mounting bracket—avoid elongating holes in tile.
For Fixture color matching, compare finishes in the room’s lighting and check manufacturer codes.
Can I Upgrade Fixtures to Improve Water or Energy Efficiency?
Yes, you can upgrade fixtures to boost water and energy efficiency. Choose WaterSense faucets/showerheads and low-flow aerators, and swap to LED or ENERGY STAR lighting.
Add smart technology like motion-sensing faucets, smart thermostats, or leak detectors to cut waste.
Pick eco-friendly options with certified flow rates and durable valves.
Verify local plumbing/electrical code, shutoffs, and GFCI/AFCI requirements before installing, and keep manufacturer specs handy.
What Permits or Code Rules Apply to Interior Fixture Replacements?
Like a town crier with a clipboard, you’ll find permits vary by job. You typically need permits for plumbing reroutes, new circuits, gas changes, or moving fixtures; simple like-for-like swaps often don’t.
Check local Permitting requirements with your building department before you start.
You must meet Code compliance for shutoff valves, trap/venting, GFCI/AFCI protection, clearances, and ADA rules where applicable.
Keep specs, receipts, and inspection sign-offs.
How Do I Safely Remove Old Fixtures Without Damaging Tile or Drywall?
Start by shutting off power at the breaker and verifying dead voltage. Do an electrical disconnect before loosening anything.
Protect tile/drywall with painter’s tape and a thin putty knife as a shield. Score caulk/paint lines with a utility knife, then back out screws with the right bit to avoid cam-out.
Use Tool safety: wear gloves/eye protection, support the fixture’s weight, and label wires per code.
Conclusion
Keep your interior fixtures lasting longer by working smart and staying consistent: tighten, lubricate, seal; clean, protect, inspect. Use the right bit, set the right torque, and stop before you strip threads or crack trim. Swap O-rings, cartridges, and aerators at the first drip, not after damage. Match cleaners to finishes, keep bathrooms dry, and break up mineral scale early. Do a monthly walk-through, log what you find, and fix small issues fast.