Start by deciding exactly how you’ll use the garage and sketch zones for work, storage, and a clear 36-inch path so you don’t pay to redo finishes later. Check permits, codes, and HOA rules before buying materials. Empty the space, repair the door and walls, and prep the slab by cleaning, filling cracks, and sealing. Insulate and air-seal gaps, add ventilation, then upgrade outlets, dedicated circuits, and layered LED lighting. Next, choose durable flooring and build storage that matches your layout—there’s more ahead.
Key Takeaways
- Define your garage’s purpose and layout, measuring clearances and planning zones for work, storage, and safe circulation.
- Check permits, zoning, and HOA rules early, confirming fire separation, electrical requirements, and inspections before buying materials.
- Prep and repair the space by clearing clutter, fixing walls and door seals, and cleaning, crack-filling, and sealing the concrete floor.
- Improve comfort with air-sealing, proper insulation, and ventilation, sealing penetrations and adding exhaust or intake vents as needed.
- Upgrade usability with planned outlets, dedicated circuits, layered LED lighting, and durable flooring plus wall and overhead storage systems.
Pick Your Garage Conversion Goal and Layout

Before you buy materials or call a contractor, decide exactly what you want your garage to become—home office, gym, workshop, guest room, or a mix—because that goal drives every layout choice and keeps you from paying twice for changes later.
Measure the footprint, door swings, and headroom, then sketch zones for work, storage, and circulation. Keep HVAC, lighting, and outlets aligned with your primary use so you don’t relocate wiring later.
Plan Garage organization early: overhead racks, wall panels, and a closed storage wall cost less than custom built-ins and hide clutter.
For Conversion aesthetics, match flooring and trim to the house, and decide whether you’ll keep the garage door as a feature or frame it into a solid wall.
Price each option, then pick the simplest layout that meets your needs.
Check Garage Conversion Permits, Codes, and HOA Rules
Once you’ve settled on a goal and rough layout, confirm you’re actually allowed to build it by checking permits, local building codes, and any HOA rules—because a small compliance miss can force expensive tear-outs or stop-work orders.
Call your city’s building department and ask what triggers a permit: electrical, plumbing, HVAC, window/door changes, insulation, or converting to habitable space. Request a checklist, fee schedule, and required inspections so Conversion budgeting stays realistic.
Verify zoning, parking replacement rules, and fire separation requirements (drywall ratings, self-closing doors, egress, smoke/CO alarms).
If you’re in an HOA, review CC&Rs for exterior changes, noise limits, and Garage aesthetics standards like matching siding, trim, and setbacks.
Get approvals in writing before you buy materials.
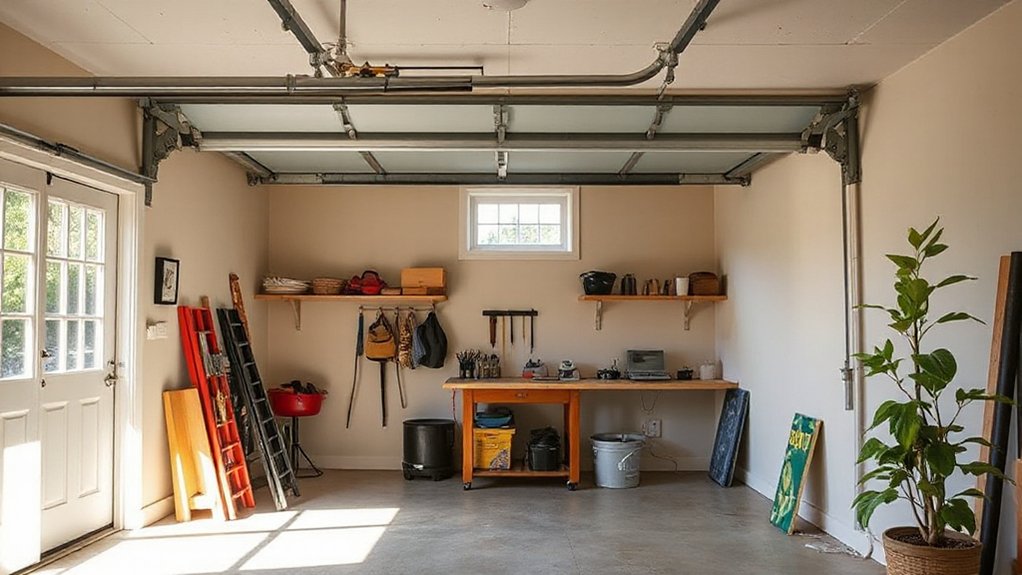
Clean Out and Repair the Door, Walls, and Concrete Slab
After you’ve confirmed the rules, clear the garage completely and treat it like a mini demo site: sweep out debris, pull nails and anchors, and sort items into keep/donate/trash so you’re not paying to work around clutter.
Next, inspect the door system. For Garage door maintenance, tighten loose hinge and track bolts, lubricate rollers and springs with garage-rated spray, replace brittle weatherstripping, and check that the door seals to the floor.
Patch wall holes, replace water-damaged drywall, and screw off any loose sheathing so finishes won’t telegraph defects. Scrape peeling paint, then spot-prime stains to prevent bleed-through.
Finally, address the floor: degrease oil spots, fill cracks with concrete repair caulk, grind high edges, and do Concrete slab sealing to reduce dust and moisture.
Insulate, Air-Seal, and Add Ventilation for Comfort
Once you’ve cleaned and repaired the garage, you’ll make it comfortable by adding the right insulation (with R-values that match your climate), sealing air leaks, and planning basic ventilation.
You can save money by insulating only the walls and ceiling you need, then caulking and foaming key leakage points like the garage door frame, sill plate, and any wiring or pipe penetrations.
Finally, you’ll bring in fresh air with a simple exhaust fan or passive vents so the space doesn’t get stuffy or trap fumes.
Insulation Options And R-Values
Three upgrades—insulation, air-sealing, and controlled ventilation—do more for garage comfort than any space heater ever will.
Start by choosing insulation types that match your framing and budget: fiberglass batts (cheap, DIY-friendly), mineral wool (denser, better sound), spray foam (highest performance, higher cost), or rigid foam boards (good for masonry).
Aim for practical R-values: walls R-13 to R-15 in 2x4s, R-19 to R-21 in 2x6s; ceilings typically need R-30+ if you’ll condition the space. In cold climates, more is better, but prioritize consistent coverage without gaps or compression.
Add proper thermal barriers where required—typically 1/2-inch drywall—especially over foam products for fire safety. Check local codes first.
Air-Sealing Key Leakage Points
Even with the right R-values in the walls and ceiling, your garage can still feel drafty if outside air slips through gaps around the shell. Start by hunting leaks with a flashlight at night or a smoke pencil on a windy day.
Focus on the garage door perimeter, bottom seal, and corners; replace brittle weatherstripping and add an adjustable threshold if the slab’s uneven. Seal rim joist cracks, sill-plate seams, and penetrations for wiring, hose bibs, and refrigerant lines using caulk or one-part spray foam.
For larger holes, backer rod plus caulk keeps costs down. Don’t forget the service door: install a door sweep and tighten the latch. Sealing gaps is the cheapest step for preventing drafts and stabilizing temperatures year-round.
Ventilation For Fresh Air
After you’ve tightened up the leaks, plan for controlled ventilation so the garage doesn’t trap stale air, moisture, and fumes. Start with a simple exhaust fan vented outdoors; mount it high on a wall or ceiling where heat and vapors collect.
Pair it with a dedicated, louvered intake grille on the opposite side to create crossflow. If you’ll park a car inside, choose a fan with a timer or humidity sensor so you don’t run it constantly.
In mild climates, a crackable window can supplement, but don’t rely on it alone. Keep any combustion appliances properly vented.
For better air quality, avoid storing solvents inside, and add indoor plants only after moisture control and adequate light.
Choose Garage Conversion Flooring for Your Use Case
Where should you start with a garage conversion—paint, lighting, or insulation? Start underfoot: pick flooring that matches how you’ll use the space and how much abuse it’ll take.
For a workshop or gym, choose interlocking rubber tiles or rolled mats; they cushion joints, hide small slab cracks, and you can replace damaged sections cheaply.
For a home office or hobby room, use luxury vinyl plank over a vapor barrier to handle minor moisture and keep costs predictable.
If you’ll park vehicles, go with a quality epoxy or polyaspartic coating and add anti-slip grit for flooring durability.
Whatever you pick, plan garage organization first—leave clean edges for shelving, and add a washable baseboard strip.
Upgrade Electrical, Outlets, and Lighting for the Converted Garage
Before you close up walls or move in furniture, map your electrical load so you don’t overload a shared garage circuit when you add heaters, tools, or office gear.
Add outlets where you’ll actually use them (workbench, desk, TV wall) and run dedicated circuits for high-draw items to cut nuisance breaker trips and future rewiring costs.
Finish with layered LED lighting—bright overhead fixtures, task lights, and a couple of dimmable zones—so you get good visibility without a big power bill.
Plan Electrical Load Needs
Since your garage will likely power more than a few bulbs and a door opener, you should plan the electrical load early so you don’t pay twice to redo wiring later. List everything you’ll run: HVAC, fridge, freezer, tools, EV charger, washer/dryer, computer gear, and task lighting, then note each item’s wattage or amps.
Estimate peak use, not just averages, and add a buffer for future upgrades. Check your main panel’s available capacity and spaces, and budget for a subpanel only if the math demands it.
Good circuit planning keeps loads balanced and reduces nuisance trips. Prioritize Electrical safety by matching wire size, breaker rating, and equipment requirements, and confirm any permits or inspections your area requires.
Add Outlets And Circuits
Once you’ve mapped your loads and confirmed panel capacity, you can lay out outlets and circuits so the garage works like a real room instead of an afterthought. Put receptacles every 6–8 feet along usable walls and add dedicated circuits for a freezer, tools, or a heater so breakers don’t nuisance-trip.
Use GFCI protection where required and choose tamper-resistant, in-use covers if the space stays semi-open. Run wire before Garage insulation goes in, and leave slack for future changes.
If you’re trenching or surface-mounting conduit, coordinate with Concrete repair so you’re not cutting new patch lines twice. Label every breaker and receptacle circuit, and budget for one spare circuit now—it’s cheaper than reopening walls later.
Install Layered LED Lighting
Even if your garage already has a single bare bulb, you’ll get a far more usable space by installing layered LED lighting that matches how you actually work and relax in the room.
Start with bright, efficient overhead LEDs (4,000–5,000K) for general coverage, spaced to minimize shadows. Then add task strips or under-shelf bars over a workbench, tool wall, or laundry area so you can see fine detail without cranking the whole room.
Finish with Ambient light integration: dimmable wall sconces, plug-in uplights, or LED tape in a soffit for a softer evening feel. Put each layer on its own switch or smart dimmer, and use occupancy sensors to cut waste.
Choose sealed fixtures if your garage gets dusty or damp.
Add Built-In Storage and Zones to Keep It Clutter-Free
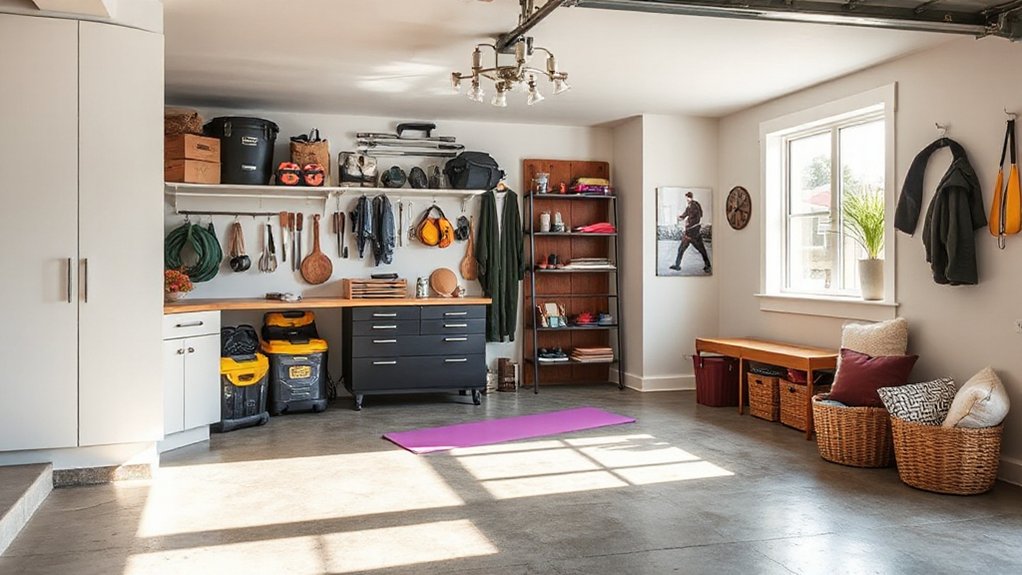
If you want your converted garage to stay usable day to day, you’ll need storage that’s planned in—not stacked in corners. Start with Built in shelving along one wall using 2×4 cleats and plywood; it’s cheaper than cabinets and holds more. Add labeled bins for seasonal gear, and keep heavy items at waist height to avoid strain.
Choose Storage solutions that match what you actually store: hooks for bikes, a narrow rack for tools, and a ceiling platform for light, bulky items.
Then set zones: a workbench area, a parking or gym strip, and a drop zone by the door. Mark boundaries with floor tape and leave a clear 36-inch aisle for easy access.
Frequently Asked Questions
Can I Convert My Garage Without Losing Parking or Hurting Resale Value?
Yes—you can, if you keep one bay clear and make changes reversible. Use garage organization to define zones, keep walls and ceiling free for parking clearance, and avoid removing the garage door.
Choose storage solutions like ceiling racks, wall slat systems, and narrow cabinets instead of deep shelving. Use epoxy flooring and bright LED lighting for appeal.
Skip permanent plumbing or bedroom conversions unless permitted; they’ll raise costs and risk resale.
How Much Does a Garage Conversion Cost per Square Foot in My Area?
You’ll typically pay $50–$150 per sq ft in most U.S. areas, but your local bids can swing higher with permits and labor rates.
Garage insulation upgrades, drywall, windows, HVAC, and Electrical wiring (new circuits, outlets, subpanel) often drive costs.
To price your area, get 3 itemized quotes, ask for permit/inspection fees, and confirm finishes, floor leveling, and plumbing allowances up front.
Will Converting the Garage Increase My Property Taxes or Insurance Premiums?
Yes, converting the garage can raise your property taxes and insurance premiums, because you’re adding finished, conditioned living area. You’ll usually see higher assessed value after permits, inspections, and a reassessment. Call your assessor to estimate the new tax basis.
Tell your insurer about the new use, wiring, and Garage insulation; premiums may rise modestly. Keep costs down with Storage optimization instead of full living space.
How Long Does a Typical Garage Conversion Take From Start to Finish?
Like a relay race, you’ll typically finish a garage conversion in 4–8 weeks, start to finish. You’ll move faster if permits are simple and you don’t change structural walls.
Plan 1–2 weeks for design, bids, and permits.
2–4 weeks for framing, garage insulation, drywall, and finishes.
And 1–2 weeks for electrical wiring, HVAC tweaks, and inspections.
You’ll save money by finalizing selections early.
Can I DIY a Garage Conversion, or Should I Hire a General Contractor?
You can DIY a garage conversion if you’ve got solid carpentry skills and you’re comfortable pulling permits, but you should hire a general contractor for structural changes, HVAC, and electrical.
You’ll save money DIYing demo, framing, drywall, and garage insulation, yet mistakes can cost more later.
If you’re doing basement integration (stairs, moisture control, drainage ties), bring in pros.
Get three bids and split tasks strategically.
Conclusion
You don’t need a big budget to turn your garage into space you’ll actually use. Start with a clear goal and layout, then confirm permits, codes, and HOA rules so you don’t pay twice. Patch the slab, repair surfaces, and keep the door weather-tight. Add insulation, air-sealing, and basic ventilation for comfort. Pick durable flooring, upgrade outlets and lighting, and build storage zones. Done right, your garage becomes a Swiss Army knife for daily life.