Clear the area, then walk heel-to-toe and mark each squeak with painter’s tape while a helper listens below. Check for bounce, dips, or soft wood, and fix any leaks first. If you can’t access from underneath, pre-drill and drive 2–2.5 inch trim screws through the floor into the joist, adding a second screw nearby. With basement access, tap glued shims into gaps or add short screws from below. Keep going for deeper fixes and warning signs.
Key Takeaways
- Find the exact squeak by walking slowly and marking spots with painter’s tape to avoid misplaced fasteners.
- Drive 2–2.5 inch trim screws through flooring into the subfloor at squeak points, using small pilot holes to prevent splitting.
- From below, tap glued wood shims into gaps between joist and subfloor, clamp, and let cure to stop rubbing.
- Add short screws from underneath into the subfloor where it moves on joists, avoiding pipes, wires, and plumbing runs.
- If bounce or sagging persists, inspect for moisture, rot, or damaged joists, fix leaks first, and reinforce or sister framing as needed.
Find the Squeaky Spot and What’s Moving
Before you grab tools or fasteners, pinpoint exactly where the noise comes from and what’s shifting. Clear the area, remove rugs, and wear shoes for traction. Walk slowly, heel-to-toe, and have a helper listen below if possible. Mark each squeak with painter’s tape.
Next, test movement: press near the mark, then on it, and note whether the board flexes, the seam rubs, or the subfloor dips. Identify your flooring material (hardwood, laminate, engineered, or plywood) because each transmits sound differently.
Check for loose nails, raised fasteners, gaps at joints, or boards crowned by humidity. Photograph marks and measurements so you don’t lose them.
This mapping guides later soundproofing techniques without guessing.
Choose a Fix: From Above or From Below
Now that you’ve marked each squeak and confirmed what’s shifting, decide whether you’ll fix it from above (through the finished floor) or from below (through an open basement or crawlspace).
Start by checking access: if you can reach the joists safely from underneath, choose below for cleaner results.
Next, assess your Flooring material. Carpet, floating laminate, and vinyl often tolerate top access with minimal risk, while hardwood and tile demand more care.
Weigh Aesthetic considerations: any surface repair can leave tiny marks or patched holes, especially on stained wood.
If you go below, wear eye protection, use a headlamp, and avoid stepping between joists. Shut off nearby electrical circuits and watch for pipes and ducts.
Fix Squeaks From Above With Trim Screws
If you can’t access the joists from underneath, drive trim screws from the top to cinch the subfloor tight and stop the movement.
First, locate the squeak by walking the area and marking it with tape. Wear eye protection, then find the joist line with a stud finder or by measuring from a nearby wall.
Pre-drill a small pilot hole to prevent splitting different flooring materials. Drive a 2 to 2-1/2 inch trim screw straight down until the head just dimples the surface; don’t over-torque or you’ll strip the wood.
Add a second screw 1 inch away for better hold.
Finish with cosmetic repairs: fill the dimple, sand lightly, and touch up stain or paint.
Shim Loose Gaps Under Floorboards

Trim screws lock the subfloor down from the top, but some squeaks and soft spots come from gaps between the floorboards and the joist or blocking underneath. If you can access the underside, put on eye protection, a respirator, and gloves, and bring a work light.
Check Underfloor insulation first and pull it back neatly so you don’t compress it. Have a helper walk above while you listen and mark the noisy bay.
Use a thin wood shim; tap it in by hand, then with a hammer and block until it just snugly fills the gap—don’t jack the floor up. Snap off the excess and recheck.
Inspect for damp staining and improve moisture control before reinstalling insulation. Add a shim if needed.
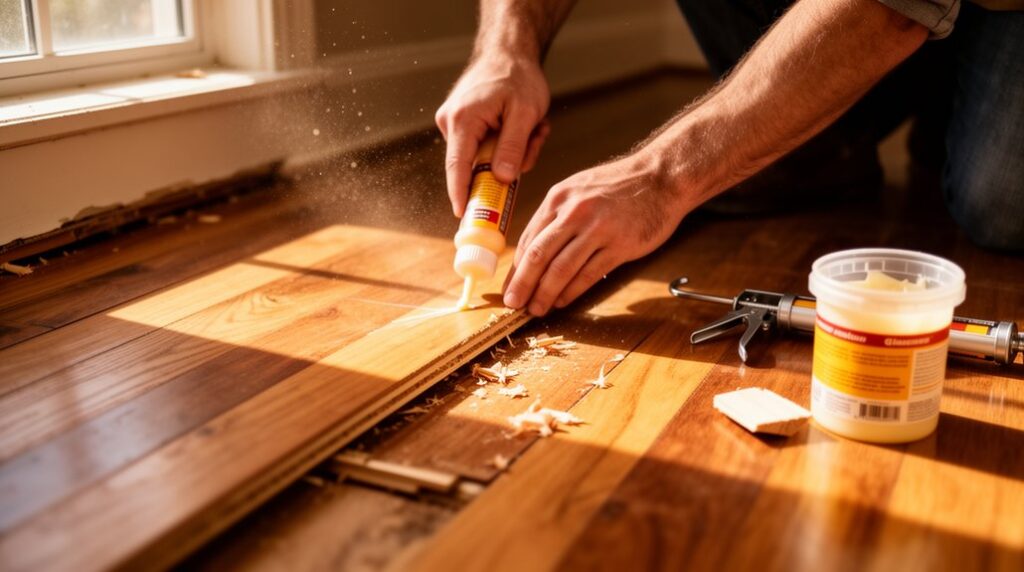
Use Adhesive to Stop Subfloor-to-Joist Rubbing
When the subfloor squeaks against a joist because fasteners have loosened or wood has shrunk, construction adhesive can bond the joint and stop the rubbing. First, find the squeak by walking the area and marking it with tape. Clear rugs, then wear knee pads and safety glasses.
If you’ve got carpet, pull it back carefully; if it’s exposed wood, clean dust from the seams. Drill a small pilot hole at an angle into the subfloor near the joist line, avoiding wires and plumbing.
For Adhesive application, inject construction adhesive through the hole until you feel resistance. Add a short screw beside the hole to clamp the layers and drive it flush. Let it cure per label for solid Subfloor bonding.
Fix Squeaks From Below (Basement or Crawlspace)
Head to the basement or crawlspace with a bright light, eye protection, and a helper upstairs. Then pinpoint the squeak by having them step while you watch the joist and subfloor move.
Once you’ve found the spot, tap a thin wood shim (with a little glue) into any gap between the joist and subfloor until it’s snug, not forced.
If movement still remains, drive short screws up from below into the subfloor—careful to avoid wiring and plumbing and to not punch through the finished floor.
Locate Squeak Source
Before you grab shims or screws, pinpoint exactly where the squeak starts from below. Put on eye protection, a headlamp, and a dust mask before entering the basement or crawlspace. Have a helper walk the noisy area above while you listen. Note whether the Flooring material sounds like it’s rubbing, popping, or creaking.
Mark the spot by pushing a pencil up at the joist bay nearest the noise, then trace the joist line and any blocking. Check for plumbing, wiring, or ductwork so you don’t touch or damage anything.
Press upward on the subfloor between joists to see if the sound changes, and watch for movement at seams or fasteners. These observations help you choose safe Soundproofing techniques later.
Shim Joists And Subfloor
If the squeak comes from a gap between the joist and subfloor, you can silence it by shimming from below. Put on safety glasses, a respirator, and a headlamp, then clear the area in the basement or crawlspace.
Have someone walk above so you can pinpoint the noisy seam. Tap a thin wood shim, coated with construction adhesive, into the gap at the floor joist edge until snug—don’t force it or you’ll lift the floor. Clamp or brace the shim while the adhesive cures.
For uneven joists, add a second shim beside the first for better floor joist reinforcement. Match adhesive and shim type to subfloor material options (plywood, OSB, or planks).
Check for wiring, plumbing, and rot first.
Add Screws From Below
When shims don’t eliminate the noise, you can lock the subfloor tight to the joist by driving screws from below. Put on eye protection, a dust mask, and a headlamp, then clear the work area in the basement or crawlspace. Have a helper stand above and step on the squeaky spot so you can pinpoint the joist bay.
Pull back any Underfloor insulation and check for wires or plumbing. Use 1-5/8 in. or 2 in. construction screws and drive them up through the joist into the subfloor, spacing them 6–8 inches apart. Stop before you pierce the Flooring materials above; use a screw depth stop if needed.
Reinstall insulation, then test the floor again.
Loose Boards: Signs of Subfloor or Joist Damage

Start by checking for visible gaps, lifted edges, or side-to-side movement when you press on each loose board, and mark any spots that shift.
Next, walk the area slowly and watch for persistent bounce or sagging, because that often signals subfloor or joist damage rather than a simple fastener issue.
If you feel spongy sections or see widening seams, stop using that area and inspect from below or call a pro before you try a repair.
Visible Gaps And Movement
Although a little squeak often comes from simple friction, visible gaps between boards or noticeable up‑and‑down movement usually points to a deeper problem—loose fasteners, a weakened subfloor, or even joist damage.
First, clear the area, then inspect the gaps with a flashlight and straightedge. If boards shift, mark the moving edges with painter’s tape.
Next, from above, set protruding nails, and add trim screws into the subfloor where you can hit solid backing; stop if the screw spins.
If you can access from below, wear eye protection and check for split cleats, cracked subfloor seams, or loose blocking.
Choose shims or fasteners that match material compatibility, and keep repairs flush to protect flooring aesthetics.
Call a pro for structural cracks.
Persistent Bounce Or Sagging
Why does that “springy” spot never go away even after you tighten a few fasteners? Because the problem often sits below the flooring material: a weakened subfloor, cracked joist, or loosened blocking.
First, clear the area and wear eye protection, gloves, and a respirator if you’ll open the ceiling below.
Next, locate the bounce, then inspect from underneath with a flashlight for dark staining, rot, split lumber, or sagging joists.
Probe suspect wood with an awl; soft fibers mean damage.
Check for Pest infestation signs like frass, tunnels, or droppings.
If you see moisture, fix the leak before repairs.
Add construction adhesive and screws into solid framing, then sister damaged joists or replace compromised subfloor sections.
Don’t overload the span.
Frequently Asked Questions
Will Fixing Squeaks Affect Hardwood Refinishing or Floor Sanding Later?
Fixing squeaks usually won’t hurt refinishing or sanding later if you do it carefully.
First, mark the noisy spots and check for floor expansion gaps.
Next, use nail tightening or add screws set slightly below the surface; don’t overdrive fasteners.
Then, fill any holes with a stainable filler.
Vacuum thoroughly and wear eye protection when drilling.
Finally, tell your refinisher where you fastened so they can avoid metal hits.
How Do I Reduce Squeaks Without Voiding My Flooring Warranty?
To reduce squeaks without voiding your warranty, you’ll follow your manufacturer’s instructions and avoid unauthorized modifications. First, read warranty terms and use approved fasteners and flooring adhesives only.
Next, locate squeaks, then tighten loose boards from below if possible; don’t face-nail or overdrive screws. Add shims gently, and keep gaps for expansion.
For squeak prevention, maintain proper humidity and wear eye protection. Document everything.
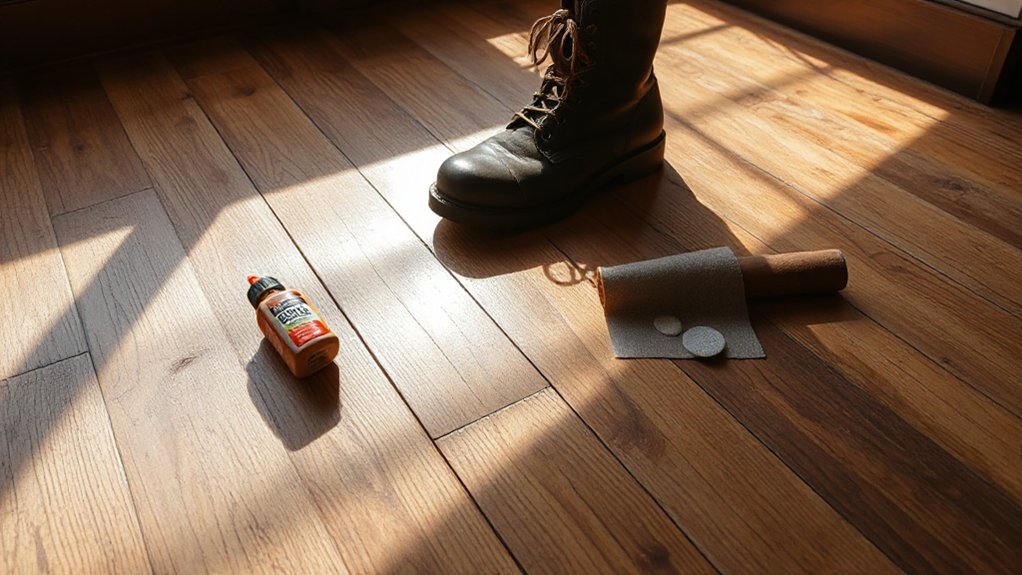
What Tools Are Essential for Quick Squeak Repairs on a Tight Budget?
You’ll need budget tools: a flashlight, tape measure, stud finder, pencil, drill/driver, 1/8″ bit, countersink, wood screws, hammer, pry bar, and a putty knife.
Start by locating the squeak, then mark the joist and wear safety glasses.
Pre-drill to prevent splitting, drive screws snug (don’t over-tighten), and test the spot.
Add graphite or talc as DIY solutions for minor rubs.
Keep gloves on.
Are Squeaky Floors a Sign of Termites, Rot, or Structural Failure?
Squeaky floors usually come from wood rubbing, not termites, rot, or structural failure, but you can’t assume.
First, inspect for Termite damage: mud tubes, frass, hollow-sounding joists.
Next, check for rot: spongy wood, dark staining, moisture smells, leaks.
Then look for sagging, cracked drywall, or bouncing; that signals a Structural assessment.
If you find active pests, widespread softness, or major deflection, stop walking there and call a pro.
Can I Silence Squeaks in Carpeted Rooms Without Removing the Carpet?
Yes—you can quiet most carpeted-floor squeaks without pulling up the carpet; about 80% come from subfloor-to-joist friction.
First, locate the squeak by walking and marking it.
Next, find the joist with a stud finder.
Then, use a carpeted-floor screw kit through the Carpet installation and Floor padding, snapping the head flush.
Wear eye protection, avoid pipes/wires, and test again, repeating as needed.
Conclusion
Track the squeak, then choose your approach: from above with trim screws, or from below with shims and adhesive. Work slowly—measure twice, drive fasteners into joists, and keep hands clear of bits and blades. If you’re under the floor, wear eye protection and a dust mask, and brace yourself on stable supports. When the rubbing stops, the house goes quiet like a muted violin. If boards stay loose, check for damage.