
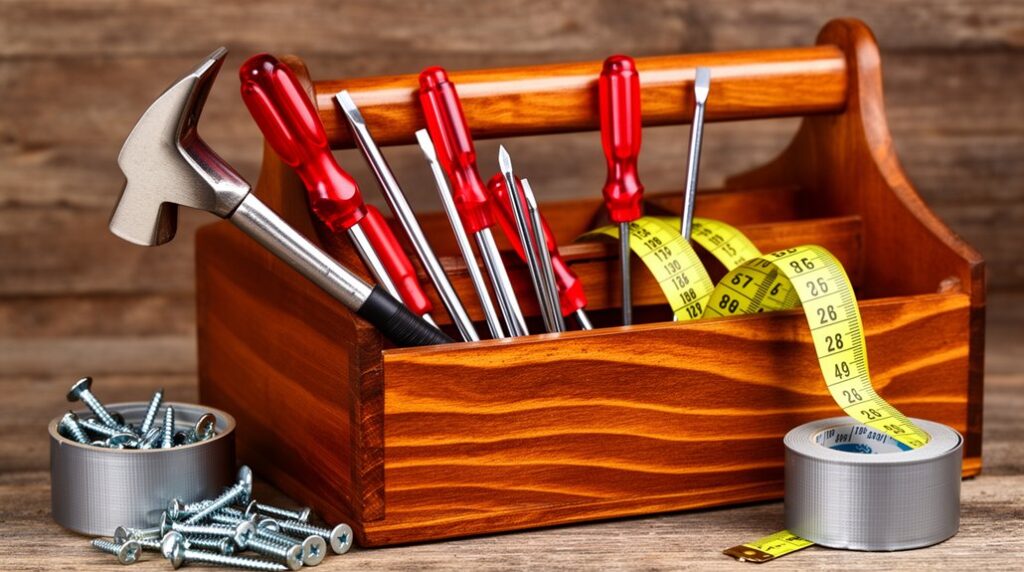
Keep a small toolbox with a tape measure, utility knife, stud finder, hammer, adjustable wrench, pliers, hex keys, multi-bit screwdriver, level, flashlight, gloves, and safety glasses. Stock common screws (#6, #8, #10), drywall screws, finish nails, brads, and drywall/masonry anchors in labeled bins. Add painter’s tape, duct tape, super glue, epoxy, wood glue, silicone caulk, spackle, and sanding sponge. Don’t skip PTFE tape, washers, O-rings, and a toilet flapper—next, you’ll see exactly what to buy.
Key Takeaways
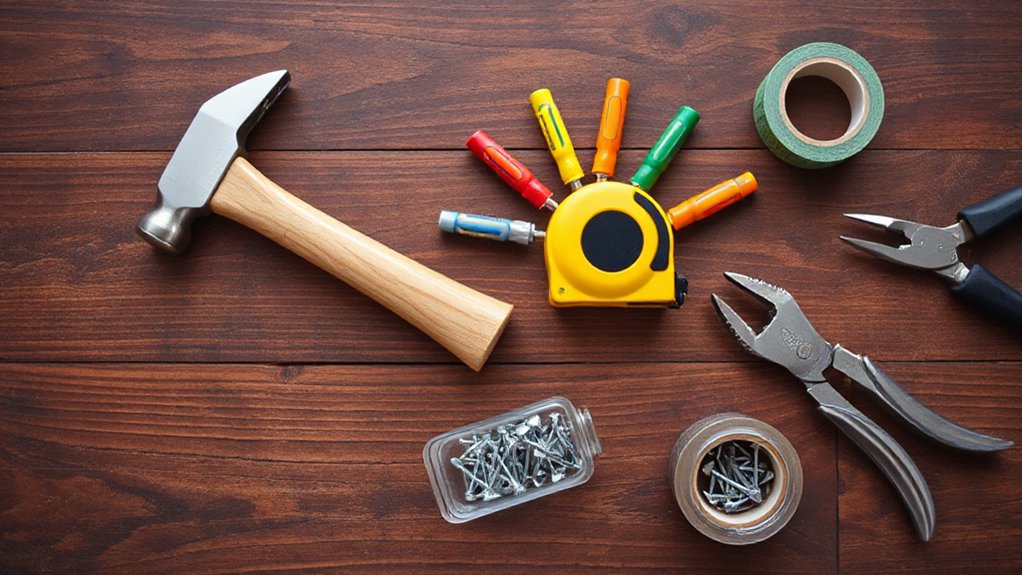
- Keep a basic toolkit: tape measure, utility knife, stud finder, hammer, adjustable wrench, pliers, hex keys, multi-bit screwdriver, level, flashlight, gloves, glasses.
- Stock common fasteners: wood, drywall, and sheet-metal screws; finish nails and brads; plastic expansion anchors; concrete screws for masonry.
- Have hanging and mounting essentials: assorted wall anchors, toggle/strap toggles for heavy loads, and spare hinge/knob screws matching common sizes and finishes.
- Maintain repair supplies: spackle, joint compound, mesh patches, sanding sponge, caulk, putty knife, plus core adhesives like super glue, epoxy, and wood glue.
- Prepare for plumbing issues: PTFE tape, pipe joint compound, washers and O-rings, toilet flapper/fill-valve seals, compression nuts/ferrules, and a temporary leak clamp.
The Must-Have Household Hardware Starter Kit
Whether you rent or own, a small household hardware starter kit saves you time and money when a loose hinge, wobbly chair, or leaking faucet handle shows up. Start with a compact toolbox, a quality tape measure, utility knife, and a stud finder to avoid costly wall damage.
Add a claw hammer, adjustable wrench, slip-joint pliers, and a set of hex keys for furniture and fixtures. Keep a multi-bit screwdriver and a small level to tighten, align, and hang items accurately.
Stock a flashlight or headlamp, work gloves, and safety glasses so you don’t cut corners. Include plumber’s tape, a tube of silicone caulk, and a putty knife for quick seals.
These basics support DIY repair tips and steady hardware maintenance.
Screws, Nails, and Anchors (Common Sizes to Stock)
Because most quick home fixes fail at the last inch, you’ll save money and frustration by stocking a small, labeled assortment of the fasteners you actually use.
Cover core Types of fasteners: wood screws (#6 x 1″, #8 x 1-1/4″, #10 x 2″), drywall screws (#6 x 1-1/4″), and sheet-metal screws (#8 x 1/2″) for thin metal and plastic.
Add a small box of 8d (2-1/2″) and 4d (1-1/2″) finish nails for trim repairs, plus 1″ brads for light tacks.
For masonry and drywall, keep plastic expansion anchors (6–8 mm) and a few concrete screws (3/16″ x 1-1/4″).
Prioritize Storage organization with divided bins, size labels, and a “refill list” taped inside the lid.
Hanging Hardware for Frames, Shelves, and TVs
When you’re hanging frames, shelves, or a TV, you’ll save money and repairs by matching the right wall anchor to drywall, plaster, or masonry instead of guessing.
You should mount into studs whenever you can, use the correct screws and bracket spacing, and keep a stud finder and drill bits on hand.
Finish the job by leveling before tightening everything down and double-checking load ratings so the hardware isn’t working at its limit.
Choosing Proper Wall Anchors
Even if you’ve got a stud finder on hand, you’ll still need the right wall anchors for anything that doesn’t land on a stud—or for extra stability. Match capacity to the real load: framed art can use plastic expansion anchors, while shelves and TV mounts often need toggle bolts, strap toggles, or metal self-drilling anchors rated for drywall.
For masonry, grab sleeve or wedge anchors, not drywall kits. Check the package’s weight rating and buy one step up; anchors are cheap, repairs aren’t.
Wall anchor types matter, but so do installation tips: drill the correct pilot size, keep the hole snug, and don’t over-torque screws. If the drywall crumbles, move over and patch.
Keep assorted sizes and washers so you don’t overbuy single-use packs.
Stud Mounting Best Practices
Although anchors save the day in hollow drywall, you’ll get the strongest, cheapest-to-maintain install by driving your hardware into studs for anything that’s heavy, valuable, or gets bumped—shelves, larger frames, and especially TVs.
Start Stud mounting by locating studs with a stud finder, then confirm by probing for solid wood with a thin nail in an inconspicuous spot. Mark both stud edges and snap a centerline so you don’t miss.
For ideal positioning, plan your bracket or hanger layout around stud spacing; adjust the object’s location a few inches instead of forcing fancy hardware.
Pre-drill pilot holes to prevent splitting and stripped screws, and use the fasteners specified by your bracket.
Keep spare wood screws and washers so you can reuse holes cleanly later.
Leveling And Load Ratings
Because a perfectly centered install still fails if it’s crooked or overloaded, treat leveling and load ratings as your two non-negotiables before you hang anything. Use a small torpedo level for frames and shelves, and a longer level for TV mounts; check both horizontal and vertical lines. If you want precision calibration, pick a level with easy-to-read vials or a budget digital level you’ll actually use.
For load, don’t guess: read the hanger, bracket, or mount label and respect safety load limits, not “breaking strength.” Add up the weight of the item plus contents (books, decor) and choose hardware rated higher. When in doubt, step up one size; it’s cheaper than patching drywall or replacing a TV.
Adhesives and Tapes for Fast, Clean Repairs
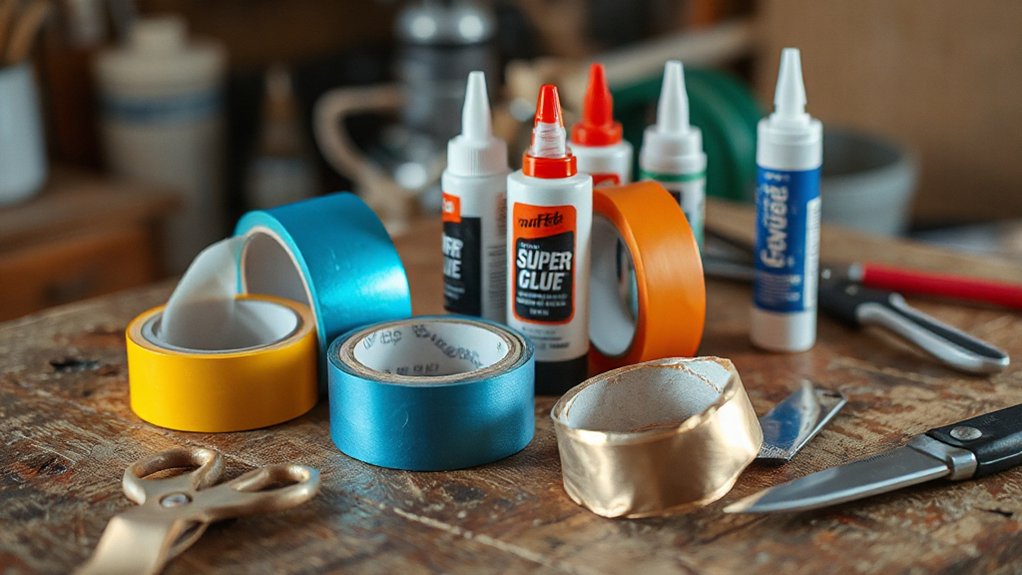
When something cracks, loosens, or starts rattling, the right adhesive or tape lets you fix it in minutes without dragging out tools or making a mess. Keep a small kit: cyanoacrylate for quick bonds, two-part epoxy for heavy-duty repairs, and wood glue for clean, strong joins.
For high-stress fixes, choose Industrial adhesives rated for metal, plastic, or ceramic, and check cure time so you’re not stuck holding parts together. Add a tube of silicone sealant for damp areas and temperature swings.
Stock Specialty tapes: painter’s tape for crisp masking, duct tape for temporary holds, and double-sided mounting tape for lightweight items. Store them sealed, upright, and dated so they don’t dry out.
Wall Patches, Spackle, and Touch-Up Hardware
Even if you don’t plan on repainting soon, a basic wall-repair kit keeps small damage from turning into an eyesore or a bigger job. Stock lightweight spackle, a putty knife, fine sanding sponge, and a small tub of premixed joint compound for deeper dents.
Add self-adhesive mesh patches for nail pops and small holes; they’re cheaper than calling a handyman. Keep a damp rag and a small primer sample to seal repairs so the sheen matches.
For fast wall repair, scrape loose paint, fill in thin layers, sand smooth, then spot-prime. Save a labeled jar of leftover paint for paint touch-up, plus a mini foam roller and angled brush. You’ll fix scuffs and dings quickly.
Door and Cabinet Parts You’ll Replace Most
When a door starts sagging or a cabinet won’t close cleanly, you’ll usually fix it with a standard hinge replacement, so keep a few common sizes and matching screws on hand.
You’ll also swap knobs and pulls often after wear, stripping, or a quick style refresh, and having a couple of spares prevents a pricey one-off trip to the store.
If you stick to consistent finishes and hole spacing, you’ll save time and money on every small repair.
Common Hinge Replacements
Because doors and cabinet fronts get opened thousands of times a year, hinges are one of the first hardware parts you’ll actually wear out—and one of the cheapest to swap.
Keep a small assortment: two 3.5-inch interior door butt hinges, one exterior-rated hinge, and a few common cabinet concealed hinges (full overlay and half overlay). Match finish and screw-hole pattern so you don’t redrill.
For quick hinge maintenance, replace stripped screws with longer #9 or #10 wood screws, or use toothpicks and glue to rebuild holes.
Stock a thin shim or cardboard for minor sag.
Do hinge lubrication with a dry PTFE spray or light machine oil to stop squeaks, but replace any hinge that’s bent, cracked, or has sloppy pins.
Frequent Knob And Pull Swaps
Although they don’t seem critical, knobs and pulls take constant abuse from greasy hands, kids yanking drawers, and screws that slowly back out, so they’re among the first door-and-cabinet parts you’ll swap.
Keep a small kit: a few matching knobs, a few common pulls, and extra 8-32 and 10-24 screws in short and long lengths. Measure hole spacing (center-to-center) before you buy; it saves return trips and prevents stripped holes.
When one breaks, replace it fast so doors stay aligned and drawers don’t rack. Choose durable finishes like brushed nickel or stainless to hide wear.
For quick updates, use knob customization and mix compatible pull styles, but standardize sizes to control costs. Save old hardware as backups.
Plumbing Spares That Stop Leaks Fast
Even if you don’t know much about plumbing, a few cheap spares can stop a drip before it turns into water damage and a pricey service call. Keep assorted rubber washers and O-rings for faucets, plus a universal flapper and fill-valve seal for toilets—these fix most slow leaks in minutes.
Add PTFE thread tape and a small tube of pipe joint compound for threaded fittings, and pack a couple of compression ferrules and nuts for supply lines.
For emergency plumbing repairs, include a rubber repair clamp or self-fusing silicone tape to seal a pinhole temporarily.
Pair these with basic leak detection tools: a moisture meter or dye tablets to confirm toilet seepage fast. You’ll spend little now and avoid bigger bills later.
Store and Label Hardware So You Find It Fast
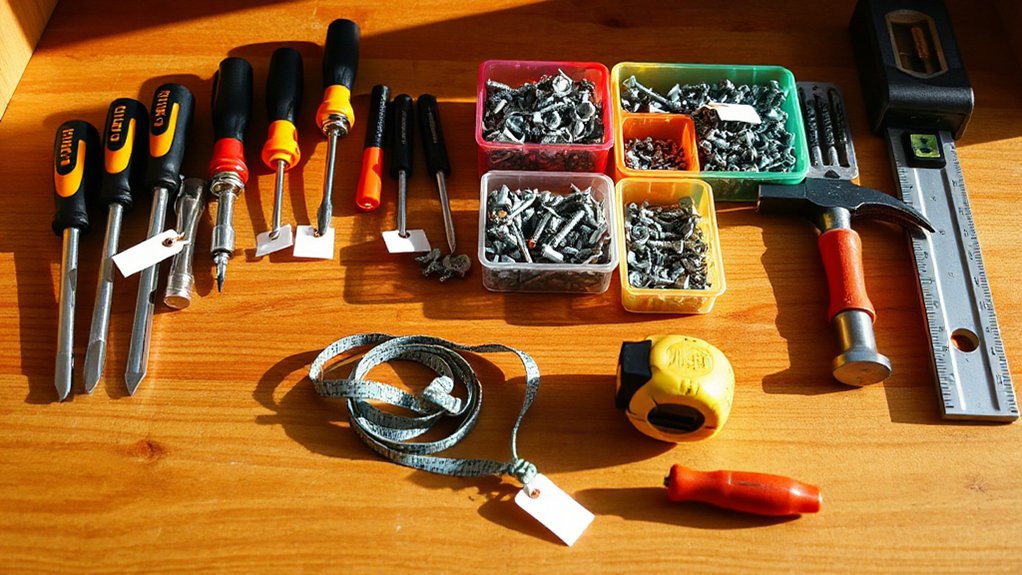
Set up simple Labeling systems: color-code by room or project (plumbing, electrical, furniture).
For basic Inventory management, keep a note on the lid listing what’s low, and restock during one trip to the hardware store.
You’ll waste less time, buy fewer duplicates, and finish repairs faster.
Frequently Asked Questions
How Do I Choose the Right Drill and Bit Set for Home Repairs?
When you’re choosing drills for home repairs, pick a 12–20V cordless drill/driver with a keyless 3/8″ or 1/2″ chuck, variable speed, and a clutch to avoid stripping screws.
Check battery platform costs and buy into one ecosystem.
For drill bits, choose a set with brad-point wood, HSS metal, and carbide masonry bits, plus common driver bits.
Prioritize labeled sizes and a sturdy case.
What Basic Safety Gear Should I Keep for DIY Hardware Projects?
You might think safety gear’s pricey or overkill, but you can outfit yourself cheaply and avoid costly injuries.
Keep Personal protective equipment: ANSI safety glasses, hearing protection, N95 or P100 respirator, snug work gloves, and knee pads.
Add a first-aid kit, eye-wash bottle, and a basic hard hat for overhead work.
For Fire safety devices, store an ABC extinguisher, fire blanket, and smoke/CO alarms with fresh batteries.
How Can I Tell if a Wall Is Plaster, Drywall, or Masonry?
You can do Wall material identification by tapping, probing, and inspecting.
Drywall sounds hollow, has paper facing, and crumbles to white gypsum; you’ll find studs with a magnet.
Plaster feels harder, often over lath, gives a dull thud, and resists screws without predrilling.
Masonry sounds solid, shows aggregate or brick pattern, and drills dusty grit.
Confirm at an outlet box edge.
Match Surface preparation techniques to dust and moisture control.
When Should I Call a Professional Instead of Attempting a Hardware Fix?
Call a professional when the fix risks injury, code violations, or costly hidden damage—think electrical panels, gas lines, major plumbing leaks, structural cracks, or mold. Like sending a telegram to your future self, listen to that gut dread.
Prioritize DIY safety: if you lack the right tools, shutoffs, or clear access, stop.
For Emergency repairs, contain the problem (kill power/water, tarp, bucket) and document before hiring. You’ll save money.
What Household Tools Are Essential to Use This Hardware Effectively?
You’ll use hardware effectively with a quality screwdriver set, claw hammer, adjustable wrench, tape measure, level, utility knife, pliers, and a cordless drill/driver with bits.
Add a stud finder, hex keys, and a small socket set for common home maintenance. Buy midrange, not bargain-bin.
Keep fasteners in labeled bins, and hang tools on a pegboard for tool organization.
This setup handles most repairs without overspending.
Conclusion
Keep this starter kit stocked, and you’ll handle most home fixes without a pricey rush to the store. You’ve got the right screws, nails, anchors, and hangers for safe mounting; tapes and adhesives for quick, clean bonds; spackle and patches for small wall damage; extra hinges, pulls, and latches for tired doors and cabinets; and a few plumbing spares to stop leaks fast. Organize and label everything—it’ll save you a million headaches.

