
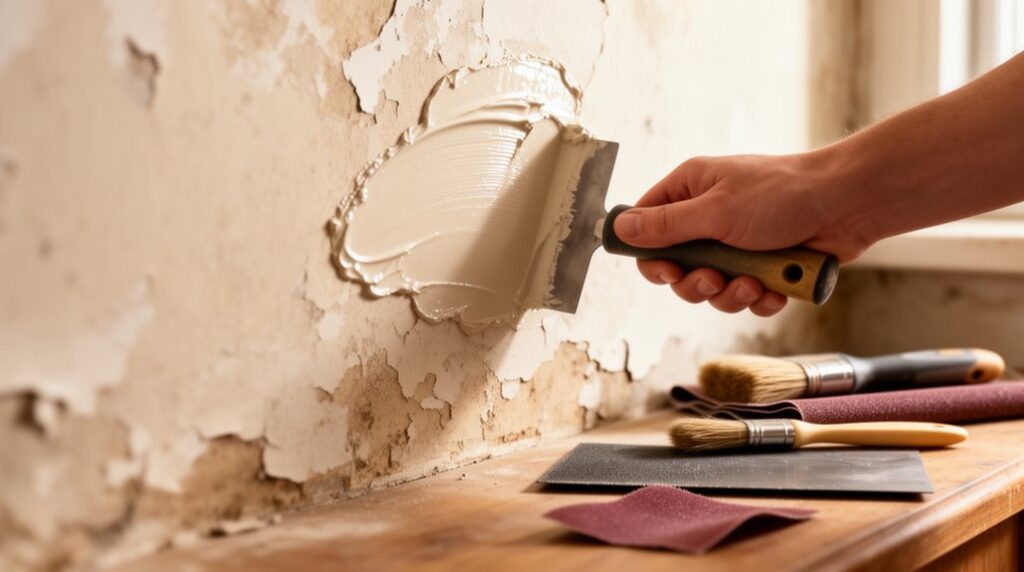
Start by tapping the wall: plaster sounds solid and shows lath at outlets; drywall sounds hollow. Scrape loose paint or plaster to firm edges, vacuum dust, and V-groove cracks. Seal chalky areas and spot-prime stains, and fix leaks first. Wear glasses and a dust mask. Use spackle for small dents and nail holes, and plaster or setting compound plus mesh tape for cracks and deeper repairs. Feather thin coats, sand smooth, then prime and paint—more tips come next.
Key Takeaways
- Identify plaster vs drywall by tapping and checking outlet edges; fix moisture leaks before any patching.
- Scrape loose paint/plaster to firm edges, V-groove cracks, vacuum dust, and seal chalky areas with bonding agent or primer.
- Use spackle for small dents and nail holes; choose plaster or setting compound for deeper repairs needing stronger bonding.
- Bridge cracks with fiberglass mesh tape, apply thin coats, feather wide with a 6–12 inch knife, and sand smooth after curing.
- Prime patched areas, match texture if needed, then paint two thin coats using the same sheen and roller nap.
Identify Plaster vs Drywall and the Damage Type
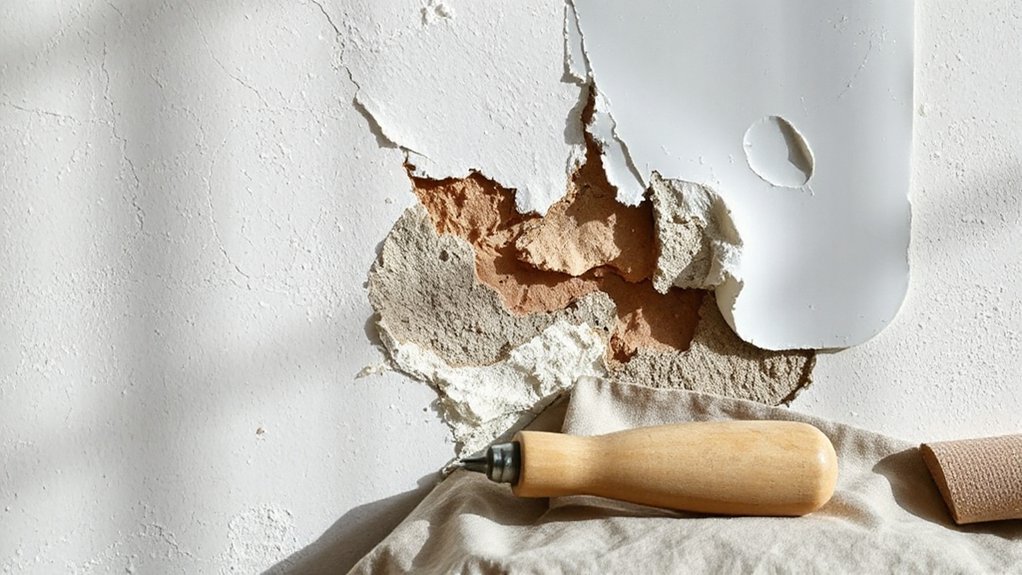
Before you patch anything, figure out whether you’re working with plaster or drywall—and what kind of damage you’re actually seeing—because the right repair method depends on it. Tap the wall: plaster sounds solid and high-pitched, while drywall sounds hollow between studs. Check edges at an outlet cover (shut power off first): plaster usually shows thick, layered material over wood lath; drywall shows a paper-faced gypsum core. Knowing Plaster history helps—older homes often have lime-based plaster that cracks but can stay bonded.
Then identify damage. Hairline cracks suggest shrinkage or minor movement; wider, stair-step cracks can signal structural shifting. Bubbling, soft spots, or brown stains point to moisture—fix leaks first. Dents and punctures often match drywall installation seams or impact points.
Tools and Patch Materials (Spackle vs Plaster)
Start by gathering the essentials: a putty knife, hawk or mud pan, mixing bucket, sanding block, utility knife, vacuum, and PPE (safety glasses and a dust mask) so you can prep and apply patches cleanly.
Use spackle for small dents and shallow nail holes because it’s easy to spread and sands fast.
But choose plaster for deeper repairs and cracked areas where you need strength and a better match to existing walls.
Pick your patch material based on depth, edge stability, and drying time, and don’t mix products unless the label says it’s compatible.
Essential Repair Tools
Two things decide whether your wall patch disappears or screams “repair”: the right tools and the right filler.
For safe, clean Plaster restoration, wear safety glasses, a dust mask, and gloves before you scrape or sand. Keep a drop cloth down and a vacuum nearby to control fine dust that can irritate lungs.
Stock a 4–6 inch putty knife for tight spots and a 10–12 inch taping knife for feathering edges into existing Wall texture. Use a utility knife to cut back loose material, and a stiff brush to remove chalky dust.
A mixing tray, measuring cup, and margin trowel help you keep batches consistent. Finish with 120–220 grit sandpaper, a sanding block, and a damp sponge for final blending.
Spackle Versus Plaster
Wondering whether spackle or plaster belongs in your patch kit? Spackle is a premixed, lightweight filler you can spread fast with a putty knife for small dents and nail holes. It sands easily and dries quickly, but it isn’t as hard and can shrink if you apply it too thick.
Plaster (setting compound) mixes from powder, sets by chemical reaction, and bonds strongly to existing plaster, making it better for deeper chips and edges. It resists impact and supports Decorative finishes without telegraphing soft spots.
For Historical restoration, plaster also matches older wall behavior and breathability.
Protect yourself: wear a dust mask when sanding, gloves when mixing, and eye protection; clean tools immediately before plaster hardens.
Patch Material Selection
Before you pick up a putty knife, match the patch material to the damage, the surface type, and the finish you plan to apply. Use lightweight spackle for shallow nail holes and minor dents in drywall; it sands fast and shrinks less.
Choose setting-type joint compound for deeper fills or when you need faster, harder cures. On true plaster walls, pick plaster patch or veneer plaster so the repair bonds and moves like the base coat; spackle can crack on larger spots.
Keep a hawk, 4–6 inch knife, sanding block, and vacuum ready, and wear eye protection and a dust mask.
For texture patterns and decorative finishes, test on scrap and prime before topcoats.
Prep the Wall So the Patch Sticks (and Lasts)
Even if you’ve got the perfect patching compound, it won’t hold if the surface is dirty, loose, or dusty. Put on safety glasses and a respirator, then scrape away flaking plaster and paint until you reach firm edges. Vacuum with a brush attachment, wipe with a damp sponge, and let it dry completely—moisture control prevents soft spots and bond failure.
Undercut the perimeter slightly with a utility knife so the patch keys in, not just sits on top. If the wall is glossy or slick, scuff-sand to give it tooth. Seal chalky areas with a bonding agent or primer, then spot-prime any stains.
Mask trim, remove outlet covers, and shut off power if you’re working near wiring. Match wall texture after prep.
Fix Hairline Plaster Cracks So They Don’t Return
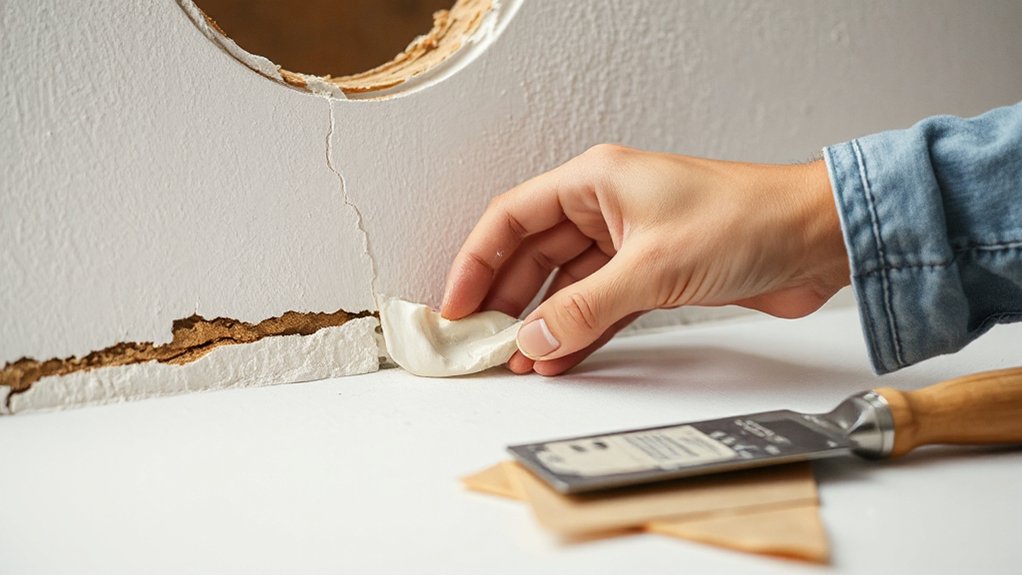
Although hairline plaster cracks look minor, they usually reopen if you just skim on compound and paint. Put on safety glasses and a dust mask, then use a utility knife to V-groove the crack slightly so filler can key in. Vacuum dust, wipe with a damp sponge, and let it dry.
Brush on a bonding agent, then embed fiberglass mesh tape over the crack to bridge movement. Apply setting-type joint compound or patching plaster in thin coats, feathering wide; don’t overwater. After it sets, sand lightly with a sanding sponge and control dust.
Prime before painting. If the crack tracks along an exterior wall, check for shifting wall insulation or moisture that’s causing movement. You’ll keep your plaster art finish crisp.
Patch Nail Holes and Screw Pops Fast
When nail holes or screw pops show up, you can patch them quickly if you stabilize the fastener first instead of just smearing on spackle. Set any proud screw with a driver until it’s snug, then add a second drywall screw an inch above or below to lock the wall tight. Tap nails slightly below the surface with a nail set, or pull and replace with a screw. Wear safety glasses, and vacuum dust before you patch.
Press setting-type joint compound into the divot with a putty knife, then feather edges thin. After it hardens, sand lightly with a dust mask.
For Color matching, prime the spot first; for Texture blending, stipple or swipe to mimic the surrounding finish.
Rebuild Chipped Corners With Tape or Corner Bead
Nail holes and screw pops usually patch flat, but chipped outside corners need structure so the repair won’t crack the next time someone bumps it. Start by scoring loose plaster, then vacuum dust and wear eye protection and a respirator.
For small losses, fold fiberglass mesh tape over the corner, press it tight, and fasten with a few staples or setting-type compound.
For bigger breaks, cut back to solid material and install a metal or vinyl corner bead: plumb it with a level, then screw it into studs or use adhesive rated for plaster. Prime exposed brown coat if needed.
Keep your edge straight for Decorative finishing, and match profiles during historical restoration. Let it set hard before light sanding.
Fill Dents and Divots Level With the Wall
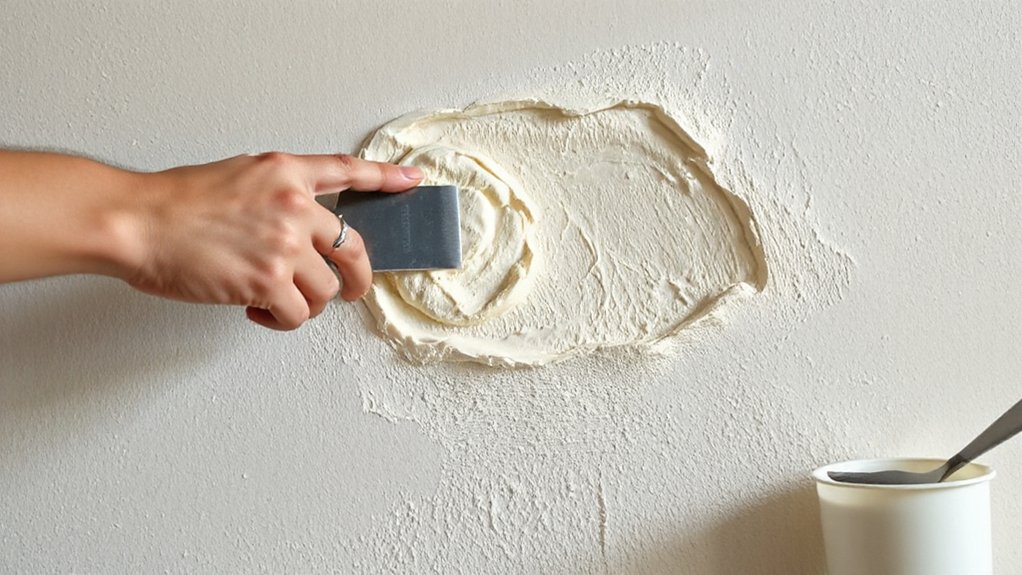
Before you reach for compound, test the dent or divot for loose plaster by pressing around the edges; any movement means you need to scrape back to firm material first. Wear safety glasses and a dust mask, then vacuum debris so filler bonds well.
Lightly dampen chalky plaster with a sponge to reduce suction, especially on older walls used in historical preservation.
If the cavity is deep, prime with a bonding agent and let it get tacky. Pack setting-type joint compound or patching plaster into the void with a putty knife, pushing to eliminate air pockets. Stop when the fill sits just shy of the surrounding surface to protect Decorative finishes from accidental smears.
Clean tools immediately, and keep kids away until it sets.
Feather, Skim, and Sand Repairs Flush
Feather the patch compound past the repair so the edges taper out and won’t telegraph through paint.
If the area still sits proud or low, you’ll skim-coat it in thin passes, letting each one dry fully for a flat, level surface.
Then sand it smooth and flush while wearing a dust mask and eye protection, and use a light to check for ridges or dips.
Apply Feathered Edges
Once your patch compound has set firm, you’ll get the cleanest, most invisible repair by tapering it out into the surrounding wall instead of leaving a hard ridge. Hold a 6–10 in. taping knife at a low angle and pull from the center outward, pressing harder as you reach the perimeter to thin the edge.
Keep your strokes long and consistent, and scrape the blade clean between passes so dried crumbs don’t gouge the surface. For moisture control, don’t feather over damp plaster; dry it and seal stains first or you’ll chase bubbles and weak adhesion.
After it cures, sand lightly with 120–150 grit, wearing a respirator and eye protection. Check with a raking light for texture matching before priming.
Skim Coat For Leveling
Even with well-feathered edges, a patch can still sit a hair proud or leave shallow knife marks, so use a skim coat to bring the whole area perfectly level. Mix setting compound to a creamy consistency, then load a 10–12 inch knife and pull tight passes past the repair, keeping the blade slightly flexed.
Work in thin layers; you’re filling lows, not building thickness. Keep your wrist steady and clean the blade often to avoid ridges. For safety, wear eye protection and a dust mask when mixing, and wipe spills fast since compound gets slick.
If you’re matching Plaster texture, stop once the surface looks uniformly flat. A flatter base also improves Wall color matching later. Let it set fully.
Sand Smooth And Flush
After the skim coat sets hard, how do you get the repair to disappear? Start by checking for moisture damage; if the wall still feels cool or dark, stop and dry it out or you’ll sand soft compound and tear paper.
Put on a NIOSH-rated dust mask and safety glasses, then cover vents and vacuum-ready your sander.
Feather the edges first with 120–150 grit on a sanding block, keeping pressure light so you don’t dish the patch.
Switch to 180–220 grit to blend the perimeter flush with the original plaster.
Use a work light held low to spot ridges, then skim tiny lows and re-sand.
For textured finishes, match the texture after the surface is dead flat and dust-free.
Wipe with a damp sponge, let dry, then prime.
Prime and Paint So Plaster Repairs Vanish
Because fresh patch and old plaster absorb paint differently, you’ll get a visible “halo” unless you prime properly and control sheen. Dust off with a vacuum and tack cloth, then let the repair dry fully.
For texture matching, knock down ridges with a sanding sponge and wipe again so grit won’t telegraph through paint.
Use a stain-blocking or bonding primer suited to plaster; wear a respirator and keep ventilation running.
For primer application, coat the patch plus 6–12 inches beyond it, feathering edges with a mini-roller to mimic surrounding stipple.
Let primer cure, then spot-sand nibs.
Paint with the same nap and sheen as the wall, keeping a wet edge.
Apply two thin coats, and back-roll corners to blend.
Frequently Asked Questions
How Much Does Professional Plaster Repair Typically Cost per Room?
You’ll typically pay $300–$1,500 per room for professional plaster repair, with heavy damage running $2,000+.
For cost estimation, measure affected square footage and note crack depth, loose lath, and moisture issues.
Key pricing factors include prep and containment, height/ceiling access, patch blending, drying time, and repainting.
You should confirm the contractor’s lead-safe practices, ventilation, and cleanup plan, and get itemized quotes before work starts.
Can I Repair Plaster Walls in a Rented Apartment Without Landlord Approval?
You usually shouldn’t repair plaster in a rented apartment without landlord approval, because your lease and rental guidelines may treat alterations as damage.
You can handle minor, reversible fixes: fill hairline cracks with spackle, sand lightly, and touch up paint—use DIY tips like masking edges and vacuuming dust.
Wear a respirator and goggles, and avoid wet sanding near electrical outlets.
For loose plaster, water damage, or lath issues, report it first.
Are Plaster Repair Materials Safe for Homes With Children and Pets?
Yes, plaster repair materials can be safe around kids and pets if you choose and use them correctly. Pick low-VOC, non-toxic compounds labeled Child safe repair and Pet friendly materials, and avoid solvent-based primers.
Ventilate well, wear gloves, and keep children and pets out until patches fully cure and you’ve cleaned all dust.
Store bags and tools sealed, and vacuum with a HEPA filter after sanding.
How Do I Match Decorative Plaster Textures or Ornate Molding Details?
You match decorative plaster textures by taking a silicone putty impression of an intact area, then casting a test patch with setting plaster and adjusting with water, aggregate, or tools until it blends.
For ornate details, you’ll do Molding restoration by making a negative mold, reinforcing casts with fiberglass mesh, and dry-fitting before adhesive.
Wear a respirator, gloves, and eye protection; ventilate and keep kids/pets away.
Seal and paint to match Decorative finishes.
What Signs Indicate Plaster Damage From Structural Movement or Foundation Issues?
You’ll spot structural plaster damage when cracks spread like lightning: long diagonal lines from window/door corners, stair-step cracks, and widening gaps that reopen after patching.
Watch for Foundation shifts signs—doors sticking, sloped floors, separated trim, and ceiling-wall joints pulling apart.
Track Cracking patterns with dated photos and a ruler; sudden growth is a red flag.
If you see bulging, sagging, or hear creaking, limit loads and call a structural pro.
Conclusion
Now you’ve got everything you need to make damaged walls look new again. You identify the surface, you choose the right patch, you prep so it bonds, and you repair cracks, holes, corners, and dents for good. You feather and skim until it’s flush, you sand with a mask and vacuum dust often, and you prime before paint. Work in thin layers, let each coat dry, and your repairs won’t show.