
Choose power tools by matching them to your projects’ materials, cut depth, load, and duty cycle, then prioritize accuracy, dust control, torque, and weather tolerance. Start with a drill/driver, add an impact driver, circular saw, oscillating multi-tool, random-orbit sander, and a shop vac for control and cleanup. Decide corded for sustained power or cordless for mobility, and commit to one battery platform. Pick tools that fit your grip, vibration limits, and safety features—more guidance follows.
Key Takeaways
- Match tool type and power to your projects’ materials, cut depth, accuracy needs, and expected duty cycle.
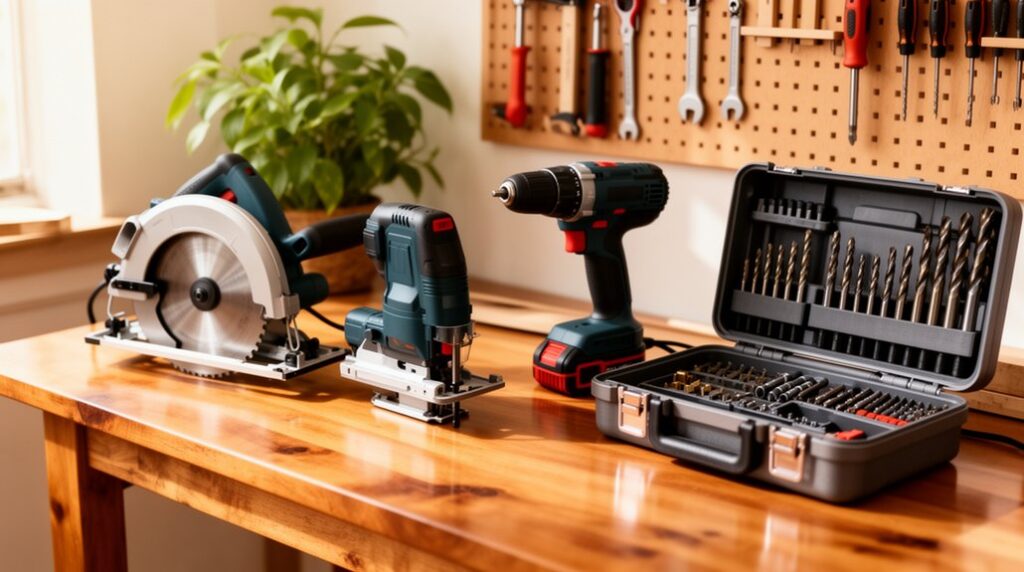
- Start with a core kit: drill/driver, impact driver, circular saw, oscillating multi-tool, random-orbit sander, and shop vacuum.
- Choose corded for sustained heavy loads and cordless for mobility; compare total costs including batteries, chargers, and replacements.
- Commit to one battery platform early, selecting voltage for workload and buying two batteries plus a fast charger for practical runtime.
- Prioritize ergonomics and safety features like guards, riving knives, blade brakes, and electronic clutches; rent specialty tools used rarely.
Match Home DIY Power Tools to Your Projects
Where do you start when every power tool claims it can do it all? You start by listing your projects and the materials: framing lumber, plywood, tile, metal, or masonry.
Match tool capability to load, cut depth, and duty cycle. For cabinetry, you’ll prioritize accurate, splinter-free cuts and dust control; for deck work, you’ll prioritize torque and weather tolerance; for concrete anchors, you’ll prioritize impact energy and the right bit interface.
Specify required tolerances, access constraints, and expected runtime so you don’t overbuy or underpower.
Then verify ecosystem fit: Power tool accessories availability, battery platform compatibility, and standard consumables.
Finally, factor in maintenance routines—brush inspection, lubrication points, filter cleaning, and blade/bit replacement schedules.
Start With the Core Home DIY Power Tools
Before you chase specialty tools, build a core kit that handles most home tasks with predictable accuracy and safe control.
Start with a drill/driver for fastening and pilot holes; add an impact driver only if you regularly drive long screws.
Choose a circular saw for rough sizing sheet goods and lumber, then pair it with a speed square and a straightedge guide for repeatable cuts.
Add an oscillating multi-tool for flush cuts, scraping, and tight detail work, plus a random-orbit sander to level surfaces without gouging.
Round it out with a shop vacuum for dust control and cleanup.
Prioritize Tool storage that protects batteries, bits, and blades, and standardize on accessory compatibility so one set of chucks, shanks, and blades fits across tools.
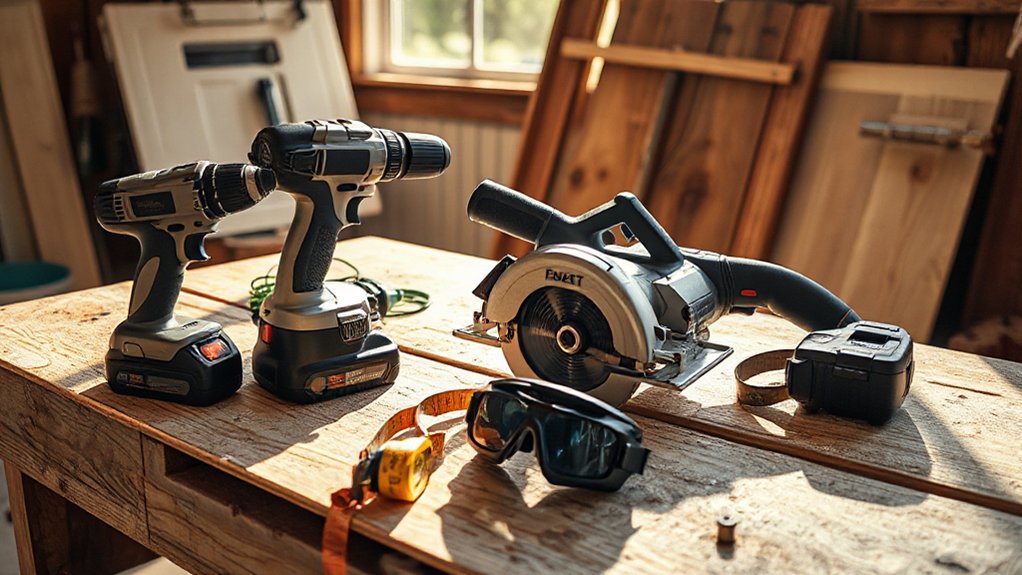
Choose Corded vs Cordless Power Tools
Choose corded tools when you need sustained power and unlimited runtime, and go cordless when mobility and tight workspace access matter more than peak output.
You’ll weigh upfront cost against the long-term expense of batteries, chargers, and replacement packs.
You’ll also plan for maintenance—cord inspection and brush wear for corded tools, versus battery storage, cycle life, and temperature management for cordless platforms.
Power And Runtime Needs
Although both corded and cordless tools can do the job, your choice should start with the actual power draw and how long you need to run the tool without interruption.
If you’ll be cutting dense stock, grinding metal, or mixing mortar, prioritize sustained Power output; a corded motor delivers steady torque without voltage sag.
When you choose cordless, match the platform voltage and amp-hour rating to the load, because high-demand tasks drain Battery life fast and trigger thermal cutoffs.
Compare wattage (corded) or watt-hours (battery) to estimate runtime realistically.
For intermittent work—drilling pilot holes, driving fasteners, quick trim cuts—cordless gives enough burst power, and you can keep a spare pack charging to prevent downtime.
Always check duty cycle and continuous-load ratings.
Mobility And Workspace Access
After you’ve sized power draw and runtime to the job, look at how the tool will physically reach the work area and how much freedom you need to move. If you’re working on a roof, in a crawlspace, or around a vehicle, a cordless tool avoids cord snagging and lets you reposition quickly.
In tight cabinetry or studs, cordless also reduces cable drag and improves Tool portability for one-handed starts.
If you’re near a bench, outlet, or fixed station, corded tools give predictable reach with extension leads and don’t add bulk at the handle. Check access paths: doorways, ladders, and scaffold rails.
Choose Portable storage that keeps the tool, charger, and accessories organized so you can stage gear close to the cut line.
Cost, Batteries, And Maintenance
Where does the money really go once you pick corded or cordless—upfront price, batteries, or long-term upkeep? Corded tools usually cost less per watt and you won’t budget for packs, chargers, or platform lock-in.
Cordless kits can look affordable, but spare batteries, rapid chargers, and higher-torque models raise total cost fast.
For Battery longevity, match pack voltage and amp-hours to your duty cycle, avoid deep discharge, and store cells at partial charge in cool conditions.
Maintenance tips are straightforward: keep vents clear, blow out dust, inspect cords or battery contacts, and replace brushes when specified. You’ll also sharpen accessories and avoid overheating; heat shortens motor life and battery capacity quickly.
Pick a Cordless Battery Platform (Once)
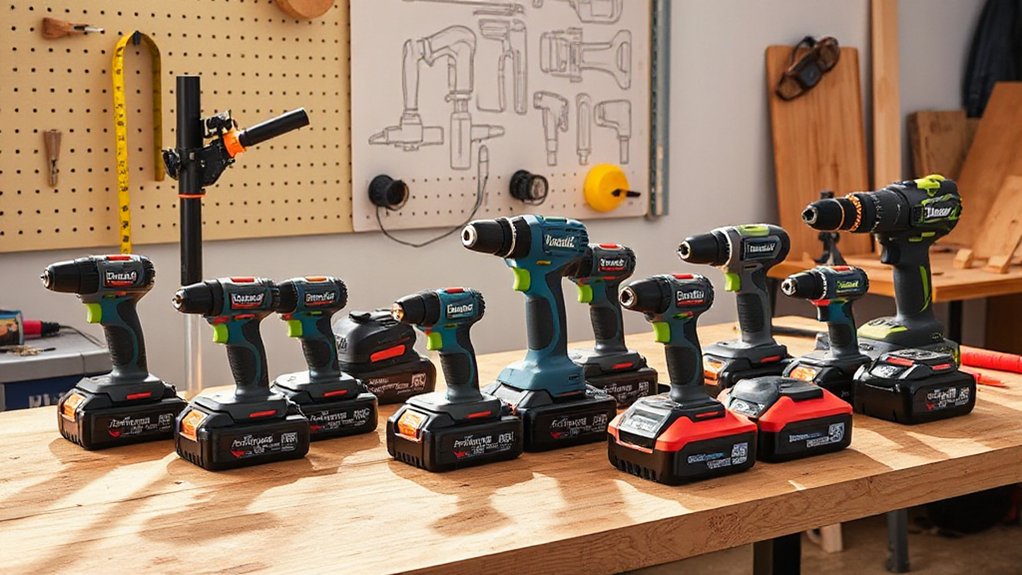
If you’re buying cordless tools, you should commit to one battery platform early because the batteries, chargers, and compatibility matter more than the tool bodies over time.
Start by choosing a voltage class that matches your projects: 12V for light-duty drilling and fastening, 18V/20V for most DIY, and 36V/40V+ for outdoor equipment and high-demand cutting.
Prioritize Battery compatibility across the widest set of tools you’ll realistically add (drill, impact, saw, sander, light, vac). Check pack formats (slide vs stem), charger type, and whether the brand supports backward/forward packs.
Don’t assume Brand interoperability; most packs are proprietary, and adapters add bulk and can disable protections.
Buy two batteries and one fast charger, then expand selectively.
Choose Power Tools by Weight, Grip, and Vibration
Locking in a battery platform sets your long-term costs and compatibility, but the tool still has to fit your hands and your work. Start with weight: a lighter drill reduces fatigue overhead, while a heavier grinder may track straighter on a cut. Check balance with the battery installed; you want the center of mass near your grip, not pulling your wrist.
Next, evaluate grip and ergonomics. An ergonomic design means a handle diameter you can wrap fully, a rubber overmold that doesn’t twist, and controls you can reach without shifting your hand.
Finally, compare vibration. High-frequency buzz numbs your fingers and ruins accuracy, so prioritize vibration control features like counterweights, isolation mounts, and well-damped side handles. Test-run if possible; your hands will tell you.
Prioritize Power Tool Safety Features That Matter
After you’ve sized up weight, grip, and vibration, you need to verify the safety hardware is doing real work. You should insist on essential guarding and shields that fully cover the cutting path, stay aligned under load, and adjust without tools.
You also need built-in kickback protection—such as riving knives, anti-kickback pawls, or electronic stop controls—so the tool reacts fast when the work binds.
Essential Guarding And Shields
While horsepower and battery life grab attention, the guard is the safety feature that decides whether a mistake becomes an injury. Choose tools with blade guards that fully cover the cutting edge at rest and retract only as the workpiece advances. Confirm the guard returns instantly under spring tension and doesn’t bind when you tilt or bevel. Avoid “guard-optional” designs unless the task truly requires removal and the manual defines an approved alternative.
Look for safety shields on grinders, routers, and sanders that block debris without forcing awkward hand positions. Verify the shield locks firmly, adjusts without tools, and won’t slip under vibration.
Inspect material quality: thick polycarbonate or metal resists impact and heat. Finally, check that replacement parts are available and easy to install.
Built-In Kickback Protection
Because kickback happens faster than you can react, you should prioritize tools with built-in systems that reduce the chance of binding and limit the force if it occurs.
For circular saws and table saws, choose models with riving knives, anti-kickback pawls, and blade brakes; they keep the kerf open and stop the blade quickly.
On grinders and drills, look for electronic clutch control and torque limiting so the motor disengages when the bit grabs.
For chainsaws, prefer chain brakes and low-kickback bars.
Verify Kickback safety features are tool-integrated, not optional add-ons, and test that they reset reliably.
You should also check spec sheets for reaction-time ratings and brake stop times.
These built-in mechanisms reduce injury risk and improve control.
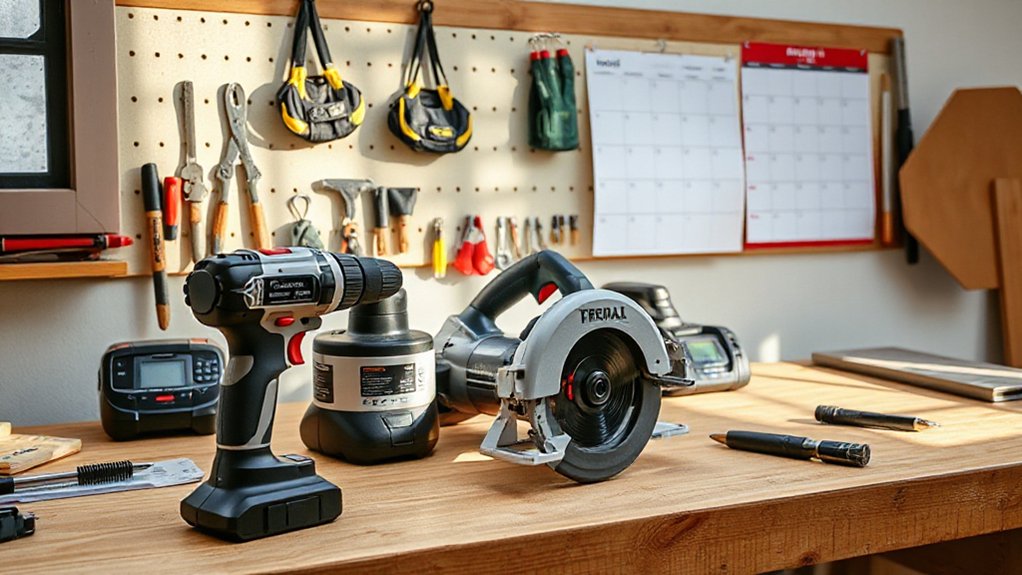
Set a Home DIY Power Tool Budget by Tiers
If you set your home DIY power tool budget in clear tiers, you’ll buy what you’ll actually use and avoid overspending on pro-grade features you won’t need. Start with a Starter tier for core tasks: drill/driver, impact driver, and a compact circular saw on one battery platform.
Allocate funds for Power tool accessories—quality bits, blades, and sanding discs—because they control cut speed, finish, and safety.
Add Storage solutions early: a stackable case system or wall-mounted rails prevents damage and saves setup time.
Move to a Plus tier for accuracy and dust control: random-orbit sander, oscillating multi-tool, shop vac, and a better charger.
Reserve a Premium tier for high-duty tools and extra batteries only when your workload justifies them.
Track total cost per project.
Rent or Delay These Power Tools Until Needed
Even with a solid tiered budget, you shouldn’t buy every specialty tool up front—some make sense only when a specific project demands them. Delay high-cost, low-frequency tools like a tile saw, flooring nailer, drain auger, rotary hammer, and large compressor.
These tools also impose Tool storage burdens: they’re bulky, heavy, and need protected space to prevent rust and calibration drift. Use Rental timing to match the work window: reserve for the exact days you’ll cut, drill, or nail, then return immediately.
Before renting, confirm power requirements, blade/bit availability, and accessory compatibility with your fasteners and materials. If you’ll use a tool fewer than 2–3 times per year, rent; if the schedule’s flexible, wait.
Frequently Asked Questions
How Do I Maintain and Store Power Tools to Prevent Rust?
Wipe tools after use, then apply a light rust inhibitor or machine oil to exposed metal.
Store them in a dry, temperature-stable cabinet with desiccant packs; don’t leave them on concrete.
Keep cases clean and vents dust-free for tool safety.
For battery maintenance, remove packs for long storage, charge to 40–60%, and store cool.
Inspect cords, chucks, and fasteners regularly, and address moisture immediately.
What Accessories and Bits Should I Buy First for Each Tool?
Start with a core accessory set per tool. For a cordless drill, buy quality drill bits (HSS, brad-point, and masonry), plus a magnetic bit holder and driver-bit set.
Add a countersink and a pocket-hole jig if you build furniture.
For an impact driver, get impact-rated bits and nut drivers.
For a circular saw, add a fine-tooth blade and a rip guide.
Always match shank type and speed rating.
How Can I Tell if a Used Power Tool Is Still Reliable?
Think of it like a used car: you inspect, you test, you verify. You can tell a used power tool’s reliable by checking run-up smoothness, abnormal heat, sparking at brushes, bearing play, and switch/trigger response.
Test it under load and listen for grinding or speed sag. Inspect cord, battery terminals, and housing cracks.
Confirm Power tool warranties transferability and parts availability. Weigh Brand reputation and service-network support before buying.
What Extension Cords and Power Strips Are Safe for High-Draw Tools?
Use heavy-duty, grounded cords rated 15A or 20A and keep runs short.
For high-draw tools, choose 12 AWG (or 10 AWG for long lengths); match extension gauge to distance to prevent voltage drop and overheating—core cord safety.
Avoid daisy-chaining strips or cords.
Use power strips only if they’re industrial, UL/ETL listed, with a breaker; don’t use surge strips for motors.
Inspect plugs, jackets.
How Do I Reduce Noise and Dust When Using Power Tools Indoors?
Reduce noise by using Soundproofing methods: close doors, hang moving blankets, seal gaps with weatherstripping, and place tools on rubber mats to cut vibration.
You’ll also lower SPL by choosing lower-RPM blades and keeping cutters sharp.
Control debris with Dust extraction techniques: connect a HEPA shop vac to shrouds, use a cyclone separator, and run a filtered air scrubber.
Contain dust with plastic barriers and tack mats.
Conclusion
Choose power tools the way you plan projects: start with core essentials, then add specialty tools only when your work demands them. You’ll decide corded vs cordless based on runtime and access, then commit to one battery platform to cut costs and clutter. Test weight, grip, and vibration so you stay accurate and fatigue less. Don’t ignore guards, brakes, and kickback control—they’re nonnegotiable. Set tiered budgets, rent rarely used tools, and you’ll be unstoppable.

