
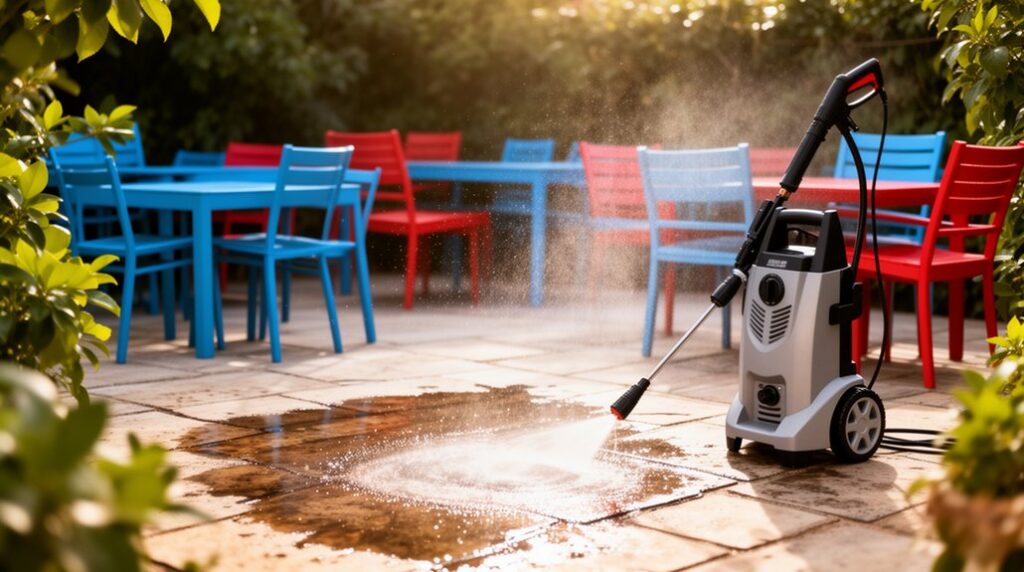
Wear goggles, gloves, closed-toe shoes, and hearing protection, then inspect hoses and the trigger lock. Keep others back and start with a hidden test spot. Use the lowest PSI that works and a wide fan tip (25° or 40°), staying 2–3 feet away at a 25–45° angle while you keep the wand moving. Tape off windows, outlets, and gaps. Let detergent dwell 5–10 minutes, then rinse gently—more tips follow.
Key Takeaways
- Wear PPE, inspect hoses/fittings, and start with a hidden test spot to confirm the surface won’t etch or strip.
- Choose the lowest effective PSI for the material and use wider fan tips (25°–40°) instead of narrow 0° or 15°.
- Hold the wand 2–3 feet away, spray at a 25–45° angle, and keep moving to avoid cutting grooves or fuzzing fibers.
- Protect vulnerable areas by sealing windows, covering outlets/fixtures, and taping gaps to prevent water intrusion behind siding.
- Use the right detergent, apply bottom-up, let it dwell 5–10 minutes, and rinse with lower pressure rather than increasing PSI.
Pressure Washer Safety Basics (PPE + Test Spot)
Before you squeeze the trigger, how do you keep a pressure washer from turning a quick clean into damage or injury? Suit up and set up. Wear safety goggles to block grit and ricocheted debris, and use PPE gloves for grip and to protect against cuts, hot fittings, and chemical residue. Add closed-toe shoes, long pants, and hearing protection, and tie back hair.
Check the wand, hose, and fittings for cracks or leaks, then confirm the trigger lock works. Keep pets and bystanders back, and never point the nozzle at skin.
Start with a test spot in a hidden corner: hold the wand steady, keep distance consistent, and watch for etching, paint lift, or fiber fraying before continuing.
Pick the Right PSI for Each Surface
Because too much pressure can scar, splinter, or strip a surface in seconds, match your PSI to what you’re cleaning instead of defaulting to the machine’s maximum. Start low, then increase only until grime releases; if you’re forcing it, you’re likely etching or shredding fibers.
For cars, painted siding, and windows, stay around 1,200–1,900 PSI.
For decks and fences (especially softwood), aim for 500–1,500 PSI and keep extra distance to avoid furrowing.
For concrete driveways and pavers, 2,000–3,000 PSI usually works; don’t exceed what’s needed near edges or joints.
For brick and older mortar, keep it 1,500–2,500 PSI.
Prioritize Surface compatibility for damage prevention.
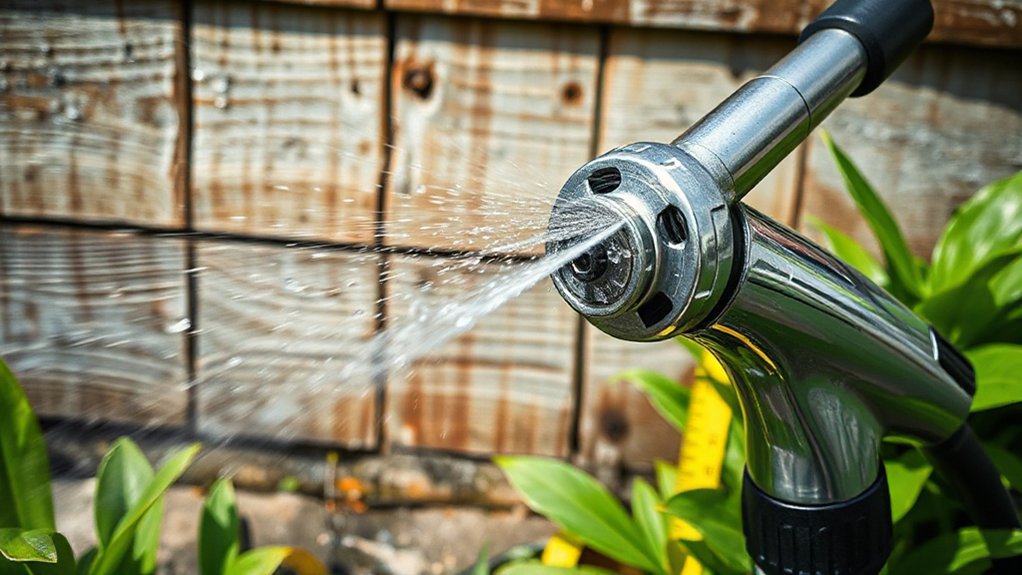
Choose the Right Pressure Washer Nozzle (Color Guide)
Although your PSI setting matters, the nozzle you snap on controls how that pressure hits the surface, so choose it by color to avoid gouging, etching, or peeling finishes.
Red (0°) delivers a pinpoint spray pattern and can cut wood, strip paint, and scar concrete—avoid it for cleaning.
Yellow (15°) is aggressive for tough stains on hard masonry only.
Green (25°) is your safer all‑purpose option for siding, fences, and decks when you’ve already confirmed the surface can handle washing.
White (40°) spreads force wide for delicate rinsing on windows, cars, and painted surfaces.
Black (65°) is for soap application.
Match nozzle material to the job: stainless resists wear and keeps the spray pattern consistent; worn brass tips widen unpredictably, raising damage risk.
Set Pressure Washer Distance and Spray Angle
Once you’ve picked the right nozzle, control damage risk by managing how close you stand and the angle you spray. Start 2–3 feet back and test a small, inconspicuous spot, then move in slowly only if grime remains.
Keep steady distance control by locking your stance, using two hands, and sweeping side to side instead of lingering on one point.
Aim for a 25–45° spray angle on most siding, decks, and concrete so water lifts dirt without driving it into seams or etching surfaces. Avoid spraying straight-on at soft wood, painted areas, or mortar joints.
If you see fuzzing, stripping, or pitting, back up immediately and widen your sweep pattern.
Prep Windows, Outlets, and Gaps to Block Water
Good distance and spray angle reduce surface damage, but water can still sneak behind trim and into your home if you don’t seal vulnerable openings first.
Start with Window sealing: shut and lock windows, check weatherstripping, and tape plastic sheeting over frames and weep holes. Don’t aim spray at seams, sashes, or cracked glazing.
Next, do Outlet covering: switch off power to exterior receptacles, close in-use covers, and tape plastic tightly around box edges and conduit entries. Wrap doorbells, cameras, and light fixtures the same way.
Walk the wall and fill gaps at siding joints, hose bibs, vents, and pipe penetrations with removable painter’s tape or temporary plugs. Cover basement window wells and keep downspouts pointed away.
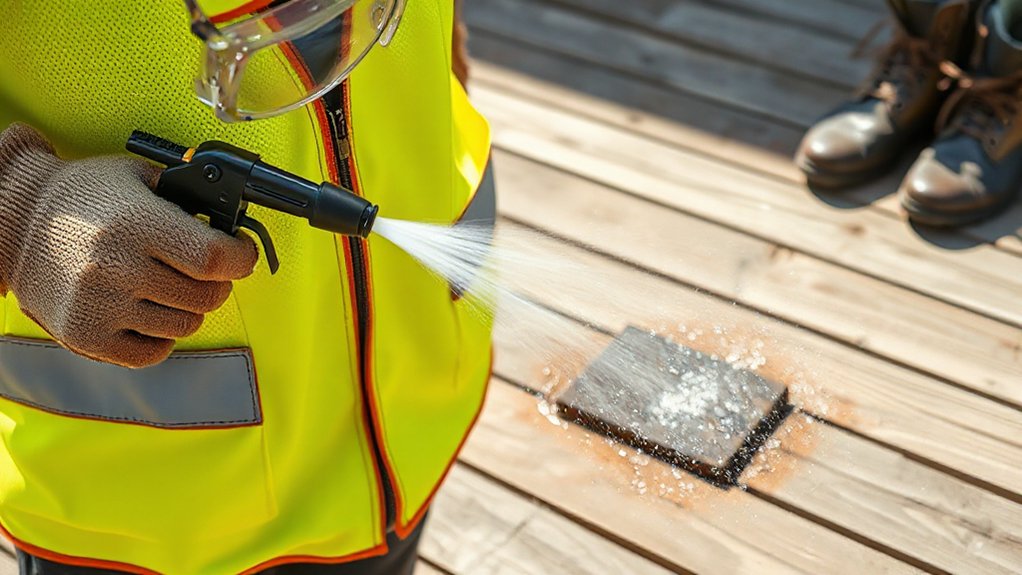
Use Detergent and Dwell Time (Not More PSI)
Instead of cranking up PSI when grime won’t budge, let detergent chemistry and dwell time do the work so you don’t scar paint, etch concrete, or force water behind siding.
Start with the right cleaner for the soil (oil, mildew, road film) and confirm it’s compatible with your washer and downstream injector.
For detergent application, spray from bottom up to prevent streaking and keep the surface evenly wet. Let it sit long enough to loosen contaminants—typically 5–10 minutes—but don’t let it dry; mist lightly if sun or wind accelerates evaporation.
Work in sections you can rinse immediately. Rinse with lower pressure and a wider fan tip, keeping the wand moving and a safe standoff distance.
Wear gloves and eye protection.
Clean Wood, Concrete, and Paint Without Damage
To clean wood, concrete, and painted surfaces without damage, you’ve got to match the nozzle tip to the material and start with a wider spray for control.
Set the pressure low first, then increase only as needed to lift grime without etching concrete, fuzzing wood, or stripping paint.
Keep a steady, safe spray distance and test a small hidden spot so you don’t gouge, chip, or peel the surface.
Choose Safe Nozzle Tips
Because the nozzle tip controls spray angle and impact force, choosing the right one is your first line of defense against gouged wood, etched concrete, and peeled paint. Start by confirming nozzle compatibility with your wand and quick-connect; a loose tip can blow off and become a hazard.
Use wider-angle tips for general rinsing and delicate surfaces, and reserve narrow tips only for stubborn grime on durable materials. Check the spray pattern on a safe test area and keep it even; a distorted fan often signals a clogged or worn orifice.
Avoid turbo/rotary tips on painted or soft wood unless the manufacturer approves. Replace damaged tips, and store them clean so debris doesn’t turn into surface-scarring grit.
Set Proper Pressure Levels
Before you squeeze the trigger, set your pressure so the water removes grime without chewing up the surface. Start with the lowest PSI your washer allows, then increase in small steps until dirt lifts. This pressure calibration prevents gouges in wood, etching on concrete, and peeling paint.
Check your manual for adjustable unloader or dial settings, and match them to the job: wood typically needs low to moderate PSI, painted surfaces need low PSI to protect edges, and sound concrete can take higher PSI if it isn’t cracked or spalling.
If you’re unsure, choose the gentler setting and rely on detergent and dwell time. Always wear eye protection and gloves, and never exceed the surface compatibility limits you’ve tested.
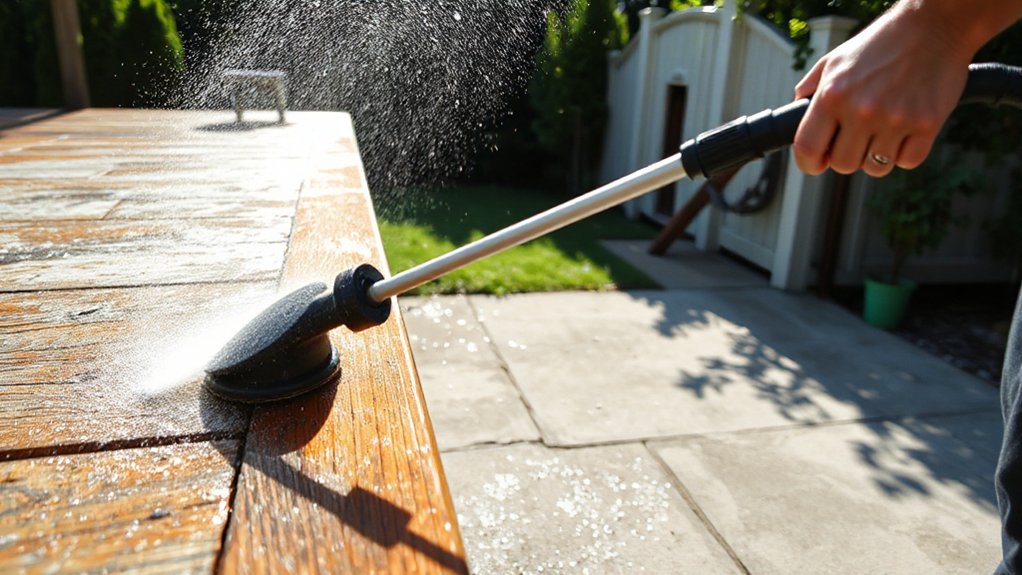
Use Correct Spray Distance
Once you’ve dialed in a safe PSI, control the spray’s cutting power by managing distance: the closer you get, the more likely you’ll furrow wood grain, etch concrete, or lift paint edges. Start 18–24 inches back, test a small spot, then move in only until grime releases.
Keep the wand moving in smooth passes; don’t dwell on one point. Match your spray pattern to the material: use a wider fan for wood and paint, and reserve tighter angles for stubborn concrete stains.
On painted surfaces, stay farther back and work at a shallow angle to avoid peeling. Don’t rely on hot water; higher water temperature can soften coatings and raise wood fibers. If marks appear, back off immediately.
Frequently Asked Questions
Can I Use Hot Water in My Pressure Washer for Faster Cleaning?
Yes, you can use hot water, but only if your pressure washer is rated for it. Check the manual for maximum inlet temperature and hose/seal compatibility, or you’ll damage the pump.
Hot water boosts cleaning efficiency on grease and oily grime, so you can use lower pressure and less detergent.
Start warm, not boiling, wear gloves and eye protection, and keep the wand moving to avoid burns and warped surfaces.
How Do I Winterize and Store a Pressure Washer to Prevent Damage?
You’ll winterize and store your pressure washer by draining water, adding pump antifreeze, and protecting fuel systems.
One frozen ounce of water can expand about 9%, enough to crack fittings like a tiny wedge.
For Winter preparation, shut off, disconnect hoses, squeeze the trigger to relieve pressure, then drain pump and wand.
Run RV antifreeze through the inlet.
For storage techniques, stabilize or drain fuel, change oil, clean filters, coil hoses loosely, and store indoors.
What Hose Length and Diameter Prevent Pressure Loss and Pump Strain?
Use a 25–50 ft pressure hose in 1/4 in ID for most 2–3 GPM units.
Go to 3/8 in ID if you must run 75–100 ft or higher flow to prevent pressure loss and pump strain.
Choose high hose durability (steel-braided, rated above your PSI) and avoid tight coils.
Pair proper nozzle selection with the hose to reduce load; don’t “fix” drop with smaller tips.
When Should I Avoid Pressure Washing Due to Weather or Temperature?
Over 30% of pressure-washing mishaps happen in poor conditions, so avoid washing during storms, high winds, or lightning. Weather hazards like gusts can blow spray back, and rain can make surfaces slick.
Skip it in freezing temps or when temps hover near 32°F—Temperature risks include ice, brittle hoses, and pump damage.
Also avoid extreme heat; hot surfaces flash-dry detergent and can cause streaks and burns.
How Do I Prevent Pump Overheating When Using a Trigger-Stop Gun?
Prevent pump overheating by avoiding long idle periods with the trigger released. If you must pause, shut the washer off or switch to a bypass/cool-down mode. Then squeeze the trigger briefly every 20–30 seconds to move fresh water.
Keep water supply fully open and hoses unkinked.
Do regular pump maintenance: check oil (if applicable) and clean inlet filters.
Practice trigger safety and lock the gun during breaks.
Conclusion
You’ve got a pressure washer, not a medieval lance, so don’t joust your siding. Put on PPE, hit a test spot, and match PSI and nozzle to the surface. Stand back, keep a shallow angle, and let detergent dwell instead of cranking pressure like a villain. Tape off outlets, cover windows, and block gaps so water doesn’t move in. Treat wood, concrete, and paint gently—you want clean, not “oops.”

