
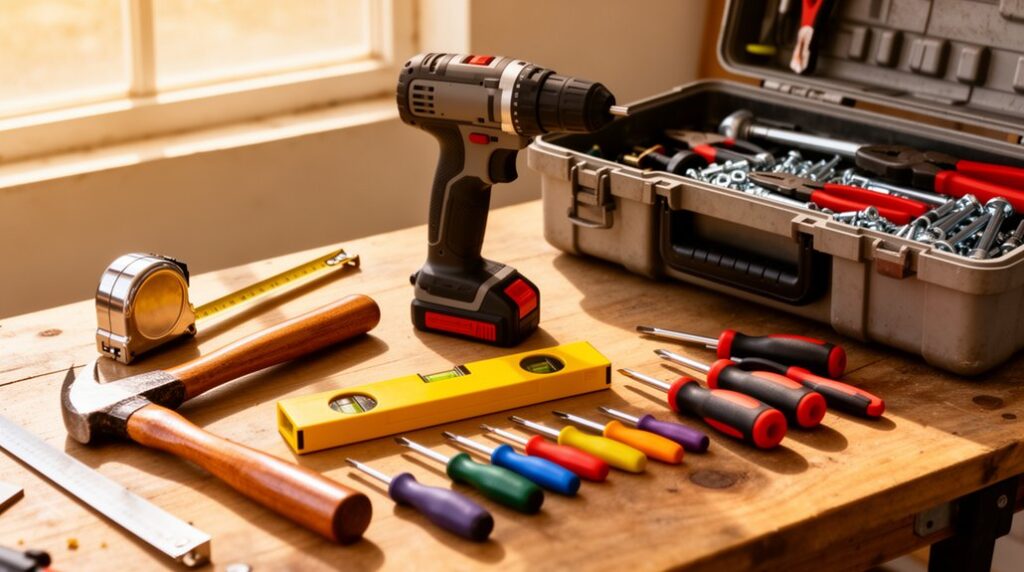
Start with a 25‑ft tape measure, combination square, torpedo level, carpenter’s pencil, and a utility knife with spare blades for accurate layout. Add a 16‑oz claw hammer, Phillips/flat screwdrivers, adjustable wrench, slip‑joint and needle‑nose pliers, hex keys, and a handsaw. For faster fixes, get an 18V–20V drill/driver with a clutch and quality bits plus a couple clamps. Don’t skip safety glasses and hearing protection—next you’ll see how to choose and maintain them.
Key Takeaways
- Start with measuring and layout tools: a 25-foot tape measure, combination square, and torpedo level for accurate, repeatable work.
- Buy a sharp utility knife with spare blades, plus a carpenter’s pencil and fine-tip marker for clean marking and cutting.
- Add essential hand tools: a 16-ounce claw hammer, Phillips/flat screwdrivers, and an adjustable wrench for most household repairs.
- Get gripping tools and clamps: slip-joint and needle-nose pliers, plus two 6–12 inch quick-grip clamps for holding and alignment.
- Choose a cordless drill/driver with adjustable clutch and quality bits, and prioritize safety gear like ANSI glasses, hearing protection, and a dust mask.
Starter DIY Toolkit: Core Beginner Tools
If you’re building your first DIY toolkit, start with a small set of reliable hand tools that cover measuring, cutting, fastening, and basic repairs. Keep a 25-foot tape measure, a combination square, and a utility knife with spare blades for accurate layout and clean cuts.
Add a 16-ounce claw hammer, a set of screwdrivers (Phillips and flat), and a compact adjustable wrench for common household fasteners.
Include slip-joint pliers, needle-nose pliers, and a torpedo level to grip, bend, and align parts.
Round it out with a small set of hex keys and a hand saw for trim.
Prioritize Tool maintenance: wipe metal, oil pivots, and replace dull blades.
Improve storage organization with a labeled box and dividers.
How to Pick Beginner Tools (and What to Skip)
Before you buy another shiny tool, match each purchase to the jobs you’ll actually do and the materials you’ll work on most. If you hang shelves, prioritize a drill/driver, stud finder, and a level. If you patch drywall, add a putty knife and sanding block.
Choose tools with common consumables (standard bits, blades) so replacements are easy and cheap. Compare features that matter: variable speed, comfortable grip, and clear measurement markings.
Start with one reliable corded tool or a single battery platform to avoid scattered chargers. Look for budget friendly options from reputable house brands, but skip ultra-cheap no-name kits with soft steel.
Plan Tool maintenance: wipe, oil pivots, store dry, and replace worn accessories early.
Safety Gear for Beginner DIY Projects
Although new tools feel like the big purchase, the most important upgrade you can make as a beginner DIYer is a basic set of safety gear you’ll actually wear every time. Start with ANSI-rated safety glasses, hearing protection, and snug work gloves that still let you grip fasteners and handles.
Add a well-fitting dust mask or respirator for sanding, drywall, and cutting, plus knee pads for floor work. Keep a small first-aid kit and a fire extinguisher nearby, and tie back hair and remove jewelry before you start. Treat this as personal protective equipment, not optional accessories.
Use a simple safety checklist: eye, ear, lungs, hands, and workspace clear. You’ll work faster, make fewer mistakes, and finish without preventable injuries.
Beginner Tools for Measuring and Marking
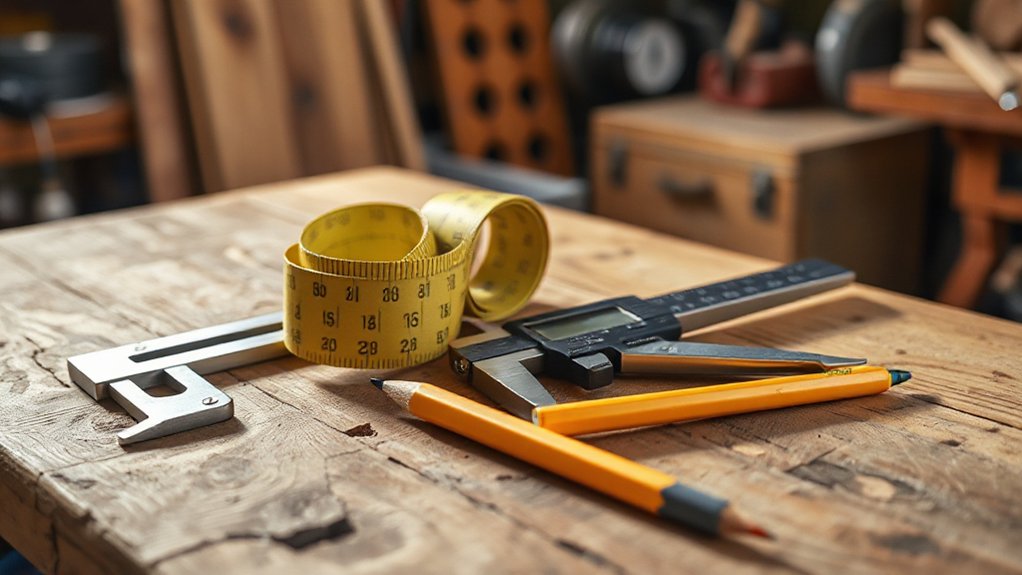
After you’ve got safety gear covered, you need measuring and marking tools that keep every cut and hole on target.
Start with a reliable tape measure (clear markings, solid lock, sturdy blade), then add marking tools that stay sharp and visible like a carpenter’s pencil, fine-tip marker, and chalk line.
Round out your kit with a speed square and combination square for repeatable layout, plus a torpedo level to confirm plumb and level before you fasten anything.
Essential Tape Measure Picks
Whether you’re hanging shelves or laying out a cut line, a reliable tape measure sets the accuracy ceiling for every DIY project you tackle. Choose a 16-foot or 25-foot tape with clear, high-contrast markings, a stiff standout, and a durable blade coating so you can read it fast and hold it steady one-handed.
For better measuring accuracy, look for a true-zero hook that slides smoothly, plus a standout you can trust without blade sag. A compact case fits your pocket, while a rubber overmold survives drops.
Pick a model with fractional markings if you’re learning, or add metric if you work from plans.
For tape measure maintenance, keep the blade clean and dry, retract it gently, and replace it if the hook loosens or the blade kinks.
Marking Tools For Accuracy
When your measurements are solid, the right marking tool keeps your layout lines just as precise from plan to cut. Start with a sharp carpenter’s pencil for rough layout, then switch to a mechanical pencil for fine lines on trim, cabinets, and hardware locations.
For cut lines, use a utility knife to score fibers; it reduces tear-out and gives you a crisp reference edge. Keep a fine-tip permanent marker for labeling parts, not cut marks, because the line’s too wide.
A chalk line helps on long runs, but snap lightly and seal the chalk with a quick pass of clear tape when you need the mark to last.
Accuracy tips: sharpen often, mark on the waste side, and confirm the line before cutting.
Squares And Levels Basics
Because even a perfect measurement fails if your layout isn’t square or level, a few basic squares and a reliable level belong in every beginner kit.
Start with a 7-inch speed square for quick 90° and 45° lines on lumber; it also helps you mark consistent stair stringer or rafter angles.
Add a 12-inch combination square to set repeatable depths, check squareness inside corners, and verify blade alignment on saws for better measuring accuracy.
For leveling, a 24-inch bubble level covers most shelves, frames, and trim; longer levels help with walls and doors.
Before level installation, check your level on a flat surface, flip it end-to-end, and confirm the bubble reads the same.
Use shims to correct, then fasten.
Beginner Tools for Fastening: Screwdrivers and a Drill
For most home projects, you’ll rely on a few essential screwdriver types: Phillips and flathead in multiple sizes, plus Torx or square (Robertson) if you work with modern fasteners.
Match the driver tip to the screw head and use a comfortable, full-size handle so you can apply torque without stripping.
When you add a cordless drill/driver, choose an 18V or 20V-class model with an adjustable clutch, two speeds, and a quality bit set so you can drive screws consistently and still drill clean pilot holes.
Essential Screwdriver Types
Although a drill can handle plenty of driving tasks, you’ll still rely on a few core screwdriver types for control, tight spaces, and fast fixes. Start with a #2 Phillips and a 1/4-inch flathead; they cover most outlet plates, cabinet hardware, and small fixtures.
Add a stubby driver for cramped corners and a long-shank driver for recessed screws. Keep a precision set for electronics, hinges, and eyeglasses-style fasteners.
Choose handles with solid Screwdriver ergonomics: a grippy, slightly oversized shape reduces wrist strain and helps you apply torque without cam-out.
A multi-bit driver expands the types of screwdriver bits you can carry, but keep dedicated drivers for heavy use. Always match tip size to the screw and keep tips sharp.
Choosing A Cordless Drill
Once you’ve got a few dependable screwdrivers, a cordless drill/driver becomes the tool that speeds up repetitive fastening and handles tougher screws without wearing out your wrist.
Choose a Cordless drill with a 3/8-inch or 1/2-inch keyless chuck, two speeds, and an adjustable clutch so you don’t strip screw heads.
Aim for 18V–20V class power for general home tasks, and buy into a battery platform you’ll expand later.
Look for a compact body, comfortable grip, and an LED for cabinets and tight corners.
Prefer a brushless motor if your budget allows; it runs longer and cooler.
Start with quality drill bits: a basic twist set, driver bits, and a countersink for clean holes.
Beginner Tools for Cutting Wood and Drywall
When you start cutting wood or drywall, the right beginner-friendly tools keep your lines straight, your hands safe, and your project moving without costly mistakes.
For wood, start with a 25-foot tape measure, a speed square for quick 90°/45° marks, and a sharp pencil or marking knife. A compact circular saw handles sheet goods, while a basic handsaw works for small cuts; always set blade depth just past the material for woodworking safety.
Add a retractable utility knife with extra blades for drywall scoring, plus a drywall saw for outlet cutouts. Use a straightedge and score twice before snapping—reliable drywall installation tips that reduce ragged edges and extra mud work.
Beginner Tools for Gripping and Pulling: Pliers and Clamps
If you can grip a fastener firmly and hold parts in place before you drive a screw or add glue, you’ll work faster and make cleaner, safer assemblies.
Start with slip-joint pliers for general grabbing, needle-nose pliers for tight spaces and wire bends, and locking pliers when you need hands-free clamping on stubborn parts.
Add adjustable tongue-and-groove pliers for larger diameters, but avoid crushing soft fittings.
For clamps, buy two 6–12 inch quick-grip bar clamps and a pair of spring clamps; they’ll align boards, hold trim, and steady repairs while adhesives cure.
Prioritize Grip strength by choosing comfortable, non-slip handles and jaws with sharp serrations.
Practice Tool maintenance: wipe jaws, oil pivots, and store clamps tension-free.
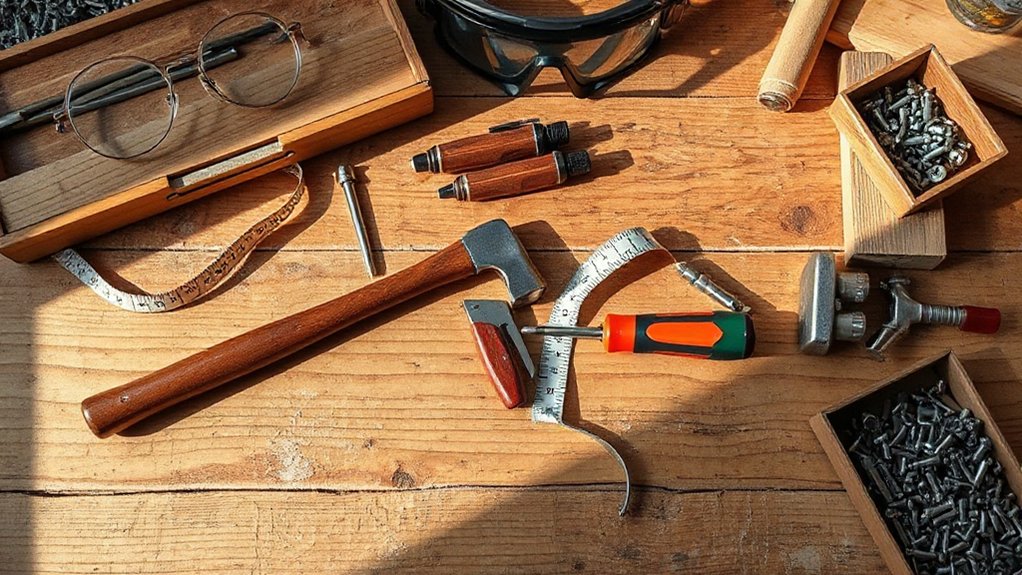
Beginner Tools for Hammering: Nails, Anchors, and Fixes
Although screws get most of the spotlight, a basic hammering kit lets you hang hardware quickly, set anchors in masonry, and make small fixes without overthinking the fastener.
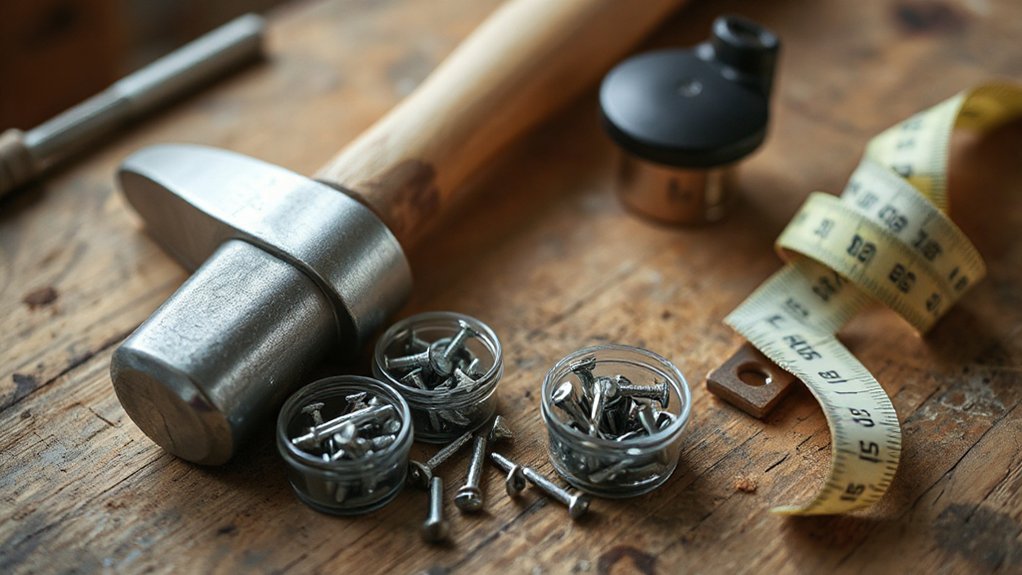
Start with a 16‑oz claw hammer; it’s light enough for trim yet drives framing nails when needed. Keep a nail set to sink heads cleanly below the surface and protect wood from dents.
Learn the main Types of nails: finish nails for trim, brads for delicate pieces, and common nails for structural work.
For drywall and tile, stock wall anchors: plastic expansion for light loads, toggle bolts for shelves, and masonry anchors for concrete or brick.
Pre-drill near edges, tap straight, and pull bent nails with the claw.
Frequently Asked Questions
How Should I Store Tools to Prevent Rust and Dulling?
Store your tools clean, dry, and protected: wipe off moisture, then apply a light oil or corrosion inhibitor for rust prevention.
Keep blades sheathed and edges separated so they don’t knock together and dull.
Use tool organization—drawers with liners, pegboards, or cases—to prevent contact and dust buildup.
Add silica gel or a dehumidifier in damp areas, and avoid concrete floors by using shelves or cabinets.
Check monthly.
What’s a Realistic Starter Budget for DIY Tools?
You can start realistically with $150–$300; think of it as laying a first brick in your workshop’s foundation.
Use Budget planning: spend $80–$150 on a drill/driver and bits, $40–$80 on a quality tape, level, and square, $20–$50 on screwdrivers/pliers, and $20–$40 on a hammer and utility knife.
Don’t skip Tool safety: add $15–$30 for glasses and gloves.
Should I Buy Used Tools, and How Do I Inspect Them?
Yes, you should buy used tools if you inspect them carefully and factor in tool resale value.
Use inspection techniques: check casings for cracks, cords for cuts, switches for crisp action, and bearings for wobble. Plug in power tools; listen for grinding and smell for burning.
Verify batteries hold charge and chargers don’t overheat.
For hand tools, check straightness, rust pitting, and tight fasteners. Test under light load.
Which Brands Offer the Best Warranties for Beginners?
Start with brands known for strong warranties: DeWalt (3-year limited plus 1-year service), Milwaukee (often 5-year on tools), Makita (3-year), and Ridgid (Lifetime Service Agreement if you register).
For hand tools, Craftsman and Husky offer easy lifetime replacement.
You’ll protect your budget and Tool safety by getting predictable support.
Check brand reputation, read warranty exclusions, keep receipts, and register immediately after purchase.
How Do I Maintain and Clean Tools After Each Project?
Like brushing your teeth, you maintain and clean tools by doing a quick routine after every project.
Unplug or remove batteries, then wipe dust and residue with a dry rag; use mild soap for grime and dry fully.
Lightly oil metal parts to prevent rust, and check edges for nicks.
Inspect safety gear for damage.
Reset workspace organization: coil cords, store bits, and return tools to cases.
Conclusion
With these beginner tools, you’ll feel like you can fix practically anything in your house—maybe even the neighbor’s too. Stick to the core kit: measure and mark accurately, fasten with a solid screwdriver set and a reliable drill, cut cleanly, grip securely, and hammer with purpose. Don’t skip safety gear; one pair of glasses can save you a lifetime of regret. Start small, buy smart, and you’ll build confidence ridiculously fast.

