
Start with a 60-second setup: clear the bench, route cords, clamp the work, and wear eye/ear protection. Check the battery, seat the bit fully, tighten the chuck, and remove the key. Match the drill to the job (driver, hammer, rotary) and the bit to the material. Mark and punch, hold the drill square, and start slowly to dimple. Set low clutch first, then increase; use slow speed for metal/large bits and pulses for masonry—keep going for material-specific techniques and fixes.
Key Takeaways
- Clear and clamp the workspace, route cords, wear PPE, and keep hands out of the bit’s path.
- Inspect drill, battery, and bit; seat and tighten the bit fully, remove chuck key, and test settings on scrap.
- Match drill and bit to material: brad-point for wood, HSS/cobalt for metal, carbide and hammer mode for masonry.
- Start slow to establish the hole, keep the drill perpendicular, then increase speed with steady pressure and a two-hand grip.
- Use correct speed and clutch: low speed/high torque for driving or large bits, high speed for small bits, and stop if overheating.
Drill Safety Basics and the 60-Second Setup
Before you pull the trigger, take 60 seconds to set up the drill and your work area so you don’t lose control of the tool. Clear the bench, route the cord (or set the battery) so it can’t snag, and clamp the workpiece so it can’t spin or lift. Confirm the bit is straight, fully seated, and tightened; remove the chuck key.
Set the torque/clutch low for first contact, then increase as needed.
Put on Personal protective equipment: safety glasses, hearing protection, and a dust mask for masonry or treated wood. Tie back hair, remove jewelry, and brace with two hands.
For Battery maintenance, inspect for cracks, wipe contacts, charge on a nonflammable surface, and stop if it overheats.
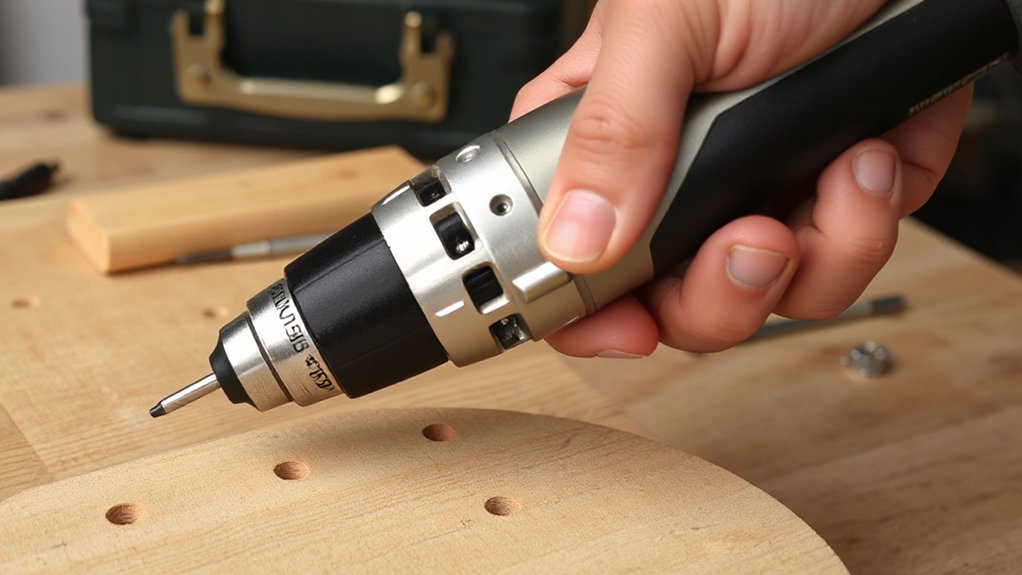
Choose the Right Drill (Driver vs Hammer vs Rotary)
Next, you’ll choose the right drill type: use a drill/driver for wood, metal, and fasteners. A hammer drill is suitable for masonry with light percussion. A rotary hammer is designed for concrete with true piston impact.
Match the tool to the material first, then confirm the bit system (chuck vs SDS) and set the clutch, speed, and mode before you pull the trigger.
If the job needs more impact or power than your drill can deliver, stop and switch tools to prevent bit binding, kickback, and overheating.
Drill Types Compared
How do you choose the right drill without wasting time or damaging the workpiece? Start by comparing how each tool delivers torque and impact, then pick the safest control level you can manage.
For routine holes and fasteners, use a drill/driver: you’ll get steady torque, a clutch to prevent cam-out, and better accuracy at low speed.
For tougher, impact-needed drilling, step up to a hammer drill; engage the hammer mode only when required and brace with a side handle.
For heavy-duty impact and sustained load, use a rotary hammer; it’s built for continuous percussion and usually offers dedicated chisel/drill settings.
Prioritize ergonomic design for grip and balance.
Before use, perform drill maintenance: check chuck runout, battery contacts, vents, and bit retention.
Match Drill To Material
Tool choice gets simpler once you match the drill’s force profile to what the material can handle: use a drill/driver for wood, plastic, and most metal where you need controlled torque and a clean, round hole.
Step up to a hammer drill for masonry like brick and block when you need percussion to fracture the surface.
And choose a rotary hammer for poured concrete, stone, or repeated large-diameter holes where continuous impact and bit guidance prevent stalling and overheating.
Confirm Material compatibility before you start: check the surface type, thickness, and whether it’s brittle or layered.
Select the correct chuck/bit system for that drill and material.
Do Drill calibration next: set the clutch for drivers, verify the mode selector engages cleanly, and confirm the bit spins true.
Run a brief test hole on scrap, then proceed with steady, aligned feed.
Power And Impact Needs
Where does your drill’s power actually go—into steady torque, into percussive blows, or into both? First, choose a drill/driver for wood, plastic, and light metal: you want controlled torque, adjustable clutch, and moderate power output to prevent stripped screws and bit breakage.
Second, choose a hammer drill for masonry holes: it adds impact force along the bit axis while still rotating; use carbide bits, keep a firm two-handed grip, and let the tool hammer without forcing it.
Third, choose a rotary hammer for concrete and larger diameters: it delivers higher impact force with an SDS shank and better efficiency; wear eye and hearing protection, and check for rebar before drilling.
Finally, match speed and bit size to avoid overheating.
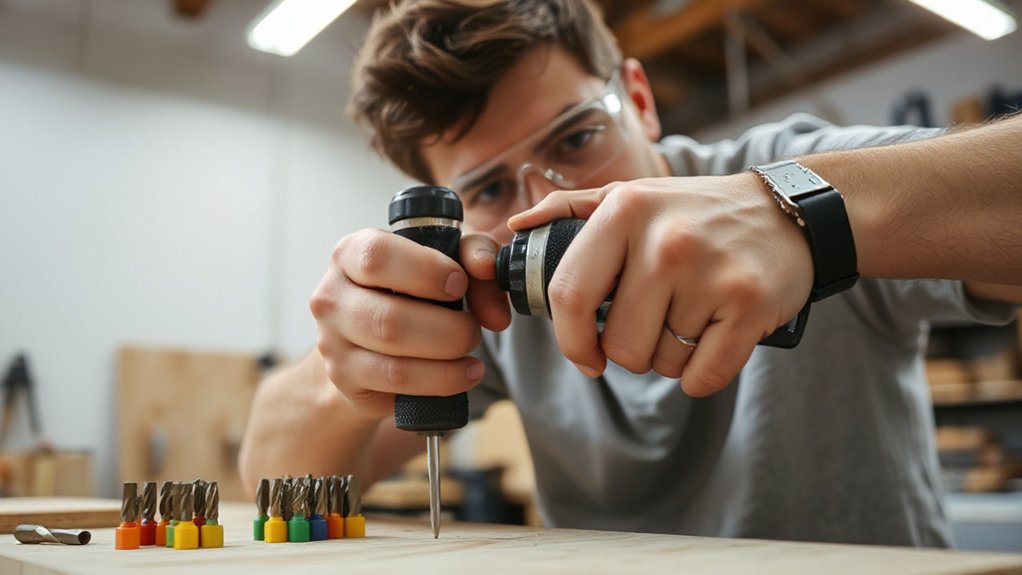
Choose the Right Drill Bit for the Material
Next, match the bit type to the material you’re drilling—twist bits for wood or metal, masonry bits for concrete, and specialty bits when required.
Then choose the correct bit size by measuring your fastener or hole spec and verifying the bit’s diameter marking before you chuck it.
If the bit doesn’t match the material or size, stop and swap it out so you don’t overheat the tool, snap the bit, or damage the workpiece.
Match Bit Type To Material
Before you pull the trigger, match the drill bit to the material you’re cutting—using the wrong bit increases heat, wandering, binding, and snap risk.
For wood, use brad-point or auger bits to center cleanly and clear chips; back the work to reduce splintering.
For metal, choose HSS or cobalt bits and use cutting oil; run slower and apply steady pressure to prevent work-hardening.
For masonry, use carbide-tipped bits with hammer mode only on concrete or brick, not tile.
For plastics, use sharp HSS with light feed to avoid grabbing and melting.
Inspect flutes for damage, then secure the bit fully in the chuck.
Practice good Bit storage to prevent dulling, and keep up drill maintenance so bearings and chucks run true.
Choose Correct Bit Size
Once you’ve picked a bit suited to the material, size it to the hole you actually need—an oversized bit overloads the drill and binds, while an undersized bit forces reaming and makes the hole wander.
Start with the fastener spec: measure the screw’s shank, the anchor diameter, or the bolt size, then match the nominal bit size. Verify drill bit compatibility with your chuck (1/4 in hex, 3/8 in round, SDS) so it seats fully and won’t slip.
For pilot holes, choose 60–80% of the screw’s minor diameter; for hardwoods, go slightly larger. Mark depth with tape or a stop collar.
Before drilling, clamp the work, set speed for diameter, and test in scrap to confirm clean entry and accurate fit.
Match Drill Bit Size to Holes and Screws
A properly sized drill bit keeps holes clean, prevents stripped screws, and reduces the chance you’ll snap a bit or split the material.
Start with Drill bit calibration: confirm the bit’s diameter matches its marking by checking it against a gauge or calipers, and discard worn bits.
Use Hole measurement techniques before drilling: measure the screw’s shank (not the threads) for a clearance hole, or measure the core diameter for a pilot hole.
For wood screws, pick a pilot bit close to the shank in softwood and closer to the core in hardwood. For metal, match the tap-drill chart if you’re threading.
Always test on scrap, clamp the work, and keep the bit perpendicular to avoid oversized, wandering holes.
Set Drill Speed, Clutch, and Torque for Control
Because different materials and fasteners load the motor differently, set your drill’s speed, clutch, and torque to match the task so you don’t stall the bit, strip screw heads, or twist your wrist on a sudden bind.
Start by selecting low speed (high torque) for driving screws and larger bits; use high speed for small-diameter drilling.
Next, adjust settings on the clutch: choose a lower number for softwood and small screws, then increase until the screw seats flush without cam-out.
Switch to drill mode when you need continuous torque with no clutch slip.
If you’ve got an adjustable torque ring, begin low and bump up gradually.
Maintain handle ergonomics: wrap your hand fully, keep wrists straight, and brace with your other hand.
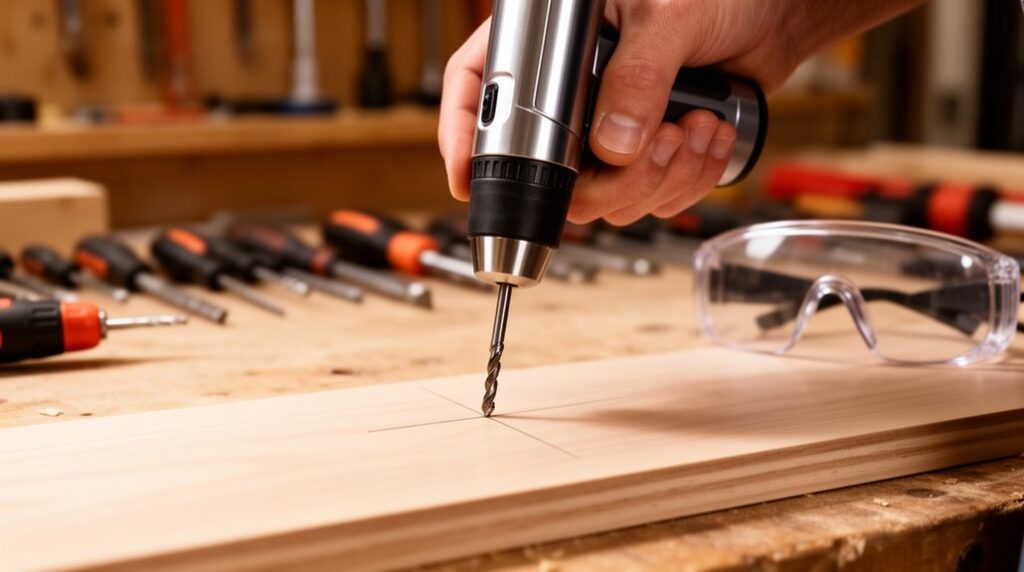
Mark, Clamp, and Start Holes Without Bit Wandering
With your speed, clutch, and torque set for the material, focus next on keeping the bit exactly where you intend it to cut. Start with reliable Marking techniques: measure, square a line, then make a clear crosshair with a pencil or scribe. Add a center point using an awl or center punch so the tip seats instead of skating.
Stabilize the work before you drill. Use appropriate Clamping methods: clamp to a bench, back up thin stock with a sacrificial board, and keep your hands out of the bit’s path.
Confirm the drill is perpendicular, brace your stance, and set the bit in the punch mark. Squeeze the trigger lightly to start a shallow dimple, then increase speed once the bit tracks.
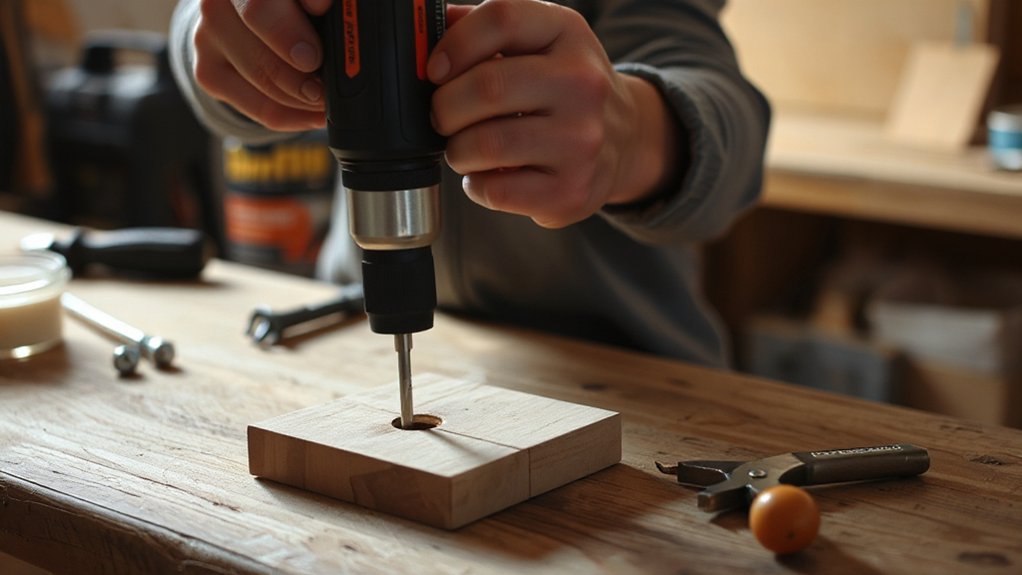
Drill Clean Holes in Wood, Metal, and Masonry
Where you’re drilling—wood, metal, or masonry—changes the bit, speed, and pressure you need to cut a clean hole without burning, tearing out, or cracking the surface.
For wood, use brad-point or spade bits, run medium speed, and back the exit with scrap to prevent breakout.
For metal, choose HSS or cobalt, run slow, add cutting oil, and let chips clear; stop if you see blue heat.
For masonry, use a carbide-tipped bit, switch to hammer only when seated, and drill in short pulses to limit dust.
Keep Drill ergonomics: square your wrist, two-hand grip, and align your body behind the drill.
Wear eye/ear protection; Noise reduction comes from sharp bits and steady pressure.
Drive Screws Cleanly + Fix Common Drill Problems
Before you pull the trigger, set the drill/driver to the correct mode (driver, not hammer). Choose a bit that fully matches the screw head (Phillips, Torx, square), and adjust the clutch low, then step it up until the screw seats without stripping.
Hold the tool square to the fastener, brace your wrist, and apply firm forward pressure as you start. Use slow RPMs to prevent cam-out, then ease off at the last turn to avoid snapping heads.
For long screws, predrill and lubricate threads lightly.
If the bit slips, replace worn bits and clear debris from the recess. If the drill chatters, tighten the chuck and check battery charge.
For Drill maintenance, clean vents, inspect the cord, and keep the chuck lightly oiled.
Frequently Asked Questions
How Often Should I Replace Drill Bits, and What Are the Warning Signs?
You should replace drill bits when performance drops, not on a fixed schedule, since drill bit durability depends on material, speed, and heat.
Step 1: Inspect edges; replace if chipped, rounded, or blue from overheating.
Step 2: Listen for squealing and feel for excess vibration.
Step 3: Watch for wandering, slow cutting, or smoking—key warning signs.
Step 4: Check shank slippage in the chuck.
Step 5: Stop and swap immediately.
Can I Use a Drill in Wet or Damp Conditions Safely?
No—you shouldn’t use a drill in wet or damp conditions unless it’s specifically rated for it. Nearly 10% of electrical injuries involve water exposure.
Step-by-step:
1) Unplug corded drills; use a battery drill rated IPX and a GFCI-protected charger.
2) Inspect for damaged insulation, corrosion, or moisture in vents.
3) Prioritize Electrical safety: keep hands dry, avoid puddles.
4) Use Grip techniques: two-handed control, non-slip gloves.
What Maintenance Does a Cordless Drill Battery Need for Longest Lifespan?
To maximize your cordless drill battery’s lifespan, you’ll manage Battery charging and Storage maintenance carefully.
First, charge at room temperature, using the matched charger, and stop once full.
Don’t routinely deep-discharge; recharge around 20–30% remaining.
Let hot packs cool before charging.
For storage over a month, leave 40–60% charge, store dry, and avoid freezing or high heat.
Inspect contacts, keep them clean, and replace damaged packs promptly.
How Do I Store a Drill and Accessories to Prevent Rust and Damage?
Treat your drill like a knight’s sword: keep it dry, sheltered, and ready.
For drill storage, wipe metal parts clean, then dry them fully.
Add a light oil film to bits and chucks for rust prevention.
Store everything in a hard case or sealed bin with silica gel.
Keep batteries cool, off the tool, and away from moisture.
Don’t leave accessories loose; use organizers to prevent impacts and dulling.
When Should I Choose a Drill Press Instead of a Handheld Drill?
Choose a drill press when you need repeatable, perfectly vertical holes, tight tolerances, or safe control on small parts.
1) Compare Handheld vs stationary: use stationary for accuracy; handheld for access.
2) If you’re drilling hard metal or large diameters, pick the press.
3) Match Drill bit types to speed/feed.
4) Clamp the work, set depth stop, and keep hands clear.
5) Use guards and eye protection.
Conclusion
You’ve set up your drill like a cockpit check: PPE on, bit matched, speed and clutch dialed in. You mark, clamp, and start slow so the bit won’t skate. You keep pressure steady, clear chips, and back out to cool as needed. You switch techniques for wood, metal, or masonry, then drive screws without stripping. If something binds, you stop, reset, and continue—measure twice, drill once.

