
Pick your saw by matching the cut and material. Use a 7-1/4″ circular saw with a straightedge for long rips and quick crosscuts on decking, and set blade depth just past the stock to cut safer. Choose a miter saw for repeatable crosscuts and precise angles on rails, stair parts, and trim; use stop blocks for consistency. Fit the right blade (tooth count, carbide) and keep dust cleared to prevent kickback. Keep going to sharpen your setup.
Key Takeaways
- Match the saw to the cut type: rip, crosscut, miter, or curves, based on required accuracy and support.
- Use a 7-1/4″ circular saw and speed square for fast, straight decking crosscuts and general on-site work.
- Choose a miter saw for repeated, accurate crosscuts and angle cuts on railings, trim, and stair parts.
- Select blades by material and finish: 24–40T for ripping, 60–80T for smooth crosscuts, carbide for composites/hardwoods.
- Prioritize safety and control: riving knife/guard, stable work support, correct blade depth, and dust collection to reduce kickback and mess.
Start With Your Cuts: Rip, Crosscut, Miter, Curve
Before you compare brands or horsepower, get specific about the cuts you’ll make most often: ripping (with the grain), crosscutting (across it), mitering (angled ends), or cutting curves. Each cut loads the blade differently, so match your plan to the workpiece, layout, and support.
For ripping, track grain direction, keep the board flat to the fence, and plan for kickback control with a riving knife or splitter.
For crosscuts, stabilize the stock against a miter gauge or sled so it can’t twist.
For miters, lock angles, mark a reference face, and test on scrap.
For curves, use relief cuts and steady feed.
Choose blade teeth count and geometry to suit cut quality and speed.
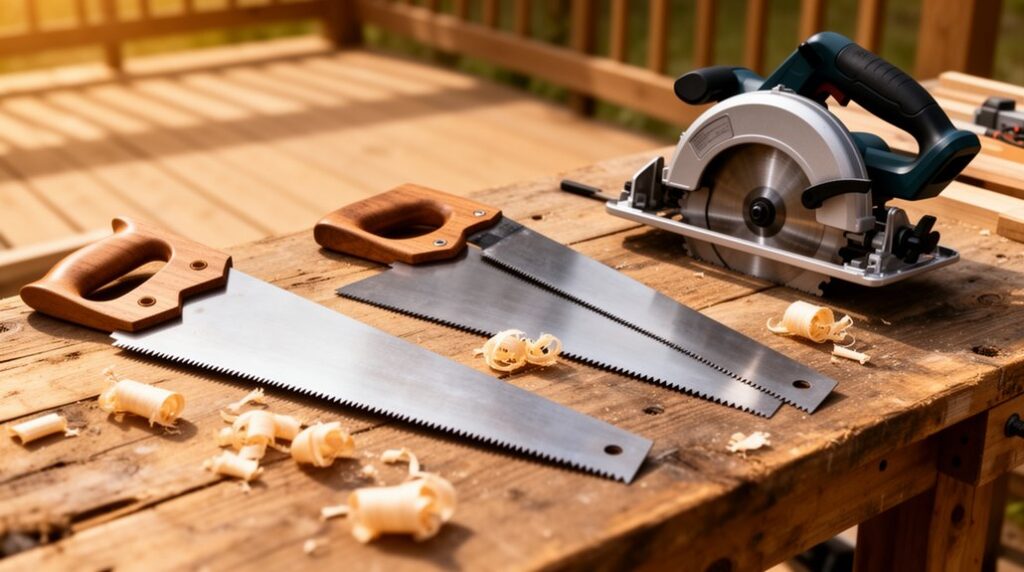
Best Saws for Common Deck Cuts
When you’re building a deck, match the saw to the specific cut so you get clean joints without fighting the tool.
For straight crosscuts on joists and boards, use a 7-1/4″ circular saw with a speed square as a guide; choose carbide-tipped teeth and consider Blade materials suited to pressure-treated lumber.
For repeated angles on railing frames or stair stringer parts, a miter saw boosts accuracy and keeps cuts consistent.
For long rips on decking, a circular saw with a rip fence works fast; set blade depth just past the stock to reduce kickback.
Cut notches and flush ends with an oscillating multi-tool or recip saw, then square up carefully.
Use Safety accessories: eye/ear protection, dust mask, gloves, and a stable sawhorse setup.
Best Saws for Trim and Finish Cuts
For trim and finish cuts, accuracy matters more than brute speed, so start by choosing a saw that leaves a clean edge with minimal tear-out. A quality compound miter saw excels for casing, baseboard, and crown because its fence and detents help you repeat tight angles.
Check blade alignment with a square before every session, and recalibrate if you see burn marks or gaps at joints. For delicate stock, use a high-tooth-count blade and support the work with extension wings or a stop block.
Don’t chase raw motor power; you want smooth startup, low vibration, and consistent RPM. Clamp narrow pieces, keep hands outside the no-cut zone, and let the blade stop fully before lifting.
Circular vs Miter Saw: Pick the Right One
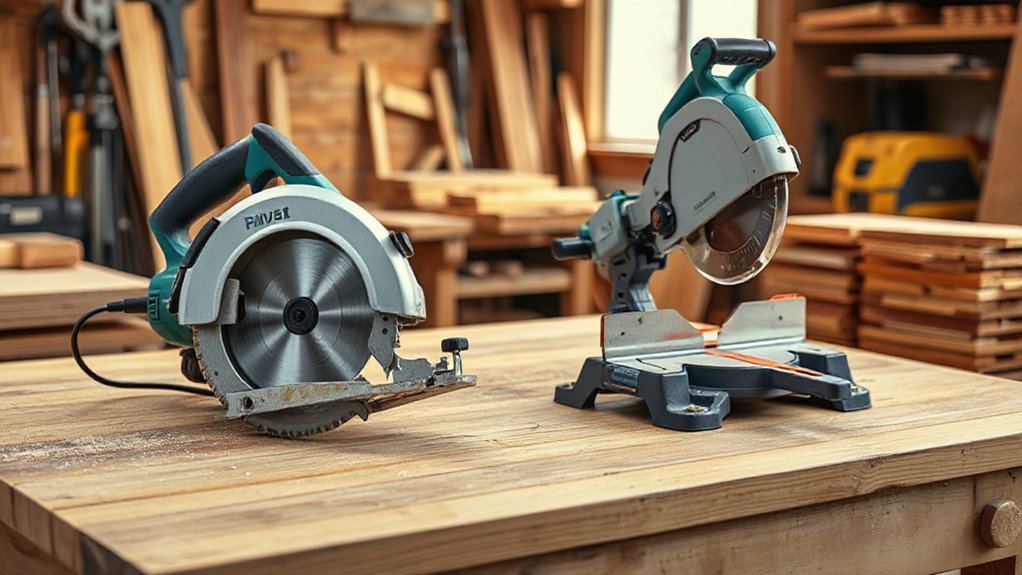
Although both tools can crosscut lumber, you’ll pick the right one faster by matching the saw to the type of cut and how often you need it.
Choose a circular saw when you need portability and long, straight cuts for decking, sheet goods, or ripping boards on sawhorses. It shines on-site, but you’ll rely on guides and careful layout to stay square.
Pick a miter saw when you’re making repeated, accurate crosscuts and angles for trim, framing blocks, or deck boards; a stop block speeds production and keeps lengths consistent.
Check Blade compatibility with your material and the saw’s arbor size before you buy.
Prioritize Safety features: blade guards, electric brake, stable base, and dust control. Keep hands clear.
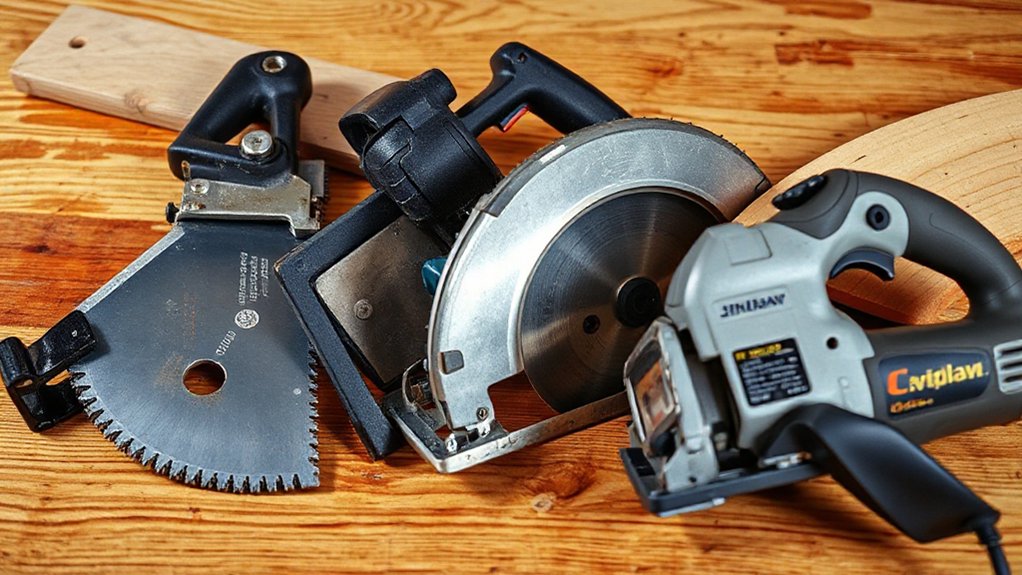
Choose the Right Saw Blade for Clean Wood Cuts
Picking the right saw gets you close, but the blade does most of the work on cut quality and control. Match blade diameter and arbor size to your saw, then choose blade material for the job: carbide-tipped teeth stay sharp longer for hardwoods and composite decking, while high-speed steel suits light, clean softwood cuts.
Use tooth count to balance speed and finish: 24–40 teeth rips fast, 60–80 teeth crosscuts smoother, and 80+ minimizes tear-out on trim. Pick an ATB or high-ATB grind for cleaner crosscuts.
Check for a flat, undamaged plate and sharp teeth before mounting. Unplug the tool, tighten the arbor nut, and confirm rotation direction.
Corded vs Cordless Saws: Power, Runtime, Portability
When you choose between a corded and cordless saw, focus on three trade-offs you’ll feel immediately: power under load, how long you can cut before stopping, and how easily you can move around the jobsite.
Corded models deliver steadier motor performance for thick stock and long rip cuts, so you’re less likely to stall or overheat. You’ll need a safe extension cord, keep it clear of the blade path, and use GFCI protection outdoors.
Cordless saws shine on decks, ladders, and punch-list work where portability matters. Battery longevity depends on pack capacity, temperature, and how hard you push the saw; bring charged spares and let hot packs cool.
Keep both types guarded, maintain a firm stance, and stop when power drops.
Accuracy Features: Fences, Guides, Bevel Stops
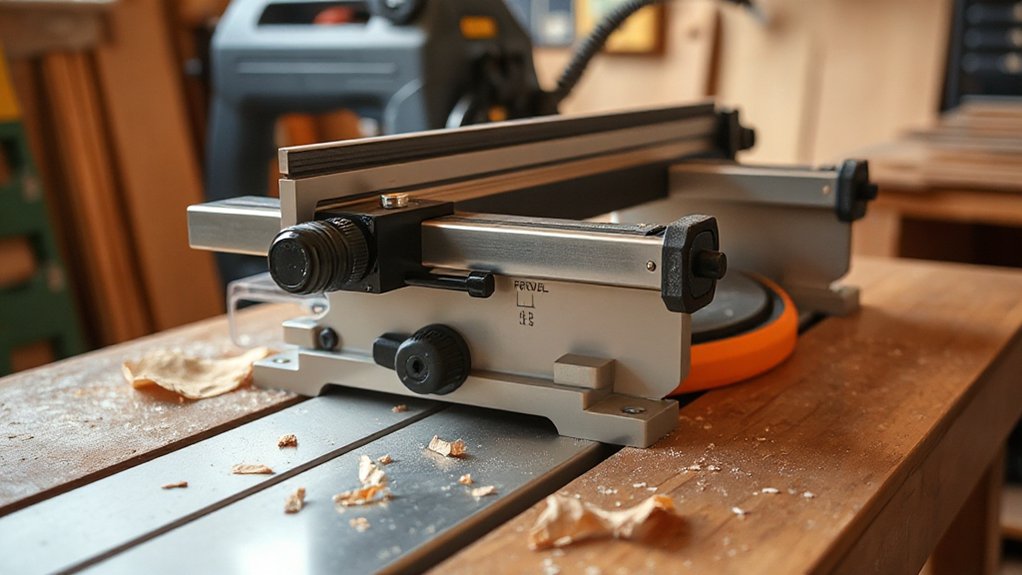
Because a powerful saw can still cut poorly if it won’t track straight, you should prioritize the accuracy features that keep the blade aligned and repeatable.
Start with the fence: it should lock solidly at both ends, stay parallel to the blade, and adjust without flex for precision alignment on rips and crosscuts. Check for built-in guides or track systems that minimize play and keep your cut line true, especially on long decking boards.
For bevel work, rely on positive bevel stops at common angles (0°, 45°) and a clear, easy-to-read scale you can verify with a square.
Choose controls you can set without reaching near the blade, and use safety features like blade guards and riving knives to reduce kickback during guided cuts.
Saw-Buying Mistakes That Waste Money (and Wood)
You can waste money fast if you buy a saw but pair it with the wrong blade, because tear-out and burn marks force re-cuts and increase kickback risk.
You’ll also regret ignoring cut capacity—if the saw can’t handle your stock width or thickness, you’ll end up making unsafe passes or replacing the tool.
Don’t skip a dust-collection setup either, since trapped dust hides cut lines, clogs guards, and creates a breathing hazard.
Buying The Wrong Blade
Even if the saw itself is solid, the wrong blade turns clean cuts into burn marks, tear‑out, and dangerous kickback. Match tooth count and grind to the job: fewer teeth for fast ripping, more teeth for smooth crosscuts and plywood.
Verify blade diameter and arbor size so it mounts flat and runs true.
Don’t cheap out on blade material. Carbide‑tipped teeth stay sharp longer in hardwoods and pressure‑treated decking, while low‑grade steel dulls fast and makes you push harder.
Replace bent, missing‑tooth, or pitch‑caked blades; they wander and overheat.
Use the saw’s safety features: keep the guard on, use riving knife/anti‑kickback pawls when available, and stand out of the line of fire.
Tighten the arbor nut properly.
Ignoring Cut Capacity Needs
A sharp, correct blade won’t save a cut if the saw can’t physically clear the stock, and that mistake shows up fast as stalled motors, binding, and risky forcing.
Before you buy, match cut capacity to what you actually build: 4×4 posts, doubled rim joists, thick stair stringers, or wide deck boards. Check max depth at 90° and 45°, and measure real clearance with the shoe, fence, or guard in place—not just the brochure number.
On miter saws, confirm crosscut width against your widest boards. On circular saws, verify depth with the blade you’ll run.
Blade compatibility matters too: the right diameter, arbor size, and kerf keep the saw stable and within its design limits.
Skipping Dust Collection Setup
If dust collection isn’t part of the plan from day one, sawdust quickly turns into a safety problem and an expensive cleanup habit.
When you buy a saw, check the dust port size, shroud design, and whether the guard actually captures chips. Match it to your shop vac or dust extractor, and budget for a proper hose, fittings, and a HEPA filter.
Without good dust management, fine particles linger in the air, clog rails, and hide layout lines, so you waste wood fixing mistakes. You’ll also increase kickback risk when debris lifts the workpiece.
Treat dust collection as essential safety precautions: seal leaks, maintain airflow, and empty bins before they pack tight. Your cuts stay cleaner, and your lungs do too.
Frequently Asked Questions
What Safety Gear Should I Wear When Cutting Pressure-Treated Decking Boards?
Wear Personal protective equipment: safety glasses or a face shield, hearing protection, and a NIOSH-rated respirator (P100 or N95) to limit treated-wood dust.
Use cut-resistant gloves for proper handling techniques, but keep them away from spinning blades.
Wear long sleeves, durable pants, and closed-toe boots.
Add knee pads if you’re kneeling on the deck.
Tie back hair, remove jewelry, and avoid loose clothing.
How Do I Prevent Tear-Out When Cutting Plywood or Veneered Panels?
Prevent tear-out by supporting the face veneer and using the right blade types: a high-tooth-count carbide blade, preferably Hi-ATB or a plywood/laminate blade.
You should cut with the good face down on a circular saw, and good face up on a table saw.
Score your cut line with a knife, use painter’s tape, and use cutting techniques like zero-clearance inserts and steady feed.
Wear eye and hearing protection.
When Should I Replace or Sharpen a Dull Saw Blade?
You should sharpen or replace a dull saw blade as soon as you notice burning, slower feed rates, increased tear-out, wandering cuts, or extra vibration.
If you can’t restore cutting precision after cleaning pitch and checking alignment, don’t push it—swap the blade.
Replace blades with chipped teeth, cracks, warping, missing carbide, or repeated sharpening that reduces tooth height.
Prioritize blade longevity by storing blades properly and avoiding nails, grit.
How Can I Reduce Sawdust and Improve Dust Collection Outdoors?
When you’re fighting sawdust, don’t beat around the bush: use Dust suppression and smart outdoor vacuuming.
Lightly mist the cut line with water from a spray bottle to keep dust from going airborne, but don’t soak tools.
Position the cut so wind blows dust away from you.
Use a HEPA shop vac with a tight hose connection and a cyclone separator.
Wear a respirator and eye protection always.
What Saw Maintenance Steps Keep Cuts Accurate Over Time?
Keep cuts accurate by checking blade alignment often: square the blade to the table/fence, verify miter detents, and adjust trunnions or guides.
Clean pitch from the blade, replace dull teeth, and keep the arbor flange debris-free.
Tighten fasteners, set proper belt tension, and inspect bearings for play.
Do motor maintenance: blow out dust, check brushes, cords, and switches.
Lubricate slides lightly, then test-cut and recheck measurements.
Conclusion
Pick your saw by the cuts you’ll actually make, then match it with the right blade and the accuracy features that keep boards true. For decking, you’ll lean on a circular saw for rips and a miter saw for repeatable angles; for trim, you’ll want cleaner, tighter miters. Don’t buy more tool than you need—it’s a slippery slope. Whatever you choose, protect your eyes and ears, secure the workpiece, and cut with control.

