
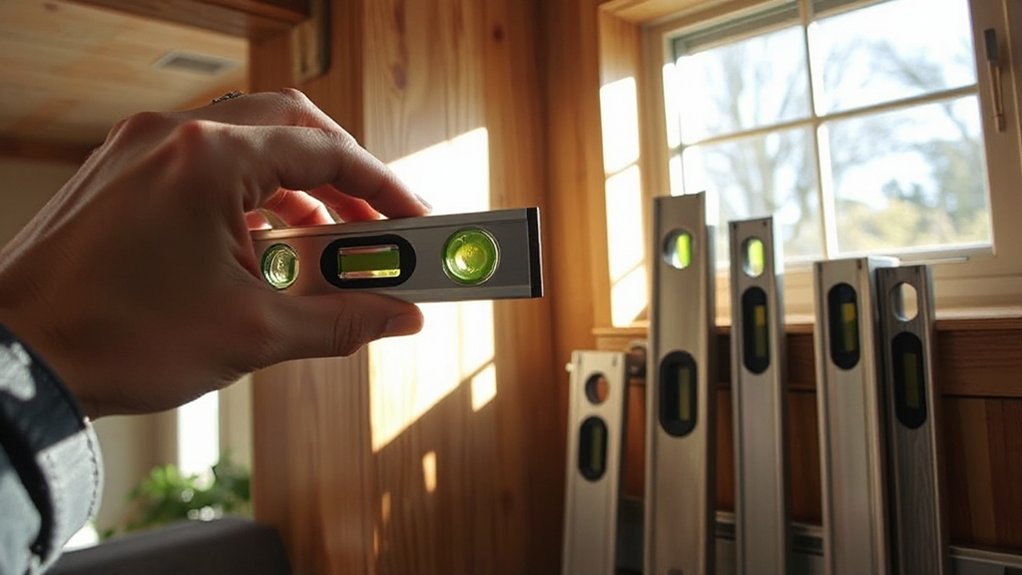
Pick a spirit level that fits the job: 9–12 inches for tight spots, 24 inches for framing and cabinets, and 48 inches for long walls and doors. Confirm accuracy on a known flat surface, mark the position, then flip it 180°—any change means it’s off. Center the bubble between the lines while looking straight on, let it settle, and keep the edge clean. Recheck before drilling, and you’ll find smarter ways next.
Key Takeaways
- Choose the right level length: 9–12 inch for tight spaces, 24 inch for cabinets, 48+ inch for studs, doors, and long walls.
- Verify accuracy by checking a flat surface, marking the position, rotating 180°, and confirming the bubble reads the same.
- Read the vial straight-on, keep the level steady, and center the bubble between the lines after it fully settles.
- For leveling, place the level on the surface edge, adjust supports until centered, then recheck twice before drilling or fastening.
- For plumb lines, hold the level vertically, check multiple points, and mark the high/low side before mounting or drawing reference lines.
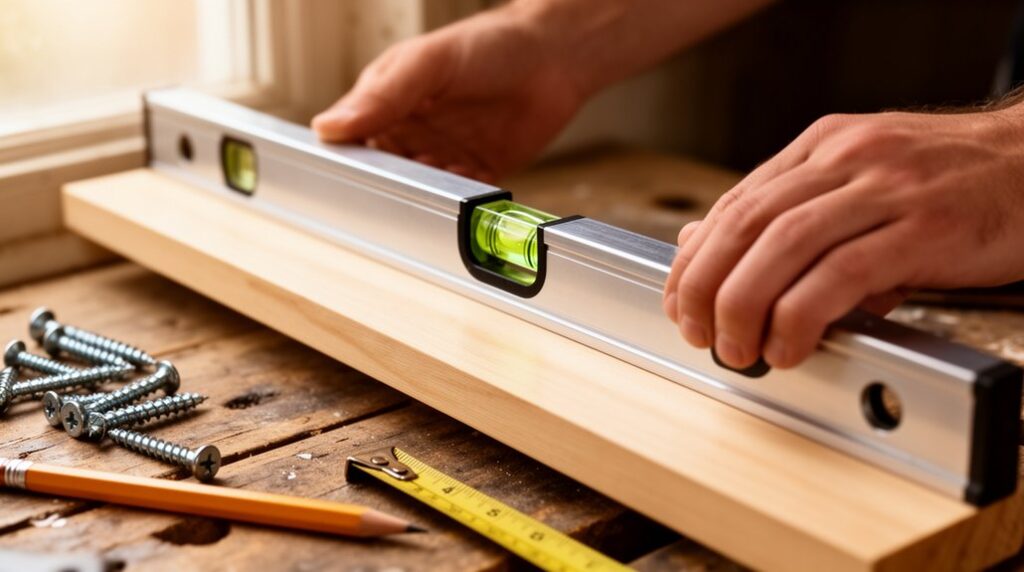
Choose the Right Spirit Level Size
How do you pick the right spirit level size without overthinking it? Start by matching length to the job: a 9–12 inch level fits shelves and tight corners. A 24 inch works for most framing, cabinets, and appliance installs. A 48 inch (or longer) spans studs, doors, and longer walls with fewer repositioning errors.
Choosing the right size also means considering clearance—don’t force a long level into cramped spaces where it can slip and pinch fingers. Check that you can grip it securely with gloves if needed, and keep your hands clear when setting it on edges.
Finally, weigh material options: aluminum is durable and stable; plastic is lighter but can flex on longer lengths.
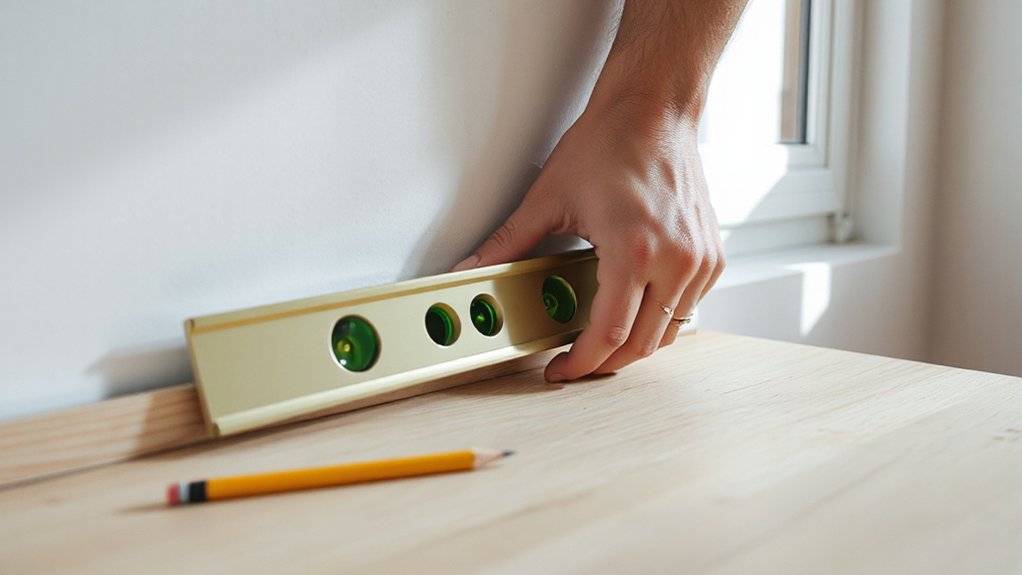
Check Your Spirit Level for Accuracy
Before you trust any readings, confirm your spirit level hasn’t drifted out of calibration from drops, heat, or simple wear. Set it on a flat, stable surface you know is true, like a machined countertop, cast-iron table saw top (unplugged), or a verified straightedge. Mark the level’s position, then rotate it 180 degrees in the same spot; if the vial indication shifts, your tool’s off.
Repeat on a wall reference or door jamb to rule out a bad surface. Use basic calibration techniques only if your model allows adjustment; otherwise, replace it rather than “eyeballing” accuracy.
Avoid common mistakes: testing on bowed lumber, relying on dirty edges, or checking near vibrations. Clean, inspect, and store it in a case.
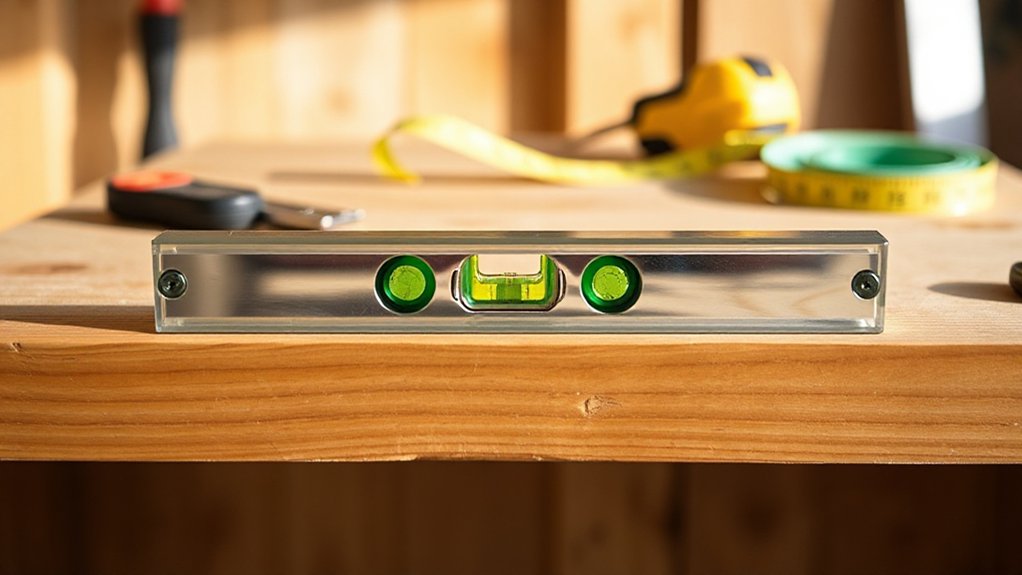
Read the Bubble in Each Vial
Once you’ve confirmed the tool reads true, focus on the bubble itself: center it between the two guide lines in each vial to get an accurate reading.
For bubble interpretation, keep your eyes square to the vial—viewing from an angle creates parallax and a false “center.” Hold steady pressure so the level doesn’t rock, and wait a second for the bubble to settle before deciding.
Check every relevant vial, not just the main one. The horizontal vial reads level; the vertical vial reads plumb; a 45° vial helps with consistent angles.
If the bubble consistently drifts when you’re not moving, dirt or moisture may be affecting it—wipe the body and work surface. Don’t try to adjust vial calibration on-site unless the manufacturer provides a safe method.
Level a Shelf With a Spirit Level
Even if the brackets look straight, you should level the shelf with the spirit level in place so the wall and fasteners can’t fool you. Set the shelf on its brackets, then place the level along the front edge where your eyes will notice tilt. If the bubble drifts, shim behind one bracket or adjust the bracket screws until the bubble centers. Recheck after each tweak; small turns matter.
Mark screw holes only after you’ve confirmed level twice.
Follow basic safety tips: support the shelf so it can’t drop, keep fingers clear while tightening, and don’t overdrive screws into drywall.
Once level, your decorating techniques—like aligning frames, plants, or stacked books—will look intentional, not accidental.
Plumb a Wall (Straight Up-and-Down)
Although a wall can look straight at a glance, check it for plumb by holding your spirit level vertically against the surface (or along the edge of a stud or trim) and watching the bubble. If the bubble drifts to one side, the wall leans; mark the high side lightly with pencil.
Move the level up and down in several spots to confirm it isn’t a localized bump. When you’re hanging cabinets, mirrors, or picture rails, use those marks to plan shims or adjust mounting points so your final line reads true—better results for decorating ideas that rely on clean verticals.
Keep safety precautions in mind: support heavy items, keep hands clear while drilling, and avoid overreaching on ladders. Recheck plumb before tightening fasteners fully.
Check Floors for Level With a Spirit Level
Where do you start if a floor feels “off” underfoot? Grab your spirit level and clear the area so you’re not tripping over cords or rugs—basic Safety precautions.
Place the level on the floor in several directions: along the joists, across them, and diagonally. Let the bubble settle, then note which end is high.
Slide the level in 2–3 foot increments to map dips or crowns, and repeat near doorways and around floor drains where slope is common.
If you’re checking for Decorative uses like floating shelves, furniture, or tile patterns, measure the worst spot first so your layout won’t telegraph the lean.
If the bubble’s far outside the lines, stop and assess structure before patching.
Mark and Extend Level Lines on a Wall
Once you’ve found a floor’s high and low spots, use the same spirit level to carry that reference up the wall so cabinets, shelves, or tile lines don’t follow a tilt. Start at your chosen height and make a small pencil mark. Hold the level to that mark, adjust until the bubble centers, then draw a short line along the edge.
Next, “step” the level: move it so one end overlaps your last line, re-center the bubble, and extend the line across studs or tile areas. Use light pencil lines you can erase, and verify every few feet to prevent drift.
For Decorative wall accents, mark bracket locations from this line. For Furniture alignment, transfer the line to adjacent walls. Wear eye protection when drilling.
Frequently Asked Questions
How Do I Store a Spirit Level to Prevent Warping or Damage?
Store your spirit level flat or hanging vertically from its hole, so it can’t bow.
Keep it in a dry, temperature-stable spot away from heaters, direct sun, and moisture to protect the vials.
Use Protective cases or a padded sleeve to prevent dings and keep edges true.
Don’t stack heavy tools on it; separate with foam.
Wipe it clean, then lock it in a dedicated rack—best Storage techniques for accuracy.
Can Strong Magnets in Levels Affect Electronics or Pacemakers?
You can get Magnetic interference from strong magnets in levels, so they can cause Electronic disruption if you press them right against sensitive devices.
Picture your level snapping to a steel stud beside a humming phone—keep it a few inches away to stay safe.
Don’t rest it on laptops, hard drives, credit cards, or hearing aids.
If you’ve got a pacemaker or ICD, keep the level 6 inches away and ask your cardiologist.
What’s the Best Way to Clean Cloudy or Scratched Vial Windows?
Clean cloudy vial windows by starting with mild soap and warm water on a microfiber cloth. Avoid solvents that can craze plastic.
For vial cleaning, use isopropyl alcohol sparingly, then rinse and dry.
Restore window clarity with a plastic polish and gentle circular rubbing.
If scratches remain, step through fine micro-mesh grits, then polish again.
Don’t sand glass vials.
Wear gloves, keep polish off the bubble seals.
Do Digital Spirit Levels Need Calibration, and How Often?
Yes, digital spirit levels need calibration, and you should check it regularly. Like a compass in fog, your readings drift after drops, temperature swings, or battery changes.
Do Digital calibration when you first buy it, then monthly if you use it often, and always after a hard knock.
Keep it away from motors, speakers, and steel clutter—Magnetic interference can skew sensors.
Calibrate on a stable, flat surface, and lock tools down for safety.
How Do I Use a Spirit Level Outdoors in Wind or Rain?
Use a spirit level outdoors by shielding it from gusts and raindrops: brace the level with your hand, steady the workpiece, and take readings on the leeward side for outdoor stability.
Wipe the vials and surface dry before each check, and avoid puddled or muddy contact to protect accuracy and weather resistance.
Use non-slip pads or clamps, recheck twice, and stop if lightning or slippery footing makes work unsafe.
Conclusion
Coincidentally, the moment you start trusting your spirit level, your DIY results start looking pro. You’ve chosen the right size, confirmed it’s accurate, and read each vial correctly—so your shelves sit flat, your walls stand plumb, and your floors don’t hide surprises. Keep the level clean, use steady pressure, and recheck after every adjustment. When you mark and extend lines, protect your eyes and hands—straight work starts with safe habits.

