Start by inspecting the scuff or gouge and checking your wall type, texture, and paint sheen. Clean with mild soap or a degreaser, scrape loose paint, and feather edges. Patch with lightweight spackle for shallow damage or joint compound (use tape for cracks), applying thin coats and letting each dry. Sand smooth with 120–220 grit while wearing a dust mask, then vacuum dust. Prime the patch, color-match paint, and blend with a small roller—you’ll get even better results with a few extra pro tips.
Key Takeaways
- Inspect damage depth, wall type, texture, and sheen to choose the right patch, sanding, primer, and paint approach.
- Clean the area, scrape loose paint, and feather edges; let the wall dry fully before patching.
- Apply appropriate patch compound in thin coats, tape cracks if needed, then sand smooth and blend edges with 120–220 grit.
- Prime the patched spot thinly, feather 2–3 inches past the repair, and confirm color and sheen with a matched paint sample.
- Paint using a small roller to match texture, keep a wet edge, feather outward, and check the blend under different lighting.
Identify Damage, Wall Type, and Paint Sheen
Before you pick up a putty knife or open a paint can, inspect the wall closely so you match the repair method and finish to what’s already there. Check damage severity: light scuffs may only need cleaning, while gouges, popped fasteners, or soft spots suggest deeper issues.
Press gently around the mark; if it crumbles or flexes, keep kids and pets away and plan to stabilize the area first.
Identify the wall type by looking for drywall paper, plaster hardness, or panel seams, and note any moisture stains that require caution and ventilation.
Study wall texture—orange peel, knockdown, or smooth—because it affects how obvious the patch will look.
Finally, find the paint sheen by comparing reflections: flat, eggshell, satin, semi-gloss.
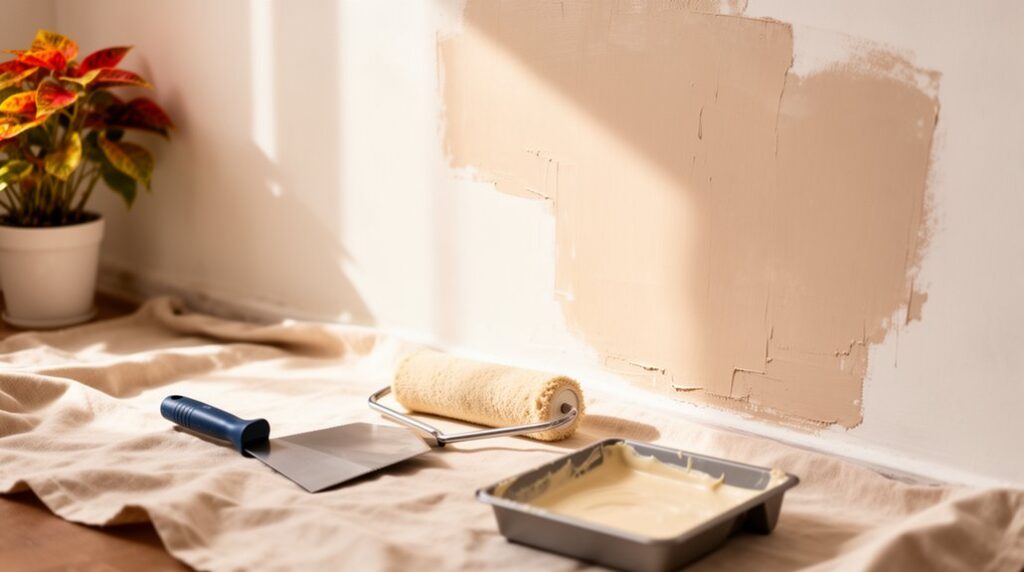
Gather Drywall Patch and Paint Supplies
Once you’ve figured out what you’re repairing and what finish you need to match, pull together the right patching and painting supplies so you don’t stop mid-job or compromise safety.
Start with patch material suited to the damage: lightweight spackle for shallow scuffs, setting-type compound for deeper dings, and mesh or paper tape for cracks.
Grab drywall accessories you’ll actually use: 4–6 inch taping knife, wider knife for feathering, sanding sponge (fine and medium), tack cloth, and a dust mask or respirator.
Add a drop cloth, painter’s tape, and a vacuum with a HEPA filter to control dust.
For paint, bring primer, the correct sheen topcoat, brushes, a small roller, and a tray.
Don’t skip Color matching tools like paint chips or a sample pot.
Clean, Scrape, and Prep the Damaged Area
Before you patch, you’ve got to start with a clean surface, so wipe away dirt and grease with a mild cleaner and let the wall dry completely.
Next, scrape off any loose or peeling paint and feather the edges so you don’t leave raised lips that’ll show through the finish.
Wear safety glasses and a dust mask, and keep your scraper angled away from your body to prevent slips and gouges.
Remove Dirt And Grease
Although it’s tempting to jump straight to patching, you’ll get a stronger, longer-lasting repair if you remove dirt and grease first. Put on gloves and eye protection, then ventilate the room.
Start with dry dusting using a microfiber cloth or vacuum brush so you don’t grind grit into the paint.
For dirt removal, wash the scuffed area with warm water and a few drops of dish soap using a non-abrasive sponge. Rinse with clean water and wipe dry.
If you’re dealing with kitchen splatter, handprints, or oily stains, switch to a degreaser or TSP substitute; follow the label, avoid mixing cleaners, and keep it off wood trim.
Let the wall dry completely. These cleaning techniques prevent patch compound from lifting later.
Scrape Loose Paint Edges
After the wall dries, run a putty knife or paint scraper along the damaged spot and lift every loose or curling paint edge until you reach firmly bonded paint. Keep the blade flat so you don’t gouge drywall or alter the wall texture around the repair. Work from the outside toward the center, using short, controlled strokes.
Wear safety glasses and a dust mask, especially if the home may have older paint. Vacuum dust as you go, then wipe with a damp cloth.
If you hit a hard ridge, switch to 120–150 grit sandpaper and feather the edge so it won’t telegraph through paint. Stop scraping when the perimeter feels smooth to your fingertips. This prep helps primer and the final paint color blend cleanly.
Pick the Right Patch Compound for the Job
Choose your patch compound based on the damage: use lightweight spackle for small nail holes and shallow dents. Reach for joint compound when you’re filling larger gouges or feathering seams.
Compare products by strength and shrinkage, and don’t forget safety—wear a dust mask and eye protection before you sand.
Plan around drying time and sanding ease so you’re not rushing the repair and ending up with a wavy wall under paint.
Match Compound To Damage
Before you open a tub of spackle, match the patch compound to the size, depth, and location of the damage so the repair doesn’t crack, shrink, or telegraph through the paint.
For shallow scuffs and nail pops, choose a fast-setting, fine-grain filler that feathers cleanly for smooth color correction and texture blending.
For deeper dents, missing paper, or gouges, use a stronger, buildable compound that you can apply in thin lifts without sagging.
In damp areas like bathrooms, pick a moisture-resistant product to limit softening and mold risk.
Over glossy or previously painted surfaces, use a compound that bonds well after you degloss and dust.
Wear a respirator when sanding, and vacuum dust before priming to keep adhesion predictable.
Compare Spackle, Joint Compound
Matching the compound to the damage gets easier once you know what spackle and joint compound actually do best.
Spackle advantages show up on small, shallow defects: nail holes, minor dents, and light edge chips. It stays where you put it, so you can fill cleanly without slumping. Use it indoors on painted drywall or trim, and keep the lid on so it doesn’t skin over.
For broader repairs, choose joint compound. Common joint compound uses include smoothing taped seams, feathering larger patches, and leveling uneven paper or skim areas. It spreads farther and blends wide transitions better than spackle.
Whichever you pick, wear a dust mask when cutting loose drywall or scraping old paint, and keep your knife edges clean to avoid gouging surrounding surfaces.
Consider Drying And Sanding
Because patch compounds dry at different speeds and sand differently, you’ll get cleaner results when you plan the repair around your timeline and tolerance for dust.
Use thin coats and let each layer firm up before adding more; thick fills trap moisture and shrink later.
For fast Drying techniques, increase airflow with a fan, keep the room around 65–75°F, and avoid blasting heat that can crack the patch.
Check readiness by lightly pressing a fingernail—no dent means you can move on.
Choose Sanding methods that match the compound: start with 120–150 grit, then finish with 180–220 for paint-ready smoothness.
Wear a dust mask, use a sanding block, and vacuum with a HEPA filter between passes.
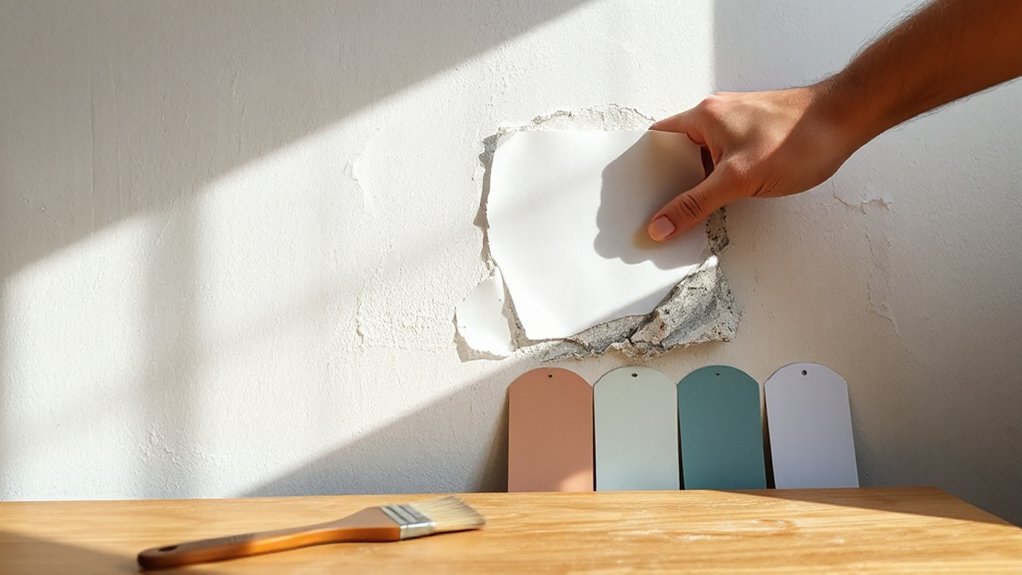
Apply Patch in Thin Coats (Tape If Needed)
Once you’ve cleaned out the damage and prepped the area, spread your patching compound in thin coats with a putty knife, pressing firmly to fill the void and feathering the edges onto the surrounding wall. Keep each pass tight and controlled so you don’t leave ridges or trap air pockets.
For deeper holes, build thickness gradually, letting each coat set before adding more to prevent shrinkage and cracking during patch application.
If the damage crosses a seam or a crack keeps reopening, use taping techniques: embed paper or fiberglass mesh tape over the joint, then skim a thin layer of compound through the tape to lock it down.
Wear gloves and eye protection, and keep blades clean to avoid gouging the drywall surface.
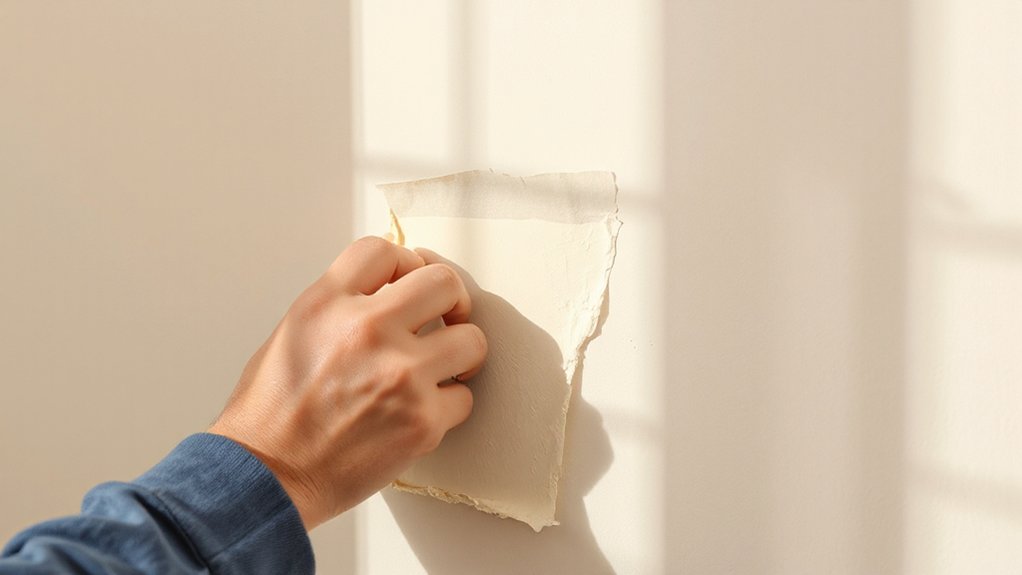
Sand Flat, Feather Edges, and Remove Dust
After the patching compound has fully dried, sand it flat with light, even pressure using a sanding sponge or fine-grit paper (120–220). Then feather the edges into the surrounding wall so you can’t feel a ridge when you run your hand across it.
Wear a dust mask and safety glasses, and keep a vacuum hose nearby to capture dust as you work. Check your progress with a work light held at a low angle; any high spots will cast shadows.
If your wall texture is heavy, don’t over-sand the surrounding area. Instead, blend only the patch perimeter so the texture transition looks natural.
Once smooth, wipe with a slightly damp microfiber cloth, then dry-wipe to remove residue that can interfere with paint color uniformity and sheen. Let the wall air out fully.
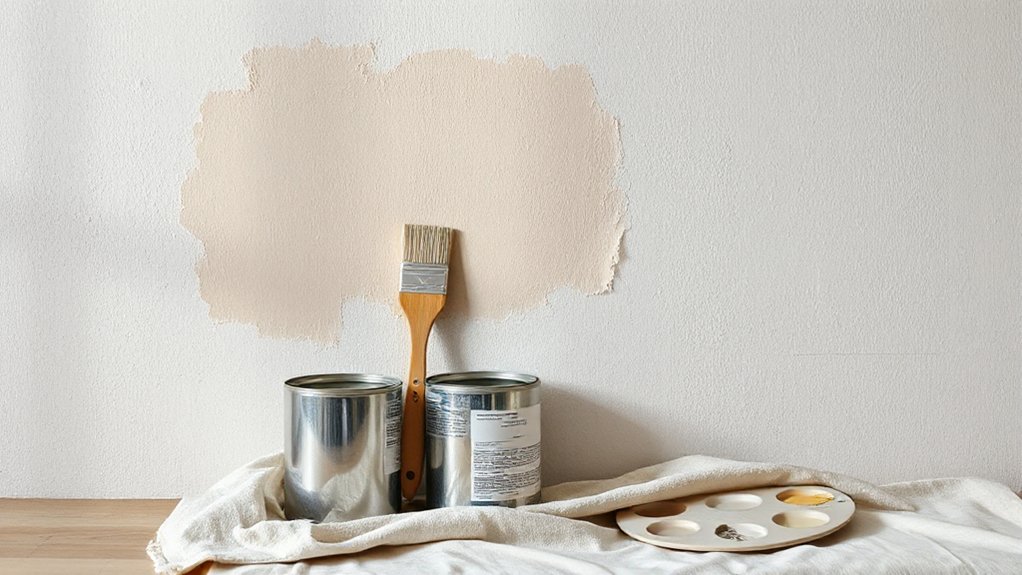
Prime the Patch so Paint Matches
Even if you’re using the same paint, you’ll get a more uniform color and sheen if you prime the patched area first, since fresh joint compound and spackle soak up paint differently than the surrounding wall.
For best color matching, seal the repair with a quality drywall primer or stain-blocking primer, especially if you’ve patched over water marks or grease.
Wear safety glasses and a dust mask if you’re working overhead, and ventilate the room.
For primer application, cut in the patch with a small brush, then roll lightly with a 3/8-inch nap to match existing texture.
Keep the primer thin to avoid ridges, and feather the wet edge 2–3 inches past the patch.
Let it dry fully before moving on.
Match Paint and Blend the Touch-Up
Because wall paint shifts with age, light, and grime, you’ll get the least noticeable touch-up by matching both the color and sheen before you start painting.
For Color matching, take a clean chip from behind a switch plate and have it scanned, or compare swatches in the room’s lighting. Confirm the sheen (flat, eggshell, satin) since the wrong gloss telegraphs repairs.
Stir paint thoroughly, then test on a primed scrap or an inconspicuous spot and let it dry fully; wet paint lies.
Feather edges with a small roller, not a brush, to mimic surrounding stipple.
For Texture blending, roll in multiple directions and keep a wet edge.
Ventilate the room, wear gloves, and avoid overloading the patch, which can create ridges.
Frequently Asked Questions
How Long Should I Wait Before Hanging Pictures on the Repaired Spot?
Wait at least 24 hours before hanging pictures on a repaired spot, and 48–72 hours if you applied thick compound or high humidity slows drying.
You’ll avoid dents, cracking, and pulling fresh paint.
Confirm the patch feels hard, cool-free, and matches the wall texture.
If you repainted, let the final coat cure 7 days for best adhesion and stable paint color, especially under hooks or adhesive strips.
Can I Patch and Repaint Walls in High-Humidity Rooms Like Bathrooms?
Yes, you can, but you must control moisture—bathrooms can hit 100% relative humidity during hot showers.
Use a dehumidifier or fan, and let the wall dry fully before patching.
Match the Wall texture with a moisture-resistant compound, then prime with a stain-blocking, mildew-resistant primer.
For Paint selection, choose a bathroom-rated satin or semi-gloss with mildewcide.
Wear eye protection, ventilate well, and avoid working near live fixtures.
What Should I Do if the Wall Damage Is Caused by a Recurring Leak?
If a recurring leak causes the damage, you must stop the water source before you repair anything. Shut off nearby valves, trace moisture with a meter, and call a plumber if the line’s hidden.
Dry the cavity fully, remove wet drywall, and treat for mold while wearing PPE.
Add Leak prevention measures (new seals, flashing, caulk).
Finish with Wall reinforcement using moisture-resistant board and proper fasteners.
How Can I Keep Patched Areas From Cracking Again Over Time?
Keep patched areas from cracking by securing loose drywall, taping seams, and using thin, layered compound with full dry time—rushing’s like icing a cake on a warm day; I did it once, and it split overnight.
Sand lightly, then prime to lock the patch.
Match texture matching before topcoats, and use the same paint sheen to avoid stress lines.
Control humidity, fix movement sources, and wear a respirator when sanding.
Do I Need Landlord Approval Before Patching and Repainting a Rental?
You usually need landlord approval before you patch and repaint, especially if you’ll change the paint color or texture. Check your lease, then email photos and your plan for written consent.
Use safe patching tools, ventilate the room, and shut off power near outlets before sanding.
Keep receipts and match the existing finish.
If they refuse, do only minor, reversible touch-ups to avoid losing your deposit.
Conclusion
You’ve diagnosed the scuff like a wall surgeon, then calmly staged your “tiny repair” that somehow uses half your garage. You cleaned, scraped, patched in thin coats, taped when cracks demanded it, and sanded with a respirator so you don’t inhale yesterday’s home-improvement optimism. You primed because paint won’t forgive shortcuts, then matched sheen and feathered the touch-up until it disappears. Step back, inspect under good light, and clean up safely.