
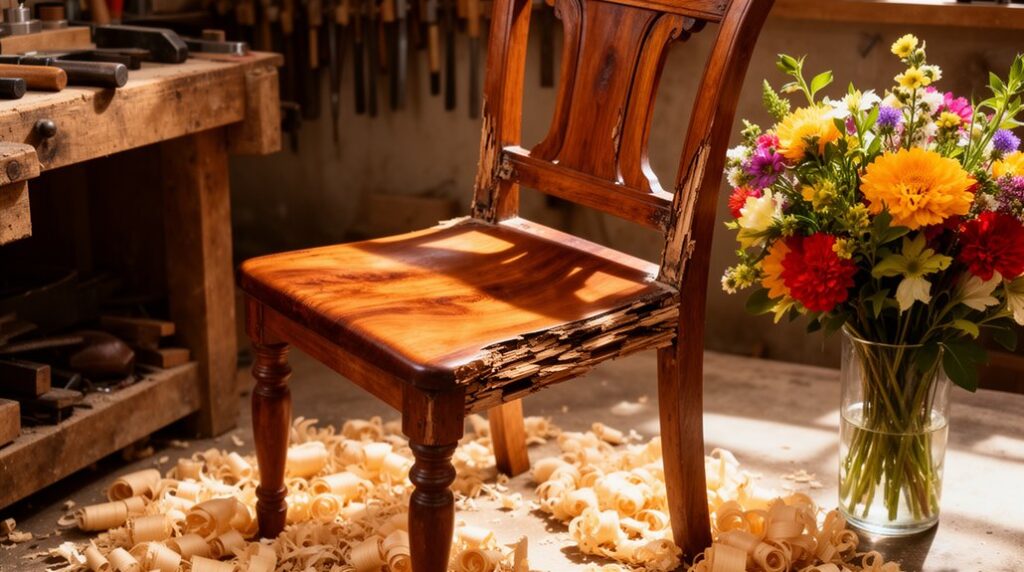
Start by wearing eye protection, gloves, and a dust mask, then rack the piece to spot loose joints, cracked rails, and stripped screws. Scrape out failed glue, dry-fit, re-glue, and clamp without over-tightening. Fix wobbly legs by trimming in tiny passes or shimming, or add adjustable glides. Clean and wax runners to free sticky drawers. Fill chips with matching filler, putty, or epoxy, then sand 120–220 grit and refinish. Keep going for deeper step-by-step tips.
Key Takeaways
- Inspect and label loose joints, cracks, and stripped holes, then photograph joinery so repairs go back together correctly.
- Re-glue wobbly frames by cleaning old adhesive, dry-fitting, applying thin wood glue, and clamping square until fully cured.
- Fix rocking tables or chairs by identifying the high leg, trimming or sanding in tiny passes, or shimming the short leg flush.
- Restore sticky drawers by cleaning runners, tightening guides, lightly planing grooves, and waxing contact surfaces for smooth sliding.
- Make surface damage disappear by choosing matching filler, putty, or epoxy, overfilling slightly, then sanding with the grain before refinishing.
Assess Old Furniture Repairs (Safety, Tools, Triage)

Before you pick up a clamp or a bottle of glue, take five minutes to assess the piece like a repair tech. Put on eye protection, gloves, and a dust mask; old finishes and splinters demand safety precautions.
Check stability by gently racking the frame, then note where it flexes, squeaks, or shifts. Inspect legs, rails, and stretchers for cracks, missing fasteners, or stripped screw holes.
Look for water stains, insect holes, and loose veneer so you don’t “fix” the wrong problem.
Gather the right tools: flashlight, square, feeler gauge or playing card, awl, painter’s tape, and a marker. Label trouble spots, photograph joinery, and rank repairs by safety-critical first.
This triage keeps Furniture restoration efficient.
Re-Glue and Clamp Loose Joints (Chairs, Tables)
Start by finding why the joint’s loose—failed glue, worn tenons, stripped dowels, or racked frames—so you don’t just mask the problem.
Clean out old adhesive, dry-fit for full contact, then spread fresh wood glue in a thin, even coat on both mating surfaces and seat the joint fully.
Clamp it square with steady pressure, wipe squeeze-out, and let it cure undisturbed for the glue’s full set time.
Identify Loose Joint Causes
Even if a chair or table only wobbles a little, the joint usually loosens for a specific reason you can spot quickly: old glue that’s turned brittle, seasonal wood movement that broke the bond, racking stress from being dragged or leaned on, or a joint that was never tight to begin with.
First, isolate the joint: grip both parts and twist gently; if movement occurs without wood fibers tearing, you’re seeing bond failure. Check for polished, glassy glue lines, crumbly hide-glue dust, or shiny PVA skins. Look for gaps that open on one side, signaling racking.
Inspect pegs, dowels, or tenons for ovalized holes and crushed end grain. For Historical restoration, note original joinery before disassembly. During furniture appraisal, document damage patterns to separate wear from structural neglect.
Apply Wood Glue Properly
Once you’ve confirmed the joint failed at the glue line—not because the wood itself cracked—you can put the fix on rails by re-gluing it correctly.
Pull the parts apart gently and scrape off old glue down to clean wood, working with the wood grain to avoid tearing fibers. If the joint is tight, use sandpaper or a small file sparingly so you don’t change the fit.
Dry-fit first so the tenon, dowel, or mortise seats fully.
Choose among adhesive types: PVA for most indoor chairs and tables, liquid hide glue for reversible repairs, epoxy only for gaps or damaged surfaces. Brush a thin, even coat on both mating surfaces, then assemble and wipe squeeze-out immediately with a damp rag.
Clamp And Cure Securely
After you’ve brushed on fresh glue and seated the joint fully, lock everything in place with the right clamps so the parts can’t creep while the adhesive cures.
For chairs, use bar clamps or parallel clamps across rails; for tables, add a strap clamp around aprons to pull corners tight.
Protect the wood with scrap pads, then tighten until you see a thin glue bead—don’t crush fibers or rack the frame.
Check alignment with a square and re-seat if needed before final snugging.
Practice clamp safety: keep fingers clear, set clamps on stable supports, and don’t overreach.
Wipe squeeze-out with a damp rag, then let the curing process run the full time on the label before stressing the joint.
Stop Rocking Legs: Level, Shim, or Replace Feet
Because a rocking chair or table usually means one leg isn’t making full contact with the floor, start by pinpointing the high corner, then choose the cleanest fix: level the leg by trimming or sanding, shim the short leg for a reversible repair, or replace worn feet so all four legs share the load evenly.
Set the piece on a flat surface and press diagonally to find the lift. Mark the long leg; take off material in tiny passes with sandpaper or a block plane, checking often. If you’d rather not cut, slip a hardwood or felt shim under the short leg, then trim it flush.
For lasting leg stability on uneven floors, consider adjustable glides. If pads are chewed up or missing, do foot replacement with matching caps or screw-in feet.
Get Old Furniture Drawers Sliding Smoothly Again
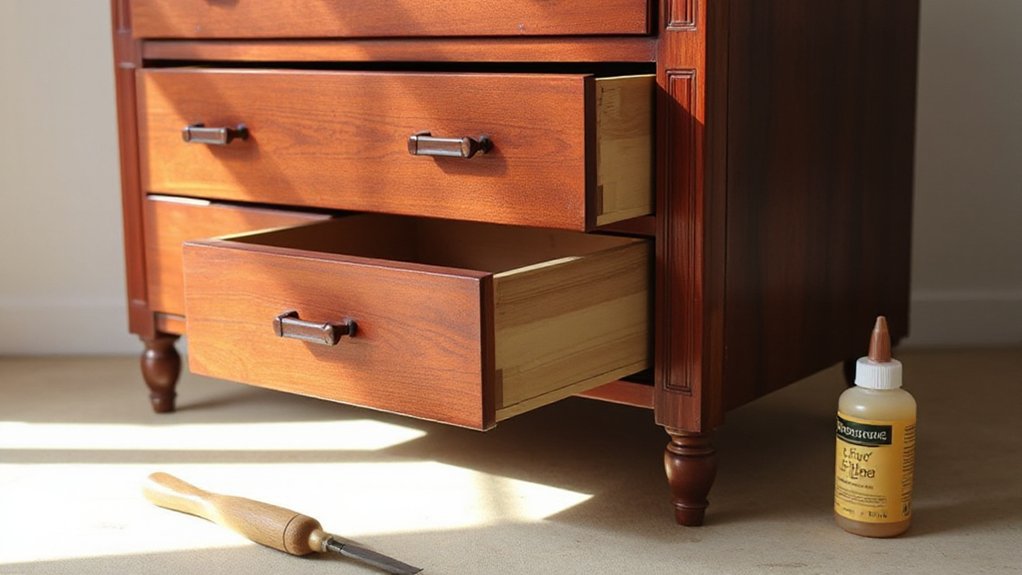
Even if the drawer box is still solid, years of dust, swelling wood, or worn runners can make it drag, bind, or jump off track. Pull the drawer, vacuum the case, and wipe runners with mineral spirits. Check for loose guide screws and snug them.
If wood-on-wood runners are grooved, plane or sand lightly, keeping surfaces flat and parallel. For drawer lubrication, rub paraffin or paste wax on runners and the drawer sides, then buff so it won’t attract grit.
If you’ve got a metal sliding mechanism, remove it, clean with degreaser, and reinstall square; replace bent members, not just the drawer. Adjust alignment by loosening mounting screws, shifting until smooth, then tightening. Test with a full load.
Fill Chips and Cracks (Filler vs Epoxy vs Putty)
When you’re filling chips and cracks in old furniture, you’ll get better results by matching the product to the damage instead of using one “all-purpose” fix.
Use wood filler for shallow dents and small chips you’ll sand and stain. Reach for putty when you need a flexible, stain-ready touch-up that won’t shrink much. Choose epoxy for deep cracks, missing corners, or structural spots that must bond hard.
Once you’ve picked the right material, you can focus on color-matching, shaping, and sanding so the repair disappears after finish.
Choosing Filler, Putty, Epoxy
How do you know whether a chipped corner or a hairline crack needs wood filler, putty, or epoxy? Start by choosing based on workflow: filler for sandable, paint-ready repairs; putty for quick cosmetic fixes that won’t be sanded much; epoxy for structural bonding and long-term durability.
Check the label for stainability and shrink rate, then pick a filler color close to your finish so you don’t chase mismatched touch-ups later. Mix and test on scrap: filler should spread like peanut butter, putty should knead smooth, and epoxy should blend to a uniform shade.
Prioritize epoxy strength when you need a rigid, high-adhesion patch. Whichever you choose, clean out dust, scuff the surface, and apply in thin, controlled layers. Let it cure fully before sanding or coating.
Matching Repair To Damage
Because every defect telegraphs what it needs, match the repair to the damage before you open a tub: use wood filler for shallow chips, nail holes, and surface cracks you’ll sand flush and paint or clear-coat. Use putty for tiny dents and pinholes where you want a fast, low-sanding cosmetic blend; and use epoxy for deep cracks, loose corners, missing chunks, or any spot that flexes and needs real strength.
Start with damage assessment: probe the crack with a pick, press the joint, and check if the area moves. If it’s stable and cosmetic, choose a sandable filler and feather past the edges. If it’s tiny and won’t be sanded, press in putty and level with a plastic card.
For structural damage, mix epoxy thoroughly, clamp if needed, and overfill slightly for final shaping.
Upgrade Old Furniture Fast With New Hardware
If your old dresser or cabinet still feels solid but looks tired, swapping the hardware is the fastest upgrade you can make. Start by choosing hardware styles that match the era: simple cup pulls for vintage, bar pulls for modern, or glass knobs for cottage.
Measure the existing hole spacing (center-to-center) and buy replacements that match to avoid extra drilling. If you must change spacing, use a drilling template and painter’s tape to prevent tear-out.
For installation tips, replace one knob or pull at a time so doors stay aligned, and snug screws by hand to avoid stripping. Add thin washers if screws bottom out, and check that drawers open smoothly before finishing.
Sand Smart: Grits, Edges, and Dust Control
New hardware can make a piece feel updated, but a clean, even surface is what makes the finish look intentional instead of “touched up.”
Start sanding with the least aggressive grit that still cuts the problem—often 120–150 for scuffs and old clear coat, 80–100 only for heavy paint or deep scratches—then step through finer grits (180, then 220) so you don’t leave swirl marks that telegraph through paint or stain.
Sand with the grain pattern, not across it, and use a block on flats to keep surface smoothness consistent.
Ease sharp edges with two light passes so they won’t chip later.
Vacuum, then wipe with a damp cloth; don’t just blow dust around.
Mask drawers and hardware holes to keep grit out.
Choose a Durable Finish: Paint, Stain, or Clear Coat
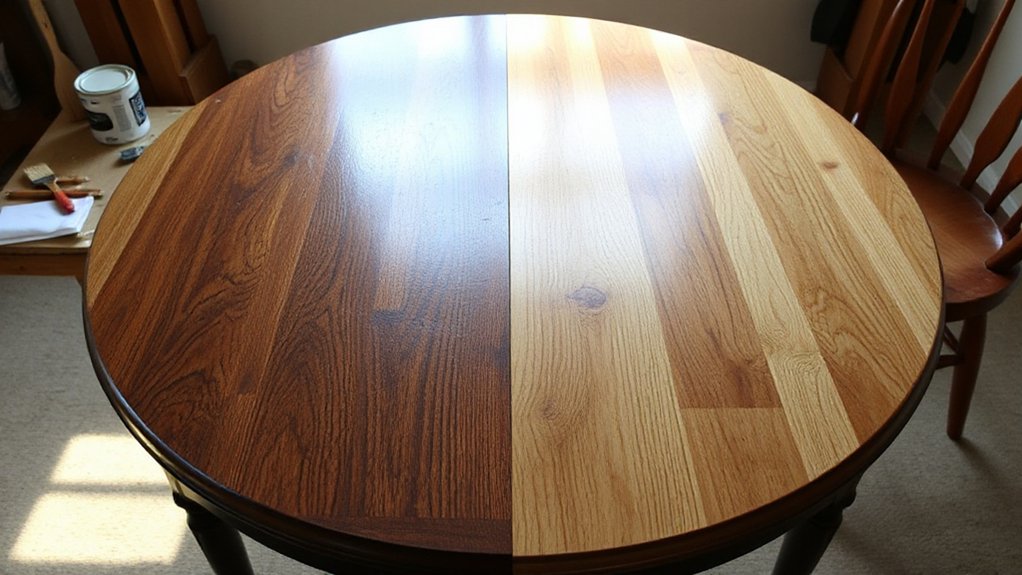
Once you’ve got a smooth, dust-free surface, pick a finish that matches how the piece will be used, not just how you want it to look.
For tables, chairs, and anything that gets handled daily, paint offers the most uniform coverage and hides patched spots, but choose a cabinet-grade enamel and let it cure fully.
If you want grain to show, stain works best on solid wood; use a pre-stain conditioner on blotch-prone species, then lock it in with a protective topcoat.
For lightly used pieces, a clear coat alone keeps the original color; polyurethane boosts toughness, while water-based acrylic stays clear.
When choosing finishes, make durability considerations first: heat, moisture, and abrasion decide.
Frequently Asked Questions
How Do I Remove Cigarette Smoke Odor From Old Wooden Furniture?
You’ll remove cigarette smoke odor by cleaning, absorbing, then sealing. Wipe all surfaces with a 1:1 vinegar-water mix, then dry thoroughly.
Set the piece in a ventilated area and run Air purification nearby (HEPA + carbon).
For Odor absorption, place activated charcoal or baking soda inside drawers and bag the furniture for 48–72 hours.
If odor lingers, lightly sand and apply a shellac-based primer/sealer, then refinish.
What’s the Best Way to Strip Lead-Based Paint Safely From Vintage Pieces?
You can strip lead-based paint safely by testing first, then using wet, contained, low-dust Safe stripping methods.
The theory that “dry scraping is fine if you’re careful” doesn’t hold up—dust spreads lead fast.
Seal the area with plastic, wear a P100 respirator, gloves, and goggles, and keep surfaces damp.
Use Lead paint removal techniques like chemical strippers or infrared heat (not open flame).
Bag waste, HEPA-vac, and mop.
How Can I Match Missing Veneer or Inlay Patterns on Antiques?
You can match missing veneer or inlay by tracing the surviving pattern, then making a paper or Mylar template and mirroring it for symmetry.
For Veneer repair, cut donor veneer from the same species and similar grain, then score with a knife, not a saw.
For Inlay matching, dye test scraps, then fit dry, tape, and glue with hot hide glue.
Level with a card scraper and tone.
When Should I Avoid DIY Repairs and Hire a Professional Conservator?
You should avoid DIY and hire a professional conservator when the piece feels like a house of cards—valuable, fragile, or historically significant.
If you see active cracks, loose joints in structural areas, water/fire damage, mold, or lifting veneer/inlay you can’t clamp cleanly, stop.
Restoration ethics matter when original surfaces or finishes could be lost.
Choose someone with Conservation certification, document condition, and request reversible materials and a written treatment plan.
How Do I Prevent Future Woodworm or Termite Damage After Repairs?
You prevent future woodworm or termite damage by controlling moisture, sealing entry points, and maintaining a regular inspection routine.
Keep furniture dry (40–55% humidity), fix leaks fast, and raise pieces off damp floors.
Apply an appropriate borate-based wood treatment to all exposed, repaired areas, then seal with wax or finish.
Improve pest prevention: store away from firewood, vacuum dust, and monitor with traps; re-treat annually if needed.
Conclusion
You start with wobbly legs, sticky drawers, and gapped joints; you end with furniture that feels tight, level, and smooth. You trade squeaks for silence, chips for clean lines, and dull finishes for durable protection. When you re-glue and clamp, shim or replace feet, tune drawer runners, and fill cracks with the right material, you fix structure—not just looks. Add fresh hardware, sand with control, and seal it well.

