Stop a sticking or dragging door by first finding where it rubs: swing it slowly, watch the reveal gaps, and slide paper around the edges to pinpoint snags, then mark them with painter’s tape. Support the door with a wedge and tighten hinge screws; replace any that spin with longer screws into the stud or add hinge shims. If it sticks at the latch, shift or file the strike plate. Control humidity (30–50% RH) and sand or plane only as a last step. Keep going to learn the exact fixes for each spot.
Key Takeaways
- Diagnose where it sticks by moving the door slowly and sliding paper around edges; mark tight spots with painter’s tape or chalk.
- Tighten hinge screws evenly; replace stripped screws with longer ones into the stud to pull a sagging door back into alignment.
- Adjust the strike plate by shifting it toward the rub mark or lightly filing its opening so the latch engages without binding.
- Sand or plane only the marked high spots, then seal/prime any raw wood to prevent future swelling and sticking.
- Control indoor humidity to 30–50% RH using fans or a dehumidifier, since moisture-swollen wood often causes dragging.
Locate Where the Door Is Sticking
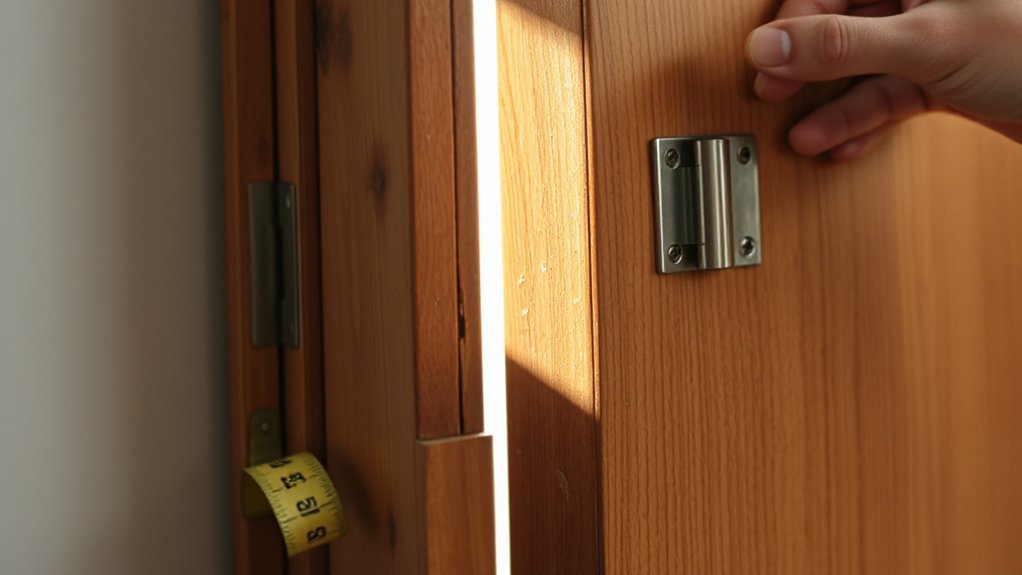
Start by finding the exact spot where the door binds, because the fix depends on whether it’s rubbing the jamb, dragging on the floor, or catching at the latch. Open and close it slowly, using light pressure so you don’t pinch fingers or crack trim. Watch the reveal (the gap) around the slab; a tight gap points to the contact area.
Slide a strip of paper around the edges to detect where it snags, and mark that spot with painter’s tape. Check the floor for scuff lines, rug edges, or swollen thresholds.
At the latch side, look for scrape marks on the strike plate. Note the door material and door color, since painted softwood and bare hardwood show wear differently.
Tighten Hinge Screws on a Sticking Door
Once you’ve marked where the door rubs, check the hinges first, since loose screws let the slab sag and bind at the latch side or scrape the floor. Support the door with a wedge or folded cardboard so it can’t drop while you work.
Using the correct screwdriver bit, snug each hinge screw by hand; stop when the head seats flush to avoid stripping. Open and close the door after each hinge to confirm the rub improves.
If a screw spins, remove it, inspect for damaged threads, and replace it with an identical-size screw for basic door hinge maintenance.
Also check the latch-side hinge screws: looseness there can mimic door latch repair issues by shifting alignment.
Finally, tighten the hinge leaf screws evenly so the hinge stays square.
Fix a Sagging Door With Longer Screws or Shims
If tightening didn’t stop the sag, swap one hinge screw at a time for a longer screw that bites into the stud, and support the door so it can’t shift while you work.
If the gap still isn’t even, add thin hinge shims behind the hinge leaf to nudge the door back into position without forcing the jamb.
When you’re done, close the door slowly and check reveal spacing and latch alignment, adjusting in small steps until it swings freely.
Replace Hinge Screws
When a door drags because it’s sagging, worn or loose hinge screws usually let the hinge side slip and drop the slab. Start by supporting the door with a wedge or a helper so the hinge leaves stay aligned and you don’t pinch fingers.
Open the door, then check each hinge for stripped heads or spinning screws. Remove one screw at a time, not the whole hinge. Replace short or damaged screws with longer, matching-gauge wood screws that reach the framing (often 3 inches). Drive them straight with a hand screwdriver or a clutch-set drill to avoid stripping.
If the hinge leaf is bent or cracked, move to door hinge replacement. Finish with basic hinge maintenance: tighten remaining screws and confirm the door swings freely.
Install Hinge Shims
Although longer hinge screws often pull a sagging door back into alignment, a thin hinge shim gives you finer control by slightly changing the hinge leaf angle without forcing the jamb.
Start by supporting the door with a wedge or shims under the latch side, so the hinge pins aren’t taking all the weight. Remove one hinge leaf’s screws, and gently swing the door away just enough to slip in hinge shims (cardstock, brass, or purpose-made plastic) behind the hinge leaf on the jamb or door side, depending on where it rubs.
Reinstall screws by hand first to avoid cross-threading, then snug them evenly. Keep fingers clear of the hinge gap and wear eye protection. Add or trim shim thickness gradually to tune door alignment.
Check Door Alignment
Where’s the door actually going out of square—at the latch side, the top corner, or along the hinge edge? Close it slowly and watch the reveal (gap) around the frame. If the top latch-side corner hits first, the door’s sagging on the hinges. Check door hardware: loose hinge screws, bent leaves, or a cracked jamb.
Support the door with a wedge, then replace one hinge screw at a time with a 3-inch screw driven into the stud. Don’t over-torque; you can strip the wood. Recheck the gap after each screw.
If the jamb’s bowed, add a thin shim behind the hinge leaf instead. Keep hinge pins fully seated so security features (latch engagement and deadbolt throw) align correctly and don’t bind.
Stop a Door From Dragging on Carpet or a Threshold
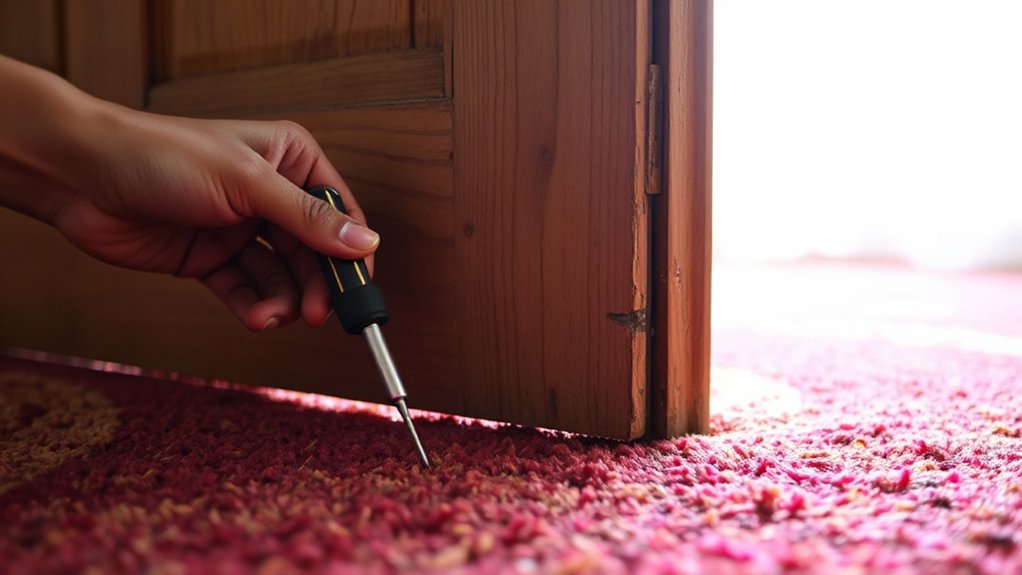
Open and close the door slowly to pinpoint exactly where it’s rubbing on the carpet or threshold, and mark the contact spot with painter’s tape.
Then tighten loose hinge screws and adjust the hinges as needed to lift the door slightly—support the door’s weight so it can’t slip.
If it still drags, you’ll need to trim the bottom edge in small passes and wear eye and hearing protection while you cut or sand.
Identify Dragging Contact Point
Before you adjust hinges or start trimming, pinpoint exactly where the door makes contact with the carpet or threshold so you don’t remove more material than necessary. Open and close the door slowly while watching the bottom edge and listening for a scrape.
Slide a thin strip of paper or cardboard under the door; where it snags marks door contact. For carpet, press the pile down with a putty knife and repeat to confirm it’s the door, not loose fibers.
For a threshold, check for shiny rub marks or paint transfer. You can also coat the bottom edge lightly with chalk or lipstick, then make one pass; the transfer line shows the exact high spot.
Note any hinge contact at the jamb too.
Tighten Or Adjust Hinges
Why does a door suddenly start dragging even when the carpet or threshold hasn’t changed? Most often, the hinges loosen, the hinge pins bind, or the jamb shifts slightly.
Start with a Door frame inspection: look for gaps at the hinge side, cracked paint, or screws backing out.
Support the door with a wedge, then tighten every hinge screw. If screws spin, replace them with longer ones that bite into the framing.
Check hinge leaves for bend; snug them flat to the jamb.
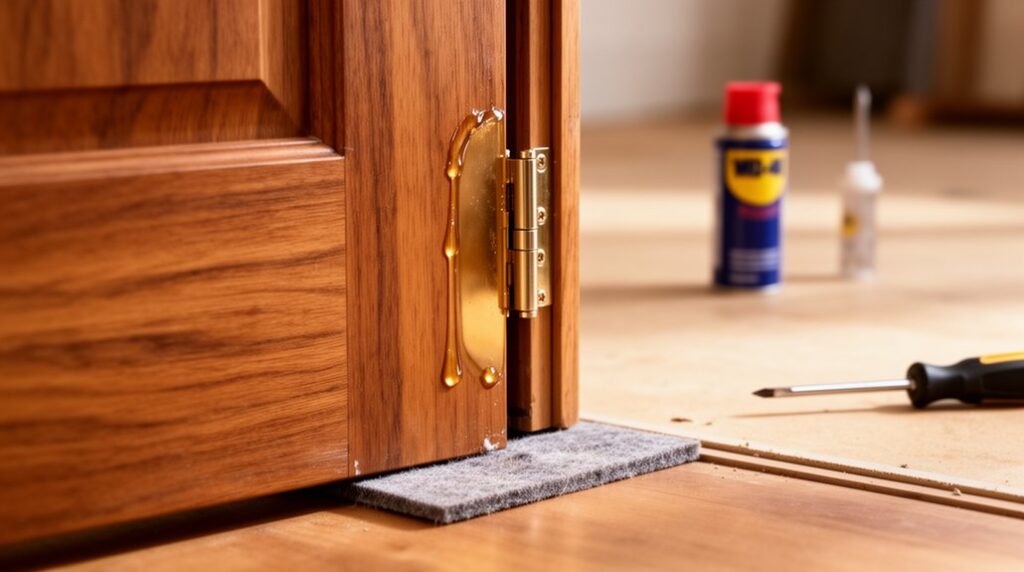
Pull the pin and do Hinge lubrication with a light oil, then reinstall.
Finally, test swing and latch alignment.
Work slowly, keep fingers clear of hinge knuckles, and wear eye protection.
Trim Door Bottom Edge
If the hinges check out but the door still scrapes carpet or bumps a threshold, trimming the bottom edge gives you a clean, permanent fix.
Remove the door and mark the cut line with the door held in place using shims, leaving clearance for rugs and seasonal swelling. Measure twice, then score the line with a utility knife to reduce splintering.
Clamp a straightedge as a guide and cut with a circular saw or hand plane, wearing eye and hearing protection. Ease sharp edges with sandpaper, then seal raw wood with primer or paint to prevent moisture swelling.
Rehang the door and verify smooth swing. Finally, reinstall or adjust the door seal and weather stripping so you don’t create drafts. Test clearance across the full swing arc.
Remove Paint Buildup Along the Sticking Edge
When a door sticks along the latch side or hinge edge, paint buildup often creates a tight ridge that grabs the jamb. Mark the rub spots with chalk, then open the door and protect floors with a drop cloth. Wear safety glasses and a dust mask before you start paint removal.
Score the paint line with a sharp utility knife so you don’t tear surrounding layers. Use a paint scraper or sharp chisel held nearly flat, working with the grain in light passes.
For buildup cleaning in tight corners, use a sanding sponge (120–150 grit) or a folded sheet of sandpaper. Vacuum dust and wipe with a damp rag; let it dry.
Touch up bare wood with primer and a thin coat of paint, then test the swing and latch.
Reduce Humidity That Makes Doors Swell and Stick
Although a sticking door can look like a hinge or paint problem, high indoor humidity often swells wood just enough to make it drag on the jamb. Start with humidity control: check a hygrometer and aim for 30–50% RH.
If readings stay high, improve ventilation by running the bath fan during and 20 minutes after showers, using the range hood while cooking, and keeping HVAC returns unblocked.
For Dehumidifier usage, place the unit near the problem room, close windows, and set it to 45–50% RH. Empty the reservoir daily or route the drain hose to a floor drain to prevent spills.
Keep cords away from water, use a GFCI outlet, and clean the filter monthly so airflow stays strong.
Sand or Plane the Door Edge (Last Resort)
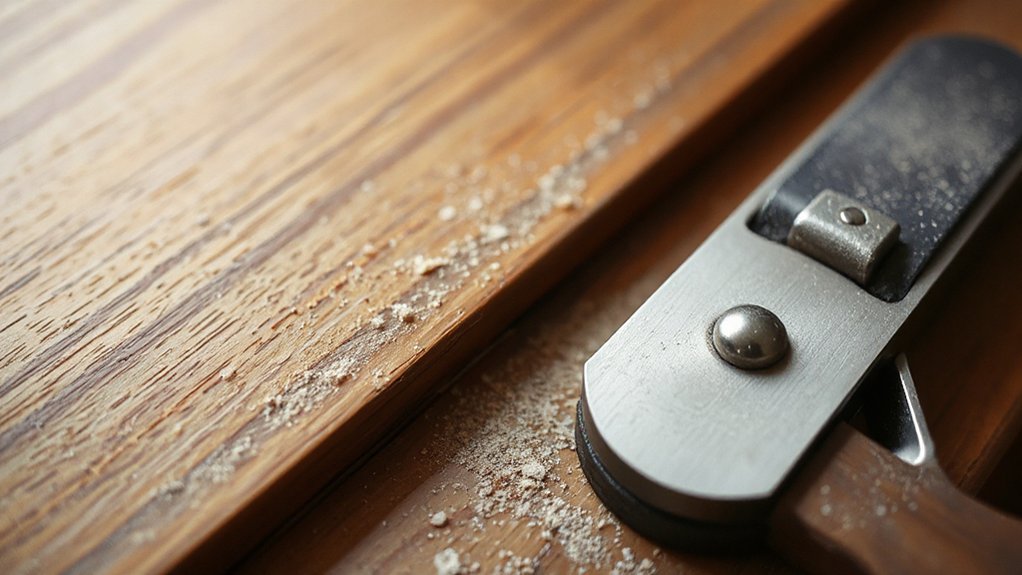
A bit of careful sanding or planing can free a door that still drags after you’ve fixed humidity, but treat it as a last resort because you can’t put wood back once it’s gone. First, mark the rub spot with chalk, then open and close the door to transfer the mark.
Remove the door, support it on padded sawhorses, and wear eye and dust protection.
For minor binding, sand the edge with a block and 120–150 grit, keeping the face square.
For bigger high spots, use a sharp hand plane with light passes along the grain—classic woodworking techniques.
Rehang and test often; stop as soon as it clears.
Seal raw wood with primer or finish to prevent future swelling and improve door maintenance.
Adjust the Strike Plate When the Door Sticks at the Latch
If the door swings freely but hangs up right at the latch, the strike plate on the jamb usually sits a hair too high, low, or tight. Start by marking where the door latch rubs: close the door slowly and watch for contact, or dab lipstick on the latch bolt to transfer a mark onto the strike plate.
Open the door and loosen the strike plate screws one turn. Shift the plate slightly toward the rub mark, then retighten and test. If the screws won’t hold, replace them with longer 3-inch screws into framing.
For minor interference, file the inside edge of the strike plate opening; wear eye protection and keep fingers clear. Don’t over-file—remove a little, test, and stop when the latch clicks cleanly.
Frequently Asked Questions
What Type of Door Material Is Most Prone to Seasonal Sticking?
Solid wood door material is most prone to seasonal sticking because it absorbs moisture and swells during seasonal expansion. You’ll notice pine, fir, and other softwoods move a lot, while engineered cores stay steadier.
You should watch exterior-facing doors and humid rooms first. Don’t force a stuck door; you can pinch fingers or damage hinges.
You’ll reduce problems by keeping finishes sealed and maintaining consistent indoor humidity.
Should I Fix Sticking Doors Before Installing New Flooring or Trim?
Yes—you should fix sticking doors before you install new flooring or trim, so you don’t end up with “surprise carpentry” later. Check Door frame alignment first; shifting jambs can change your reveal and floor clearance.
Then do Door hinge lubrication and tighten or replace loose screws.
Measure the door-to-floor gap to match the new finish height.
Use eye protection when planing or drilling, and control dust.
When Should I Call a Carpenter Instead of DIY Fixing a Sticking Door?
Call a carpenter when you can’t pinpoint the cause after a quick material inspection, or when the fix needs a professional assessment of the frame, hinges, or structure.
If the door binds due to settling, a warped jamb, damaged studs, or uneven floors, you risk making it worse.
Also call if you’d need power-planing, re-hanging, or cutting near wiring, pipes, or lead paint for safety.
Can Weatherstripping Cause a Door to Stick, and How Do I Check?
Yes—weatherstripping can make your door stick if it’s too thick, misaligned, or swollen.
For example, after you replace foam tape in a hallway, the latch won’t catch unless you shoulder it. Check by opening the door, inspecting for shiny rub marks on the door frame, then close it on paper: if it grips tightly, strip’s too tight.
Adjust or replace it, and improve humidity control to prevent swelling.
Will Warranty Coverage Be Void if I Plane or Sand My Door?
Yes—if you plane or sand the door, you can void coverage, especially for factory finishes, fire ratings, or structural defects. Check your warranty terms and call the manufacturer first.
Before altering anything, verify door frame alignment and try door hinge lubrication to rule out easy fixes.
If you must plane, remove the door, wear eye/respiratory protection, take off minimal material, seal exposed wood, and document everything.
Conclusion
Now you’ve tracked the rub, snugged the hinges, and brought the door back into line. Picture it swinging smooth and quiet, no scrape on carpet, no thunk on the jamb. Before you sand or plane, put on eye protection and a dust mask, and keep your fingers clear of blades and bits. Wipe away paint ridges, tame humidity, and test the latch. A few careful tweaks beat forcing it shut.