
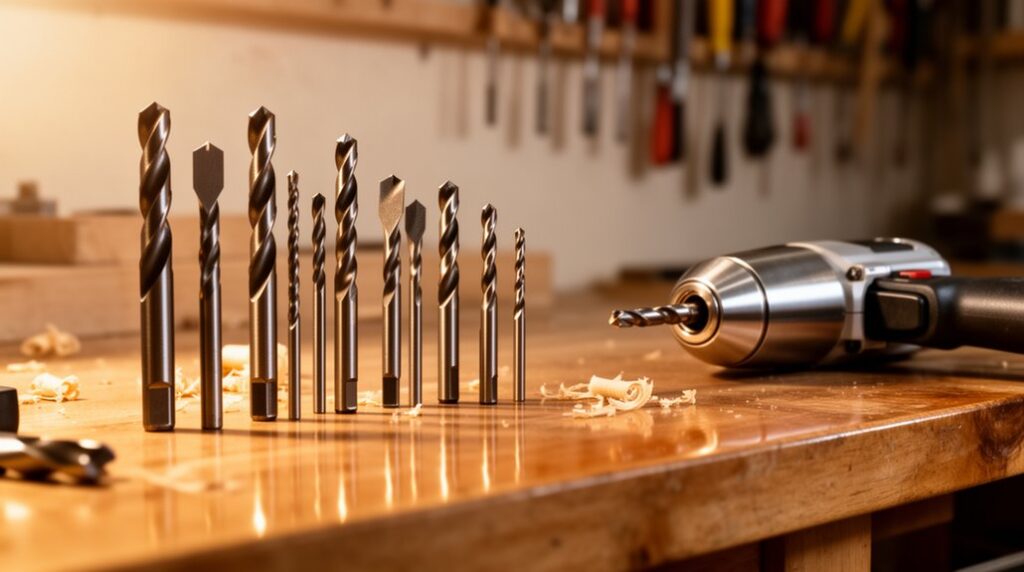
Choose drill bits by material first: brad-point or spade bits for wood, HSS or cobalt for metal, carbide-tipped masonry bits for concrete/brick (with a hammer drill), and spear-point carbide or diamond bits for tile and glass. Match the shank to your chuck (round, hex, SDS) and confirm metric vs imperial sizes to prevent wobble. Drill slow to start, use steady pressure, peck to clear chips, and stop if you see smoke or blueing. Keep going for deeper tips.
Key Takeaways
- Match the drill bit to the material: wood, metal, masonry, tile, and glass each require different bit designs.
- Choose the bit type for the task: twist for general holes, brad-point/Forstner for clean wood holes, masonry for concrete, hole saws for large openings.
- Confirm size and shank compatibility with your drill chuck (round, hex, SDS) and verify metric vs imperial to prevent wobble.
- Use proper technique: start slow, apply moderate pressure, and peck-drill deep holes to clear chips and reduce heat.
- Prioritize quality and safety: use sharp bits, replace damaged or blue-discolored ones, clamp workpieces, and wear eye protection.
Choose a Drill Bit by Material (Fast Guide)
If you match the drill bit to the material you’re cutting, you’ll drill faster, reduce heat, and lower the chance of snapping the bit or damaging the surface.
For wood, choose brad-point or spade bits; their cutting edge design centers the hole and clears chips cleanly—clamp the work and back it with scrap to prevent tearout.
For metal, use HSS or cobalt; add cutting oil, keep speed low, and apply steady pressure so the bit doesn’t overheat or wander.
For masonry, use carbide-tipped bits; wear eye protection, clear dust often, and don’t force the tool.
For tile or glass, use spear-point carbide or diamond; start slow with light pressure and keep it cool.
Always confirm material compatibility before drilling.
Drill Bit Sizes: Shanks, Metric, and Sets
Next, you’ll match the shank type (round, hex, or SDS) to your drill or chuck so the bit seats fully and won’t slip under load.
You’ll also confirm whether you’re working in metric or imperial sizes, since a near-match can still cause wobble, oversize holes, or broken bits.
Finally, you’ll pick a bit set that covers the sizes you actually use, includes clear markings, and stores securely so you don’t grab the wrong size mid-job.
Shank Types And Fit
Because the shank is the part that actually locks into your drill or driver, choosing the right shank type and size matters as much as the cutting tip. Prioritize Shank compatibility: match round shanks to three-jaw chucks, and use hex shanks for quick-change impact drivers.
For larger bits, a reduced shank lets you run a big cutter in a smaller chuck, but you must tighten evenly to prevent wobble.
Aim for Fit precision. Insert the shank fully, then back it out slightly so the jaws clamp on straight steel, not the flute. Tighten the chuck in all keyholes or by ratcheting by hand, then tug-test the bit.
If you see runout, stop and reseat—wobble can snap bits and grab workpieces. Use gloves only for handling, not drilling.
Metric Vs Imperial Sizes
Whether you buy bits one at a time or in a boxed set, you’ll quickly run into two sizing systems: metric (mm) and imperial (fractional or numbered/lettered). Match the system to your hardware and drawings so holes don’t end up sloppy or too tight.
Metric sizes step in predictable increments, while imperial fractions, numbers, and letters fill in “in-between” diameters. When you’re replacing a bit, don’t guess—measure the shank or cutting diameter with calipers and confirm the marking.
For safety, avoid forcing the wrong size; it can grab, overheat, and snap.
Good tool maintenance helps accuracy: clean resin, keep edges sharp, and retire chipped bits.
Use clear storage solutions—labeled sleeves or a rack—to prevent mixing standards and dulling.
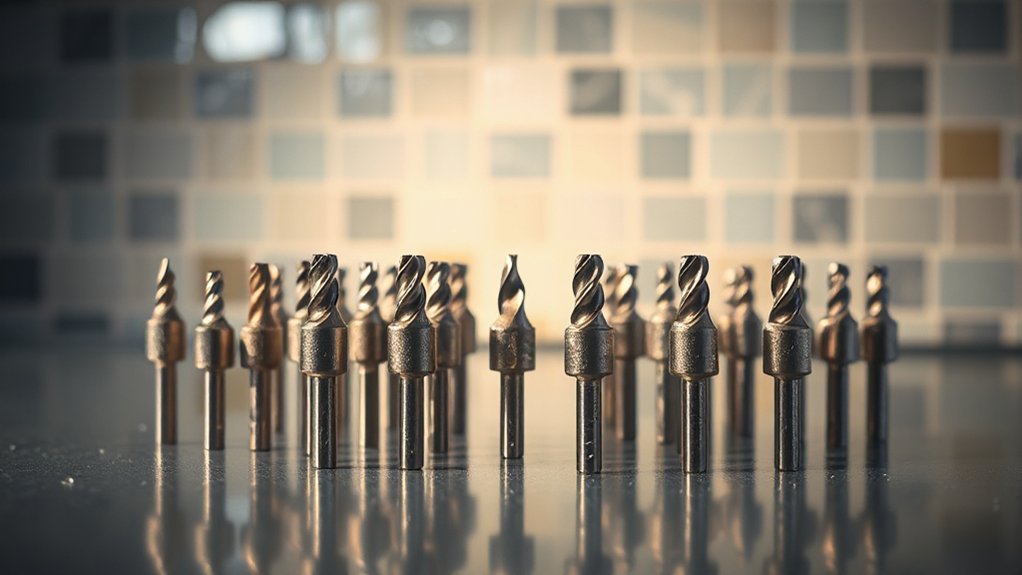
Choosing Bit Sets
Before you grab the biggest boxed kit on the shelf, check that the set matches your drill’s chuck and the materials you actually work with. Confirm shank type and size: 1/4-inch hex for drivers, round shanks for keyed or keyless chucks, and SDS for hammer drills—don’t force a mismatch.
Next, look for useful bit set diversity: common twist sizes you’ll replace, plus brad-point for clean wood holes, masonry bits for concrete, and step bits for sheet metal. Pick sets that clearly label metric and imperial sizes and include a gauge or indexed case so you don’t grab the wrong bit.
Choose budget friendly options by buying smaller, purpose-built sets, then replace worn bits individually. Wear eye protection and clamp work.
Common Drill Bit Types (and What Each Is For)
You’ll reach for twist bits first for general drilling in wood, metal, and plastic, but you need the right speed and steady pressure to avoid overheating or snapping.
For fast, rough holes in wood (like wiring or plumbing runs), spade bits work best—clamp your workpiece and keep your hands clear as the wide paddle can grab.
When you’re drilling concrete, brick, or block, use masonry bits with hammer mode if your drill supports it, and wear eye protection while you clear dust often to prevent binding.
Twist Bits Basics
Because twist bits handle most everyday drilling jobs, they’re the first type you should recognize and keep on hand. You’ll use them for wood, plastic, and many metals, especially when you match the bit’s material and coating to the workpiece.
For cleaner holes, mark your location, center-punch metal, and start with a smaller pilot size.
Use solid drilling technique: set the right speed (slower for metal), keep the bit perpendicular, and apply steady pressure without forcing it. Clear chips often by backing out, and use cutting oil on steel to reduce heat.
Clamp your work, wear eye protection, and keep loose sleeves away from the chuck. If the bit squeals, smokes, or wanders, stop and adjust speed, pressure, or alignment.
Spade Bits For Wood
Need a fast way to bore a larger hole in wood without fussing over perfect finish? Reach for a spade bit. Its paddle-shaped cutter hogs out material quickly for rough plumbing, wiring, and bolt holes.
Mark your center, then start the drill slowly until the point bites; after that, keep steady pressure and moderate speed to reduce tear-out.
Pay attention to wood grain and grain direction: drilling with the grain can wander, so clamp your work and keep the bit square.
For cleaner exits, stop when the tip pokes through, flip the board, and finish from the other side.
Clear chips often, and don’t force a dull bit. Wear eye protection and secure loose clothing.
Masonry Bits For Concrete
When a project calls for anchoring into concrete, brick, or block, a masonry bit gives you the carbide-tipped cutting edge that can survive abrasive aggregate. Pair it with a hammer drill when possible, because the percussive action chips material while the flutes clear dust.
Mark depth with tape, start slow to prevent wandering, then increase speed once the hole’s established. Keep the bit cool, back it out often, and vacuum dust so you don’t bind.
Wear eye protection and a respirator; silica dust is hazardous.
For large penetrations like conduit sleeves, switch to core bits and use steady pressure without forcing. If the bit won’t cut, stop and replace it—dull carbide overheats fast.
Drill Bits for Wood (Clean Holes, Low Tear-Out)
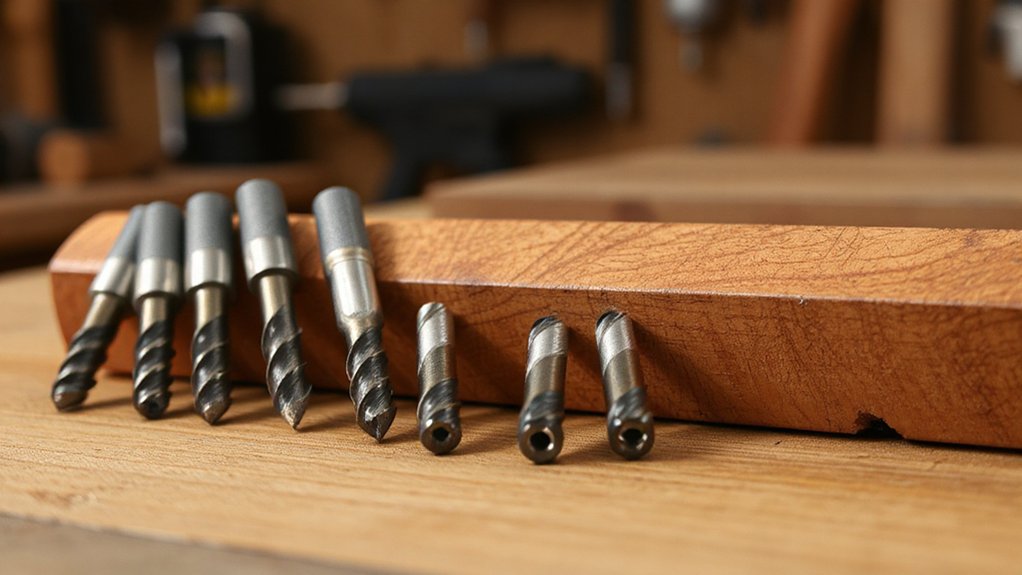
How do you drill wood without ragged edges or splintered exit holes? Match the bit to the job and control the cut. Brad-point bits track on center and slice wood fibers cleanly, especially across wood grain.
For larger holes, use Forstner bits for flat bottoms and crisp rims; use spade bits only for rough work.
For deep, clean holes, pick auger bits and clear chips often to avoid heat and binding.
Plan for tear out prevention: clamp a sacrificial backer board, drill from the show face, and slow down as the point breaks through.
Mark with an awl, keep the drill perpendicular, and secure loose sleeves and hair.
Wear eye protection and let the bit do the work.
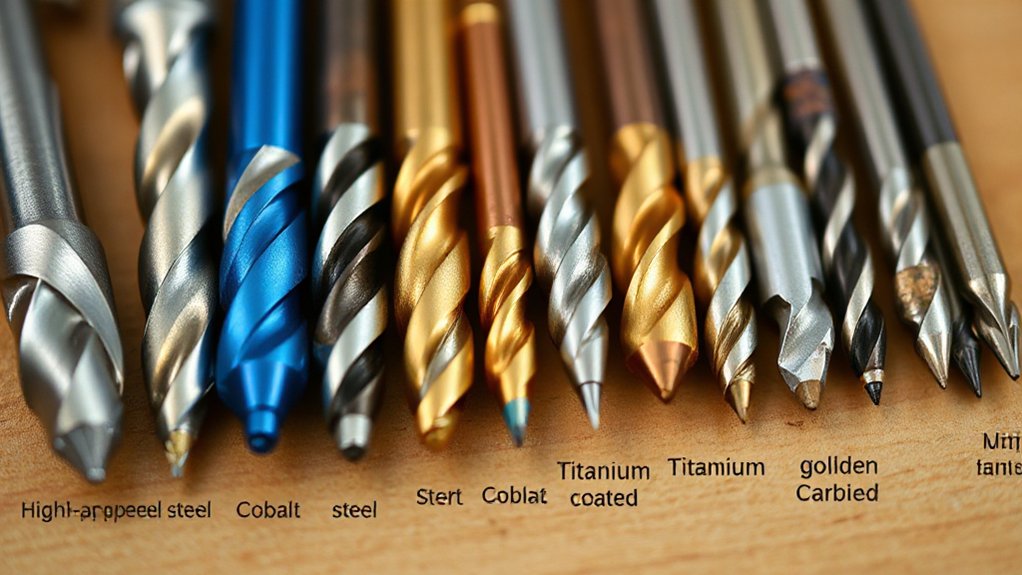
Drill Bits for Metal: HSS vs Cobalt vs Carbide
Although wood forgives a dull edge, metal doesn’t—so you’ll get better holes (and fewer broken bits) if you choose the right material: HSS bits handle mild steel and aluminum for general shop work, cobalt bits (HSS with added cobalt) take higher heat and last longer in tougher steels and stainless, and carbide bits stay extremely hard for hardened steel and abrasive alloys but demand rigid setups and careful handling.
Match speed and pressure to the metal: slower RPM, steady feed, and cutting fluid reduce heat and grabbing. Center-punch, clamp the work, and wear eye protection—chips are sharp.
For better life, consider drill bit coatings like black oxide for smoother cutting or TiN/TiAlN for heat resistance, but don’t expect coatings to fix poor Metalworking techniques. Replace bits that blue or wander.
Drill Bits for Masonry and Concrete: Carbide-Tipped Bits
Because concrete and masonry chew up standard twist bits in seconds, you’ll want carbide-tipped masonry bits designed to crush and chip brittle material rather than shave it.
Use a hammer drill when you can; let the tool do the work and don’t force it, or you’ll overheat the tip.
Start with Masonry surface preparation: mark the hole, check for rebar or conduits, clear dust, and tape a depth flag on the bit.
Drill at a right angle, pulsing to evacuate grit, then vacuum or blow out the hole to protect lungs and improve fastener hold.
For anchors and epoxies, clean holes support Concrete adhesion techniques—dust-free walls bond better.
Wear eye protection, hearing protection, and a respirator always.
Drill Bits for Tile and Glass: Drill Without Cracking
When you drill tile or glass, you need a bit that grinds cleanly instead of grabbing and shattering the surface. Choose a spear-point carbide bit for ceramic and porcelain, or a diamond-coated hole saw for glass and larger openings. Check the packaging for Glass compatibility and match the bit diameter to your anchor or fixture.
For Tile safety, stabilize the work: tape the mark with painter’s tape, support loose tiles on a flat backer, and clamp glass between scrap wood pads. Start with a small pilot dimple using a center punch made for tile, or a guide block, so the bit won’t skate. Keep the hole clear of grit, and stop as soon as you break through.
Wear eye protection and gloves always.
Drill Bit Mistakes to Avoid (Speed, Pressure, Heat)
The same control that keeps tile and glass from cracking will also keep any drill bit from failing early: manage speed, pressure, and heat. Run too fast and you’ll burn the cutting edge; too slow and you’ll rub, work-harden metal, and dull the bit. Match RPM to bit size and material, then start slow to center.
Push with steady, moderate pressure. If you’re leaning hard, the bit’s not cutting—back off, clear chips, and check alignment. Peck-drill in deeper holes to evacuate debris and reduce binding.
Control heat with cutting fluid on steel and coolant pauses on hard materials. Stop if you see smoke or blue discoloration.
For drill bit longevity, replace or start sharpening drill bits when they wander, squeal, or make powdery chips.
Frequently Asked Questions
How Do I Sharpen Dull Drill Bits at Home?
You can sharpen dull drill bits at home with a bench grinder or a drill-bit sharpener. Unplug tools, wear eye protection, and clamp the bit.
Use light passes, keeping the original angle (often 118°), and cool the tip in water to avoid overheating.
Match both cutting lips so they’re equal length and centered.
Check with a gauge or by drilling a test hole.
Regular tool maintenance improves results and supports safer sharpening techniques.
When Should I Replace a Drill Bit Instead of Sharpening?
Replace a drill bit instead of sharpening when you see deep chips, cracks, bent flutes, or a burned-blue tip—those defects can’t grind out safely.
If repeated sharpening shortens it, throws the point off-center, or it still wanders and overheats, you’ve reached the drill bit lifespan limit.
Swap it when material compatibility changes (e.g., hardwood to metal) and the bit’s coating or geometry is wrong.
Don’t risk breakage.
Can I Use a Drill Press Bit in a Handheld Drill?
Yes, you can, but it’s like fitting a square peg in a round hole if the shank won’t match. Check tool compatibility: your handheld drill’s chuck must clamp the bit’s shank securely (straight or reduced shank works; Morse taper won’t).
Consider drill bit materials—HSS or cobalt handle handheld heat better than brittle carbide.
Use low speed, firm grip, and eye protection always. Avoid wobble.
What’s the Best Way to Store Drill Bits to Prevent Rust?
Store your drill bits in a dry, sealed case with desiccant packs, and wipe them with a light oil film after use for Rust prevention.
You’ll get better Storage solutions if you separate bits in labeled holders so edges don’t nick.
Don’t leave bits in the chuck or on a damp bench.
Wear gloves when handling oily bits, and keep the case away from chemicals and heat sources.
Inspect monthly.
Are There Safety Tips for Drilling Overhead or in Tight Spaces?
Like working under a leaky roof, overhead drilling demands extra care.
You’ll want Safety precautions: wear eye protection, a hat, and a dust mask, and secure loose hair and clothing.
You should brace your stance, keep two hands on the tool, and use a side handle if you’ve got one.
In tight spaces, don’t overreach—reposition your body, use shorter bits, and unplug before adjustments.
Conclusion
You’ve seen the theory that “one good bit drills everything,” but in practice it fails: materials shed heat and resist cutting differently, so the right geometry and coating matter. You’ll get cleaner wood holes with brad-points, safer metal drilling with HSS/cobalt and cutting fluid, and reliable concrete holes with carbide tips. Match shank and size to your chuck, then control speed, pressure, and heat. Wear eye protection, clamp workpieces, and replace dull bits.

