

Cut timber accurately by sticking to one measuring method for the whole batch and using a stop block or fixed fence so lengths repeat. Mark crisp, thin cut lines with a sharp pencil or knife, square them across the face, and X the waste side. Unplug and calibrate your saw to true 90°, clean the blade, and align the fence. Clamp guides or jigs for straight cuts, support both sides, and feed steadily. Keep going to pick up easy fixes for bad cuts.
Key Takeaways
- Use one measuring reference for the whole batch, and lock stop blocks or gauges to keep lengths consistent.
- Mark with a sharp pencil or knife, square lines across faces, and clearly label the waste side to avoid overcuts.
- Calibrate saws with power unplugged: set blade to true 90°, clean pitch, and align fence parallel to the blade.
- Clamp straight guides or use jigs like sleds, confirm alignment with a square, and test-cut scrap before final cuts.
- Choose the right blade, fully support the workpiece, and feed steadily without forcing to prevent drift and tear-out.
Use One Measuring Method for Consistent Timber Lengths
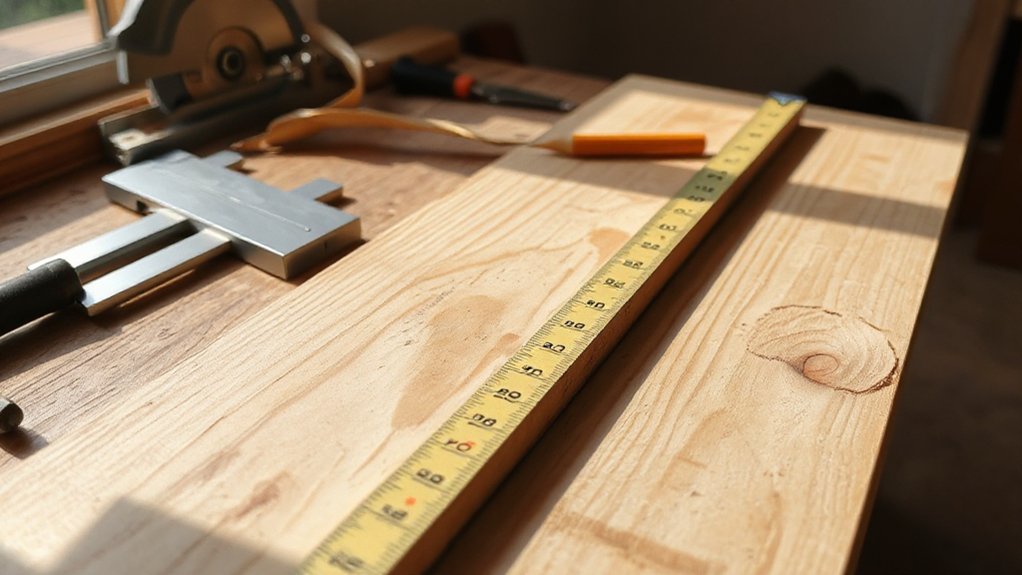
Before you mark or cut anything, pick one measuring method and stick with it for the entire batch—either measure every piece from the same reference edge (a stop block, the board’s factory end, or a fixed fence) or use the same tape hook position and technique each time. Your goal is repeatability, not perfection on one board.
If you use a Measuring tape, keep the hook tight to the end (or consistently “push” it) and read the same side of the tape to avoid parallax.
If you set lengths with a stop block, clamp it firmly and verify it won’t shift under vibration.
For repeated offsets from an edge, set a marking gauge once and lock it; don’t re-measure each board.
Keep hands clear when test-fitting near blades.
Mark Timber Cut Lines You Can Follow Clearly
Even if your measurement is perfect, a cut will wander if you can’t see the line clearly at the blade. Use a sharp pencil or marking knife for crisp, thin lines, and refresh the point often. For dark or rough timber, switch to a fine white pencil or chalk, then strike the line once, not repeatedly, to avoid widening it.
Square the mark across the face you’ll cut from, then extend it down the edge so you can track drift. Choose marking techniques that match your cutting tools: knife lines guide handsaws cleanly, while pencil lines suit power saw kerfs.
Mark the waste side with an “X” to prevent accidental overcutting. Keep fingers clear when marking, and clamp timber so it can’t roll.
Set Up Your Saw to Cut Timber Square
Before you cut, unplug the saw and calibrate the blade to the table with a reliable square so it locks in at a true 90°.
Then align the fence and any guide or track so they run parallel to the blade, and test with a short scrap cut to confirm the offcut stays square.
Tighten all adjustments, recheck your measurements, and keep guards and supports in place so the timber can’t shift mid-cut.
Calibrate Blade Squareness
Although your tape measure might be dead-on, you’ll still get crooked, gappy joints if your saw blade isn’t square to the table and fence.
Unplug the saw, remove the throat plate, and raise the blade fully. Clean pitch from the blade and arbor so readings don’t lie.
Place a reliable machinist square against the blade body (avoid the teeth) and the table. For squareness verification, lock the bevel at 0° and check for daylight. If it’s off, adjust the bevel stop screw until the blade sits perfectly 90° to the table.
Recheck after tightening, since fasteners can shift settings. Finish by spinning the blade by hand to confirm blade alignment stays consistent through rotation.
Replace the plate before power-up.
Align Fence And Guide
A square blade won’t save your cut if the fence or guide points the timber off-line, so set them to run true with the blade. Unplug the saw, lock the fence, and measure from the blade (avoid teeth) to the fence at the front and back. Adjust until both readings match; that’s solid Fence alignment and it prevents binding and kickback.
For guide setup on a circular saw, clamp a straightedge parallel to your cut line and confirm the baseplate edge-to-blade offset with a test cut on scrap. Keep clamps clear of the motor path, and support the offcut so it can’t pinch the blade. Recheck alignment after moving the fence or changing blades each session.
Cut Straight Every Time With Guides and Jigs
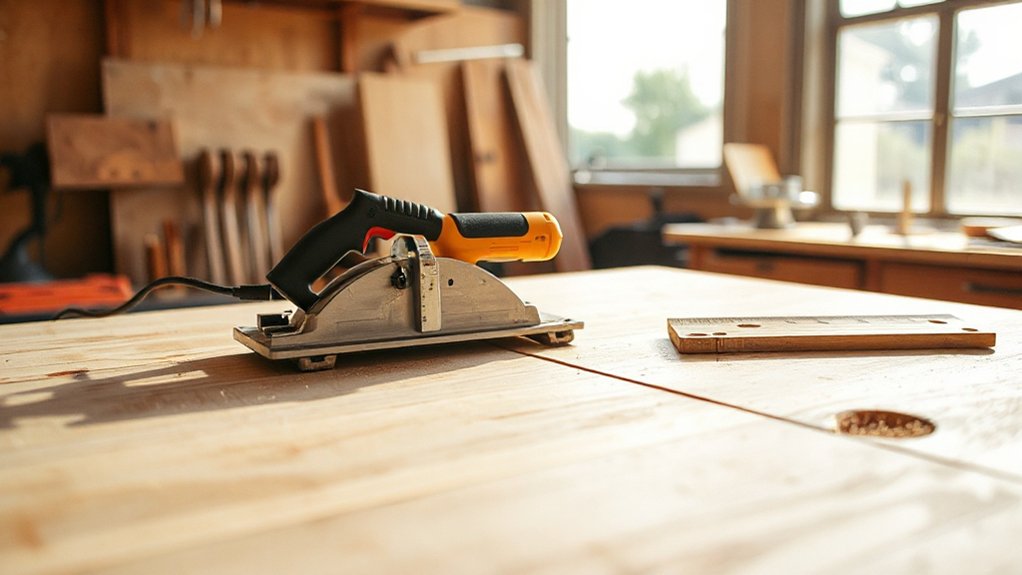
When you need a dead-straight cut, a guide or jig removes guesswork by keeping the blade on a fixed path and your hands out of the danger zone. Build or buy a straightedge guide for circular saws, or use a crosscut sled for table saws, and clamp it firmly before you power up.
For material selection, choose flat, stiff stock for shop-made guides (plywood or MDF) so they won’t flex. Set the guide using your saw’s offset, then verify alignment with a square and a test pass on scrap.
Follow safety precautions: wear eye and hearing protection, support the work on both sides, keep cords clear, and never reach over the blade. Let the jig do the tracking, not your grip.
Cut Timber Cleanly to Prevent Tear-Out and Drift
To keep cuts clean and on line, you’ve got to match the blade to the job—use a sharp, fine-tooth blade for plywood and a ripping blade for long grain, and replace any blade that burns or pulls.
Support the timber fully on both sides of the kerf and clamp it so it can’t shift, which reduces tear-out and prevents the saw from wandering.
Guide the saw with a straightedge or track and keep steady, controlled feed pressure with your hands clear of the cut path and the cord out of the way.
Choose The Right Blade
Even if your saw is perfectly set up, the wrong blade will pull the cut off-line and leave ragged edges. Match Blade types to the job: use a higher tooth count for plywood and trim to reduce tear-out, and a lower tooth count for fast rip cuts along the grain.
Pick the correct kerf and tooth geometry your saw can handle; an underpowered saw can stall and wander with a thick blade. Control Cutting speed by feeding steadily without forcing—if you push too hard, you’ll heat the teeth, burn the timber, and invite drift.
Inspect for dull or chipped teeth, pitch buildup, and warped plates, then replace or clean before cutting. Always unplug or remove the battery when changing blades.
Support And Guide Cuts
Because timber shifts under load, solid support and a reliable guide matter as much as blade choice for clean, accurate cuts. Set your board on sawhorses or a sacrificial sheet so it can’t sag or pinch the blade.
Support both sides of the cut, but leave the offcut free to drop so it won’t bind and kick back.
Use clamping techniques that lock the workpiece and the guide: clamp a straightedge, track, or speed square firmly, then check it’s parallel to your cut line at both ends.
Keep clamps clear of the saw’s motor path.
Score the cut line with a knife to reduce tear-out, and tape splinter-prone faces.
Wear safety equipment: eye protection, hearing protection, and a dust mask.
Correct Timber Cuts That Are Long, Short, or Out of Square
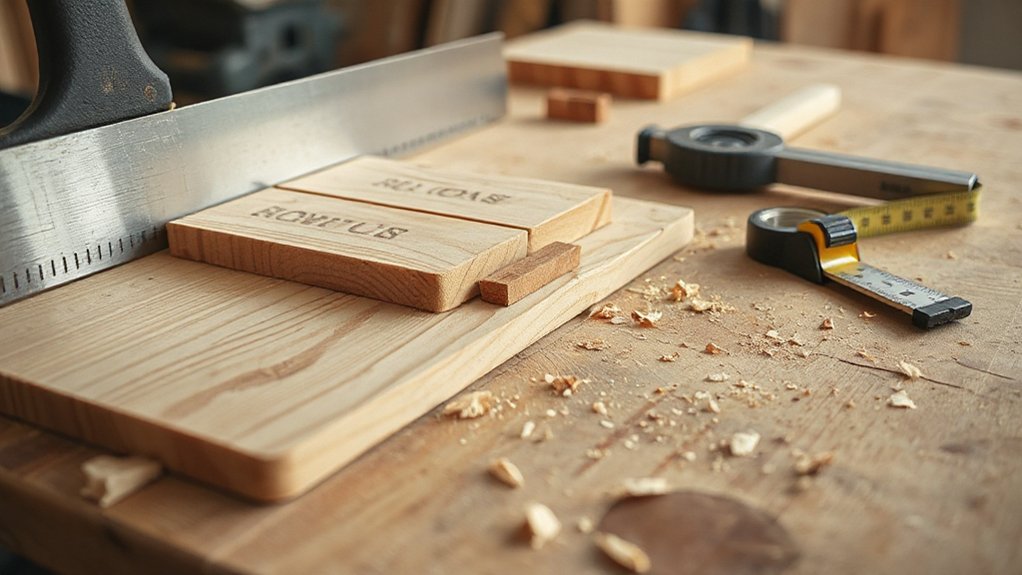
When a timber cut ends up a hair long, a touch short, or slightly out of square, don’t force the fit—verify what went wrong and correct it with a controlled, repeatable process. First, re-measure from a known reference face, then check your square and saw fence alignment. Mark the true line with a knife, not pencil, so you can register the blade cleanly.
If it’s long, trim with a shooting board or light passes on a miter saw, keeping hands clear and using a clamp or stop block. If it’s short, don’t “stretch” it—adjust the layout and hide gaps with tighter wood jointing or recut the mating piece.
For out-of-square ends, plane or joint the face before timber staining, and recheck diagonals. Always cut with stable support and eye protection.
Frequently Asked Questions
What Moisture Content Should Timber Have Before Precision Cutting?
Aim for 8–12% moisture content before precision cutting; keep it closer to 6–9% for indoor furniture. Check moisture levels with a pin meter and test several spots, including ends.
If readings vary more than 2%, continue timber drying in a ventilated, shaded space with stickers.
Cutting wet boards risks warping, binding, and kickback, so wear eye protection, use sharp blades, and let wood acclimate to your shop for a week.
Which Timber Species Are Easiest to Cut Accurately for Beginners?
For beginners, you’ll cut pine, spruce, and poplar most accurately because they’re soft, straight-grained, and forgiving. You’ll also find clear (knot-free) boards track truer.
Use sharp Cutting tools and support the workpiece to prevent tear-out and binding. Wear eye and hearing protection, and keep hands clear of the line.
If you need more Timber durability, choose Douglas fir; it cuts cleanly but resists slightly.
How Do I Safely Support Long Boards While Cutting Alone?
Set the board on two sturdy sawhorses or a roller stand so it stays level.
Then here’s the tricky part: keep the offcut from dropping. Use clamping techniques to pin the board near your cut line, and add a sacrificial support or wedge under the offcut.
Wear safety gear: eye protection, hearing protection, and snug gloves.
Don’t reach under a running blade; stop first, then reposition safely.
When Should I Use a Handsaw Instead of a Power Saw?
Use a handsaw when you need quiet, precise trimming, work in tight spots, or cut small stock where a power saw feels risky. You’ll control the kerf better with slower cutting techniques, especially near finished edges.
Choose a power saw for repetitive cuts and thick timber.
Keep tool maintenance tight: sharp teeth/blades, clean guards, and true fences. You’ll reduce kickback, splintering, and fatigue with steady support.
How Can I Reduce Dust and Improve Airflow During Indoor Cutting?
Trap dust, then move air: you’ll breathe easier and see your cut line.
For Dust control, connect a shop vac to the saw, add a HEPA filter, and mist the cut lightly to keep particles down.
For Airflow enhancement, open two windows for cross-ventilation and place a box fan blowing out to create negative pressure.
Seal door gaps with painter’s tape, and wear an N95/respirator.
Conclusion
When you cut timber accurately, your builds fit first time and stay safer to use. Stick to one measuring method, mark a bold line, and set your saw square before you start. Use a guide or jig, support the offcut, and wear eye and hearing protection. For example, when you’re framing a small shelf, one 3 mm-long leg will rock the whole unit—trim it with a stop block and recheck for square.

