Start by measuring the crack with calipers, photographing it with a scale, and marking the ends so you can recheck in 2–4 weeks. If it widens, stair-steps, or comes with sticking doors, uneven floors, or moisture stains, pause and call a pro. For cosmetic cracks, wear eye protection, score a shallow V, vacuum dust, add mesh or paper tape if needed, apply flexible compound in thin coats, sand, prime, and repaint. Next, you’ll see how to match fixes to crack types.
Key Takeaways
- Measure and photograph the crack, mark endpoints, and recheck over 2–4 weeks to see if it’s growing.
- Look for warning signs like sticking doors, uneven floors, stair-step patterns, or moisture stains that suggest deeper problems.
- Fix underlying causes first: improve drainage, extend downspouts, seal exterior gaps, and maintain steady indoor humidity.
- For hairline cracks, score, clean, apply flexible spackle, feather edges, sand smooth, then prime and repaint.
- For wider or recurring cracks, widen to a “V,” embed mesh or paper tape, apply multiple coats, and call a pro if over 1/4 inch.
Are Your Wall Cracks Structural or Cosmetic?
Before you patch anything, you need to figure out whether the crack signals a real structural problem or just a surface defect.
Start with Wall crack terminology: you’re looking for movement clues, not just a line. Measure width with a feeler gauge or calipers, note length, and photograph it with a date. Mark endpoints in pencil to track growth.
Check nearby doors and windows for sticking, new gaps, or misalignment. Look for uneven floors, bulging walls, or moisture staining that could weaken materials.
Do a basic Structural integrity assessment: identify what’s bearing load in that area, then watch for change over 2–4 weeks. If the crack widens, reappears after repair, or you see sagging, call a licensed structural engineer.
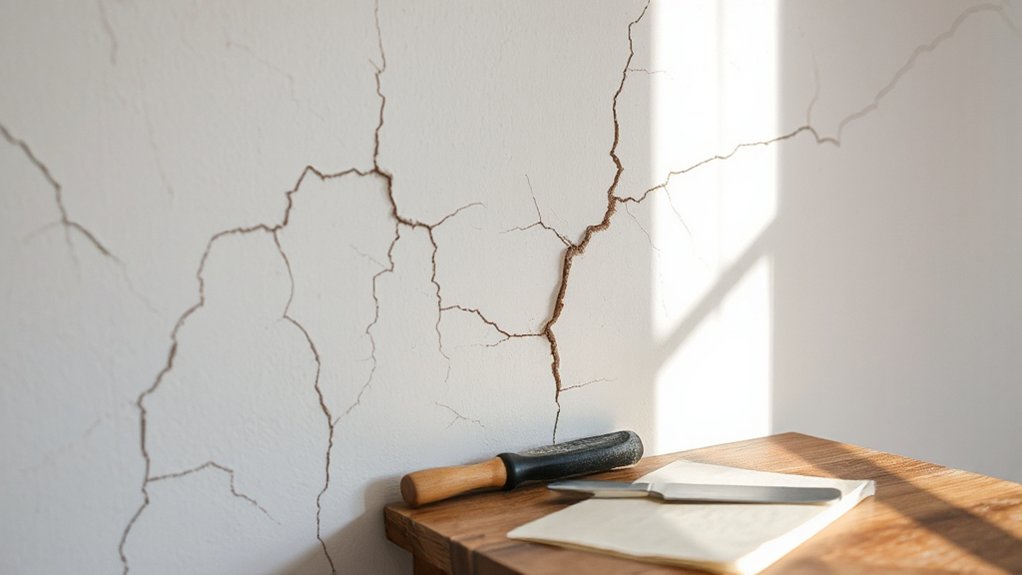
Identify Wall Cracks by Shape and Location
Once you’ve determined a crack isn’t actively worsening, you can narrow the cause by reading its shape and where it appears. Note whether it’s hairline, wide, jagged, or straight. Vertical cracks often track along drywall seams; horizontal lines may follow tape joints or corner bead. Stair-step cracks that trace block or brick lines show up on veneer walls and chimneys. Diagonal cracks near door and window corners deserve extra attention because stress concentrates there.
Map the crack: measure length and widest point, then mark endpoints in pencil for rechecks. Use a flashlight held low to reveal texture patterns, raised edges, or crumbling. Photograph with a ruler for scale.
When you repair, plan for paint matching after priming so the patch blends.
What Causes Common Wall Cracks (Quick Guide)
Now that you’ve mapped the crack’s shape, width, and location, use that information to pinpoint what’s driving it so you can choose a repair that won’t reopen.
Hairline, random crack patterns often come from normal drying shrinkage in plaster, drywall mud, or fresh paint.
Straight vertical cracks near corners can signal framing movement or seasonal humidity swings.
Stair-step cracks along mortar joints typically point to settling or moisture issues in masonry.
Wide, tapering cracks that change quickly can indicate ongoing foundation movement—treat these as a safety flag.
Check the wall material: drywall seams fail at joints; plaster cracks at lath lines; concrete cracks at stress points.
Look for water staining, bulging, or soft spots, and isolate leaks or condensation before repairing.
Tools and Materials to Fix Wall Cracks
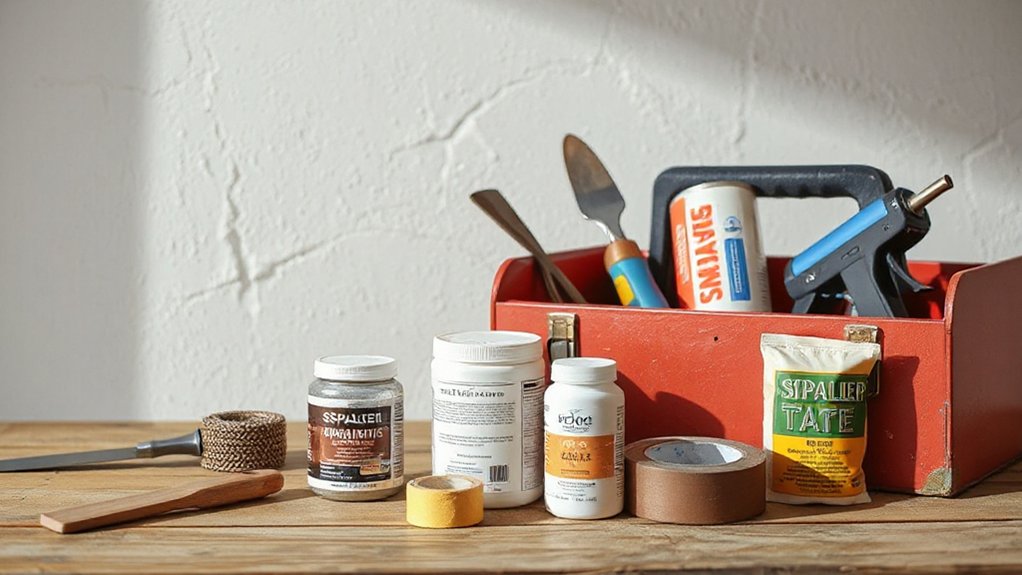
Although the exact repair method depends on what’s causing the crack and what the wall is made of, you’ll get cleaner, longer-lasting results if you gather the right tools and materials upfront. Start with PPE: safety glasses, nitrile gloves, and a P100 or N95 mask for sanding dust. Keep a drop cloth, painter’s tape, and a bright work light to spot shadow lines.
For prep, grab a utility knife, stiff putty knife, 5-in-1 tool, wire brush, and a vacuum with a HEPA filter.
For filling and shaping, have a joint knife set, mixing tray, sanding block, 120–220 grit paper, and a damp sponge. Stock patching compound, setting-type joint compound, fiberglass mesh tape, and matching Wall texture spray.
Finish with primer, caulk, and quality brushes/rollers for consistent Painting techniques.
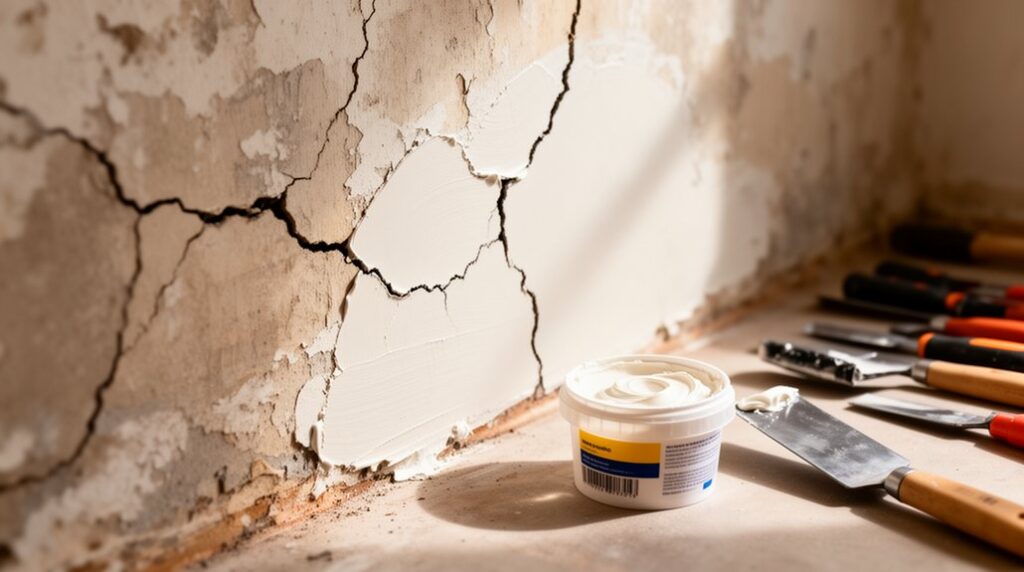
Fix Hairline Wall Cracks in Paint or Plaster
If you catch a hairline crack early, you can stop it from telegraphing through fresh paint with a quick, clean repair. Start by laying down a drop cloth and wearing safety glasses and a dust mask.
Lightly score the crack with a utility knife to remove loose paint or crumbly plaster, then vacuum the dust. Wipe with a damp sponge and let it dry fully.
For paint-only cracks, press flexible spackle into the line with a putty knife, feathering the edges.
For plaster repair, work setting-type patch or joint compound into the crack in thin coats, letting each coat harden.
Sand smooth with fine grit, wipe clean, then prime. Finish with paint touch up, blending outward to match sheen.
Keep the room ventilated.
Fix Drywall Seam Cracks (So They Stay Gone)
Why do drywall seam cracks keep reappearing even after you patch and paint? Because the joint moves, and a thin skim coat can’t bridge that movement.
Start by scoring the crack and scraping off loose compound. Wear safety glasses and a dust mask, and vacuum dust so new mud bonds.
If the drywall seam shows a ridge, lightly sand it flat, keeping the sander moving to avoid gouges.
Apply a setting-type joint compound, then embed paper tape centered over the crack; don’t stretch it.
Add a second coat wider than the first, feathering edges.
For seam reinforcement, use mesh only if you cover it with setting compound to prevent bubbles.
After it cures, sand smooth, prime, and repaint.
Patch Wide Wall Cracks and Corner Splits
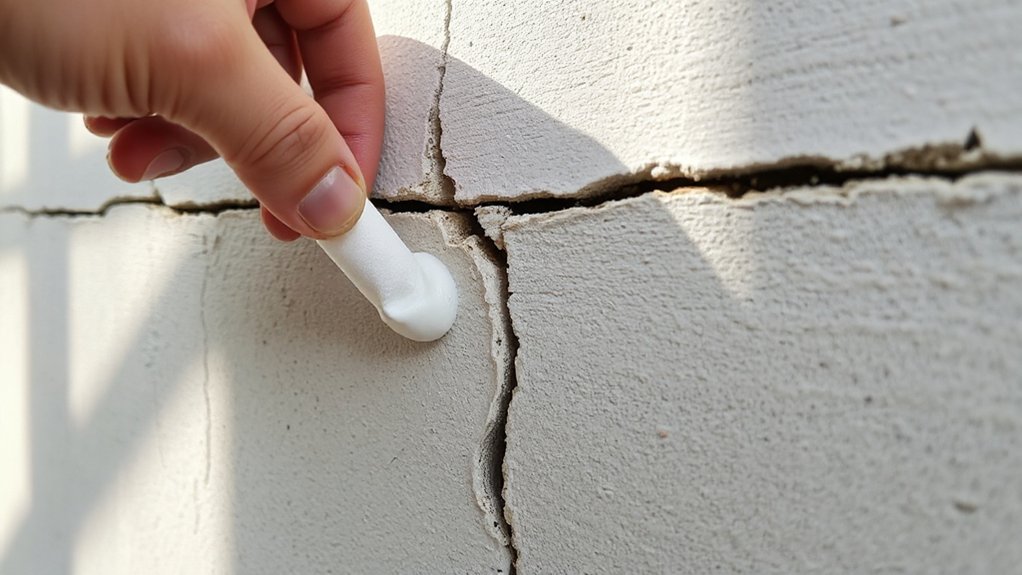
Seam cracks usually signal joint movement, but wide wall cracks and corner splits often mean the surface has separated enough that a simple skim coat won’t hold. Put on safety glasses, score loose paint, and widen the crack into a shallow “V” so filler can grip. Vacuum dust, then apply setting-type joint compound or patching plaster in thin lifts, pressing it firmly for solid wall crack sealing.
For cracks over 1/8 inch, embed paper tape or fiberglass mesh, then cover with two wider coats, feathering edges.
At corners, cut out crumbled material and check the metal or paper corner bead. Reset loose bead with drywall screws, then use corner repair techniques: tape both sides, apply compound, and keep your knife tight to the angle. Sand lightly, prime, and repaint.
Fix Recurring Wall Cracks Near Doors and Windows
When cracks keep returning near doors or windows, you need to identify what’s driving them—loose framing, settling, or sticking doors—before you patch. You should wear safety glasses when scraping or sanding.
You can then reinforce weak window and door frame edges with tape, corner bead, or mesh and a proper compound build-up to stop the crack line from reopening.
Finally, you’ll reduce repeat seasonal movement by sealing gaps, controlling indoor humidity, and keeping trim and fasteners tight so the repair lasts.
Diagnose Doorway Crack Causes
Even if a crack looks like a simple drywall flaw, the ones that start at a door or window corner usually signal movement you should identify before you patch.
First, check operation: if the door sticks, rubs, or the latch misaligns, framing may be shifting.
Measure the crack width at several points and mark dates; growth suggests ongoing stress.
Note crack color: bright white edges often mean fresh separation, while darker, dusty lines may be older and stable.
Look for doorway expansion from humidity or seasonal swell—tight trim joints, popped nails, or paint ridges are clues.
Use a flashlight to inspect the corner for crumbling gypsum.
Wear eye protection, and stop if you see wet staining or mold.
Reinforce Window Frame Edges
Because window corners concentrate stress, you’ll get a longer-lasting repair if you reinforce the frame edges before you skim over the crack.
Start by removing loose paint and compound around the window frame with a utility knife, then vacuum dust. Wear eye protection and a respirator when sanding.
If the crack runs from the corner, open it slightly into a shallow V so filler can bond.
Apply a thin coat of setting-type joint compound or patching plaster, then embed fiberglass mesh tape tight to the corner and along the edge; this edge reinforcement bridges movement and resists re-cracking.
Feather another coat 6–8 inches out, let it set, then sand lightly with a block to keep the corner crisp.
Prime before repainting.
Prevent Repeat Seasonal Movement
Although your patch may look perfect at first, recurring cracks around doors and windows usually return unless you address the seasonal movement that caused them.
Start by checking exterior grading and downspouts; keep water 6–10 feet from the house to limit soil swelling and shrinkage.
Seal gaps in siding and trim, but don’t trap moisture—use backer rod and paintable elastomeric caulk.
Inside, keep humidity steady with a dehumidifier or humidifier to reduce seasonal expansion of framing.
Watch for sticking doors, new gaps, or stair-step cracking that suggests foundation settlement.
If you see rapid changes, uneven floors, or widening cracks, stop patching and call a structural engineer.
Wear eye protection when inspecting and caulking.
When to Call a Pro for Wall Cracks
If a wall crack changes quickly or shows up with other warning signs, you should bring in a professional before you patch anything. Call a structural engineer or qualified contractor if the crack is wider than 1/4 inch, stair-steps through brick or block, runs diagonally from doors or windows, or pairs with sticking doors, sagging ceilings, or sloping floors.
Don’t ignore cracks that leak, smell musty, or appear after flooding, earthquakes, or recent foundation work. If you see bulging plaster, loose drywall, or exposed wiring, stop and make the area safe.
A pro can confirm whether it’s cosmetic, moisture-related, or structural so your interior design plans and paint color choices don’t hide a serious hazard.
Frequently Asked Questions
How Long Should Repaired Wall Cracks Cure Before Painting?
Let your repaired wall crack cure 24 hours for fast-dry spackle, 48–72 hours for joint compound, and up to 7 days for deeper patches or humid rooms before painting.
You’ll prevent shrinkage lines that telegraph through your Paint color. Keep the area ventilated, wear a dust mask when sanding, and use a primer to seal repairs.
Aim for smooth sanding and careful Texture blending so the patch disappears.
What Temperature and Humidity Are Best for Crack Repairs?
Aim for 60–80°F (16–27°C) and 40–60% relative humidity for most crack repairs. You’ll get predictable set times and stronger bonds with good Temperature regulation and Humidity control.
Don’t patch below 50°F or above 85°F, and avoid damp air over 70% RH.
Ventilate, but don’t blast fans directly on fresh compound. Wear a mask when sanding, and keep kids away.
Can I Fix Wall Cracks in a Rental Without Violating the Lease?
Yes, you can fix minor wall cracks in a rental, but you must follow your Lease agreement and get landlord approval when required. Like walking a tightrope, you balance speed and permission.
Document the crack with photos, review repair/alteration clauses, and request written consent before sanding, patching, or painting.
Use low-dust methods, wear eye protection, and ventilate.
If cracks widen, recur, or suggest moisture, stop and report immediately.
How Do I Match Wall Texture After Filling a Crack?
To match wall texture after filling a crack, you’ll sand flush, then mimic the existing pattern with joint compound or spray texture.
Test on cardboard first, using a sponge, brush, or knockdown knife for texture blending.
After it dries, feather-sand edges with a mask and goggles.
Prime the patch, then do matching paint: same sheen, light coats, and blend outward to avoid a “halo.”
Let it cure.
Will Crack Repairs Affect My Home’s Resale or Inspection Results?
Yes—if you document them and fix the cause, crack repairs can improve inspection results and protect resale value.
For example, you patch a stair-step crack, then hire a pro for a structural assessment; they confirm foundation stability, and you keep the report and receipts.
Inspectors may flag fresh paint hiding movement, so don’t conceal active cracks.
Use proper materials, note dates, and disclose work to buyers.
Conclusion
Now you know how to tell cosmetic cracks from structural ones, match the repair to the crack type, and stop small failures before they spread. Prep the surface, cut out loose material, use the right compound and tape, and sand with a mask and eye protection. Seal and repaint so moisture can’t sneak in. Keep an eye on recurring cracks near doors and windows—ignoring them is like inviting a disaster the size of a planet. Call a pro if cracks widen, slope, or reappear fast.