
You’ll master basic carpentry for home DIY by planning first: sketch to scale, mark grain direction and load paths, then turn it into a cut list and smart cut sequence. Set up a stable, well-lit workspace with clear exits and PPE. Measure from a consistent reference edge, mark with a knife or sharp pencil, confirm square (3-4-5 for big layouts), and cut on the waste side. Choose simple joints (butt, lap, pocket, dado), re-square before tightening, sand 80–180, vacuum, then finish. Keep going to level up fast.
Key Takeaways
- Plan with a scaled sketch and cut list, noting grain direction, clearances, fastening points, and load paths before cutting.
- Build a safe, organized workspace with stable surfaces, clear walkways, proper ventilation, and essential PPE always worn.
- Use calibrated measuring and layout tools; mark accurately with a knife or sharp pencil, verify squareness, and measure twice before fastening.
- Match saws and blades to the material; clamp and support work, cut on the waste side, and use guides for straight, controlled cuts.
- Assemble with appropriate joints and fixings, correct misalignments immediately, then sand progressively and remove dust before finishing.
Plan Your Home DIY Carpentry Project (Sketch + Cut List)
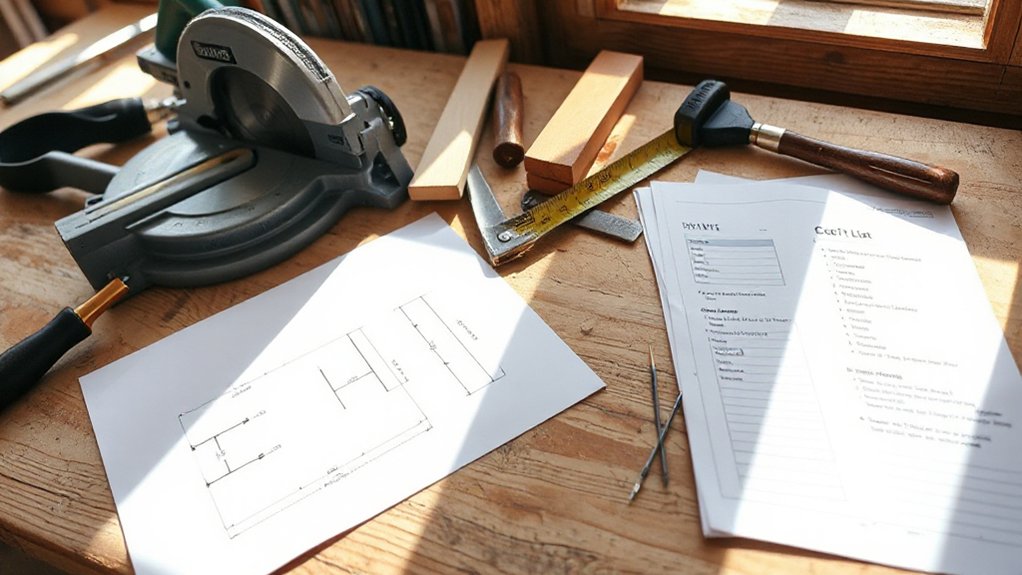
Before you pick up a saw, how will you know every board fits and every cut stays safe and code-smart? Start with a scaled sketch that shows overall dimensions, fastening points, and clearances to doors, outlets, and required egress paths. Note load direction, then choose joints that deliver joint strength for that load (butt with blocking, lap, pocket screws, or dados). Mark wood grain orientation on the sketch so long grain carries spans and short grain doesn’t split at fasteners.
Convert the sketch into a cut list: part name, quantity, finished size, rough size, and edge treatments. Add allowances for kerf, trimming, and squaring. Finally, sequence cuts to minimize waste and keep identical parts consistent.
Set Up a Safe DIY Carpentry Workspace
Even if you’re only making a few cuts, set up your workspace like a jobsite: stable, well-lit, and free of trip and fire hazards. Keep floors dry, route cords along walls, and clear exits. Provide cross-ventilation and follow label requirements for adhesives, finishes, and solvents; store them sealed, away from ignition sources.
Set a sturdy work surface on level ground and clamp work so it can’t shift. Use workspace organization: designate zones for measuring, cutting, assembly, and curing, and keep walkways at least 36 inches wide.
Wear Safety gear—eye protection, hearing protection, and a dust mask or respirator matched to the material. Keep a first-aid kit and a charged ABC extinguisher accessible, and don’t work alone when possible.
Essential Tools for Carpentry Basics at Home
Start with must-have hand tools—a claw hammer, a set of screwdrivers, a utility knife, a block plane, and a handsaw—so you can cut, fasten, and adjust parts safely and predictably.
Add essential measuring tools like a 25-ft tape measure, a combination square, a torpedo level, and a marking pencil so your layouts stay straight, square, and within spec.
If you keep these basics organized and in good condition, you’ll work faster, reduce rework, and meet common fit-and-finish expectations.
Must-Have Hand Tools
Although power tools can speed up a build, you’ll do safer, cleaner work at home when you stock the right hand tools first. Start with a 16‑oz curved-claw hammer for driving and pulling nails, plus a nail set to countersink heads without bruising wood.
Add a block plane for trimming edges and easing doors, and keep sharp bench chisels for hinge mortises and clean dados; strike them with a wooden mallet, not a steel hammer.
Keep a utility knife, cabinet scraper, and a set of screwdrivers with hardened tips.
For Woodworking safety, use a rasp or file instead of forcing cuts, and clamp work securely before paring.
Hand tool maintenance matters: oil pivots, de-rust steel, and hone edges often.
Essential Measuring Tools
Sharp tools won’t save a project if your layout’s off, so set up your measuring kit before you cut or fasten. Start with a 25-ft tape measure with a standout and a clear, locking blade; mark from the same reference edge to protect measuring accuracy.
Add a combination square for 90°/45° checks, a speed square for rafters and stair stringers, and a 24-in level for plumb and level lines that meet code intent. Use a marking gauge or sharp pencil with a knife for crisp layout.
Keep a steel rule for short, precise readings. Verify tool calibration: check squares against a known straight edge, flip-and-test, and replace bent tapes. Record critical dimensions and recheck before drilling or nailing.
Measure, Mark, and Square Accurately
When your cuts and joints have to fit on the first try, accurate measuring, marking, and squaring keep the whole project within tolerance and reduce rework.
For precision measurement, hook your tape the same way every time, read from the same edge, and confirm critical dimensions twice. Mark from a known reference face and edge, not from rough ends, and label your waste side to prevent layout errors.
For accurate marking, use a sharp pencil or knife line for tight joinery, and keep your rule flat to avoid parallax. Check squareness with a speed square or framing square, and verify the tool’s true corner occasionally.
Use the 3-4-5 method for larger layouts, and re-check before fastening.
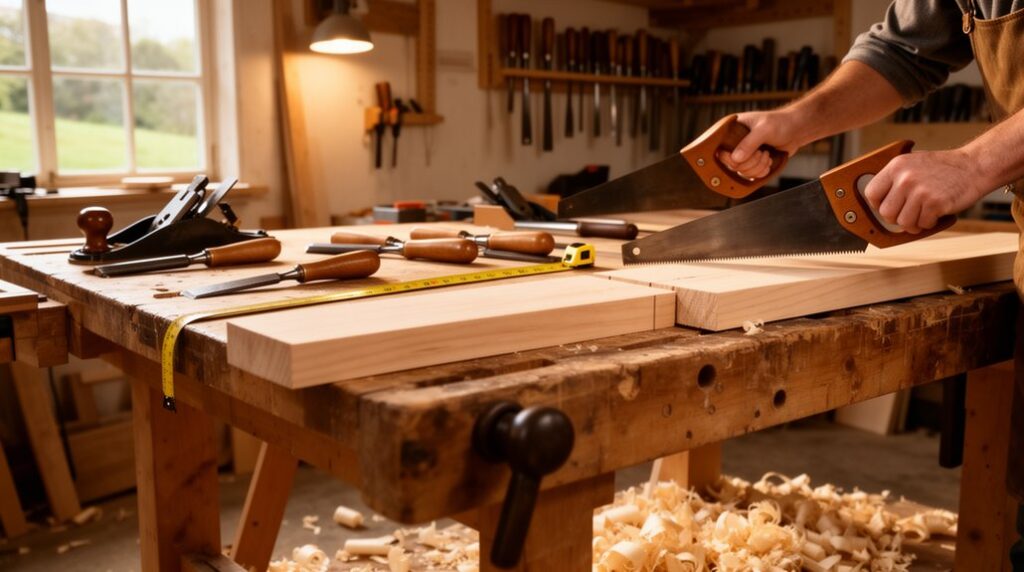
Cut Straight and Clean With Hand or Power Saws
You’ll get straighter, cleaner cuts when you match the saw to the job—use a fine-tooth handsaw or miter saw for trim, and a circular or table saw for sheet goods and framing.
Set the right blade for the material, confirm the guard and fence work properly, and support the workpiece so it can’t bind or kick back.
Then cut to the waste side of your line, track a square or straightedge guide, and keep steady pressure without forcing the tool.
Choosing The Right Saw
How do you pick a saw that cuts straight, stays on line, and leaves a clean edge? Match the tool to the job: use a crosscut handsaw for trim, a rip saw for with-the-grain lumber, a jigsaw for curves, and a circular saw for sheet goods and long rips.
Select among saw blade types by tooth count and grind: higher TPI for smoother cuts, lower TPI for faster framing; carbide teeth last longer.
Verify the blade fits the arbor size and rated RPM. Check shoe or baseplate flatness, fence compatibility, and minimal blade wobble.
Follow safety precautions: guard must return freely, unplug or lockout before changes, use eye/ear protection, and support stock to prevent binding.
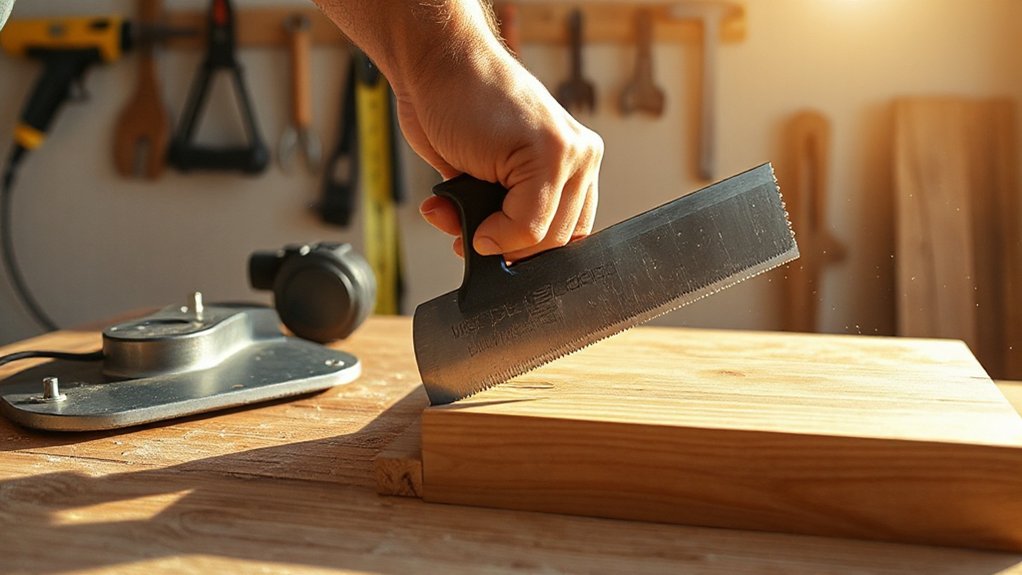
Techniques For Straight Cuts
Although any saw can remove wood, straight, clean cuts come from disciplined layout and controlled support rather than brute force. Mark your line with a sharp pencil and square; knife the waste side for crisp fibers. Check grain alignment and choose the cut direction to reduce tear-out.
Clamp the board to stable sawhorses, keep offcuts supported, and follow OSHA-style habits: eye protection, guarded blades, and hands outside the cut path. For handsaws, start with light strokes and keep your wrist locked, letting the kerf guide you.
For power saws, match saw blade types to the task—fine-tooth for plywood, rip for solid stock—and set blade depth just below the work. Use a straightedge guide and maintain steady feed pressure.
Simple Carpentry Joints (Butt, Lap, Pocket-Hole, Dado)
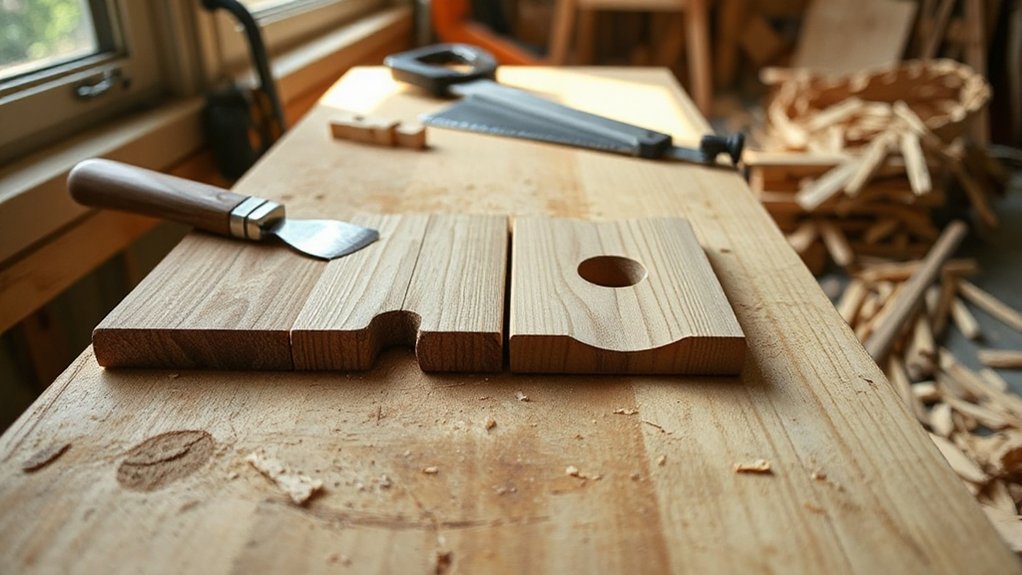
Before you cut wood for a DIY project, pick a joint that matches the load, material thickness, and tools you’ve got, because the joint largely determines strength, squareness, and long-term durability. Know your joint types and woodworking techniques so your layout stays predictable and repeatable.
Use a butt joint for simple, nonstructural trim or blocking where alignment matters more than capacity. Choose a lap joint when you need more long-grain contact and better racking resistance; mark shoulders with a knife line and keep the laps equal depth. Pocket-hole joints work well for face frames and knockdown boxes; clamp parts flush and keep hole spacing consistent to avoid twist.
Cut dados for shelves: size the groove to panel thickness, keep depth about one-third stock, and square the ends.
Fasteners, Glue, Sanding, and Easy Fixes
Once you’ve chosen a joint, you lock in strength and fit with the right mix of fasteners, glue, sanding, and a few reliable fixes when things drift out of square.
Match fastener types to the job: screws for withdrawal strength, nails for shear, bolts for structural connections, and brads for trim. Pre-drill near edges to prevent splitting, and choose corrosion-rated fasteners for exterior or treated lumber.
For glue application, dry-fit first, then spread an even, thin film on both faces; clamp until squeeze-out beads and wipe it off.
Sand in stages (80/120/180), keep edges crisp, and vacuum dust before finishing.
If a board cups, shim and clamp; if a pocket joint shifts, back out the screw, re-square, and retighten.
Frequently Asked Questions
What Wood Species Are Best for Beginners and Why?
You’ll do best with softwoods like pine, spruce, and fir, plus poplar for painted projects. They’re affordable, widely available, and their wood grain stays predictable, so you can read direction and avoid tear-out.
They also accept beginner cutting techniques without burning blades or splintering excessively. Choose kiln-dried, straight boards, and avoid knots for structural work.
For code-compliant builds, use graded SPF framing lumber and follow fastener and span tables.
How Do I Prevent Lumber From Warping After Building?
You prevent warping by treating lumber like a ship’s hull: seal it, balance it, and keep water out. Start with kiln-dried stock, acclimate it 48–72 hours, and store it flat with stickers.
Use moisture control: keep indoor RH 35–55%, avoid direct sun, and finish all faces equally for Wood stabilization.
Build with proper joinery, allow expansion gaps, and fasten per code—spacing, pilot holes, and corrosion-rated hardware.
Do I Need Permits for DIY Carpentry Projects at Home?
Yes, you often do, especially for structural, electrical, plumbing, decks, sheds, or additions. You should check your city/county website or call the building department, because building codes and safety regulations vary.
You’ll typically need permits when you change load-bearing framing, add square footage, or alter egress. You usually won’t for cosmetic repairs.
Keep approved plans, schedule inspections, and document materials to pass final sign-off.
How Can I Match Stain Colors to Existing Furniture?
Measure twice, cut once: you’ll match stain by testing, not guessing.
Start with Color matching under the same light as the room, then sand a hidden spot to bare wood.
Apply sample stains on scrap of the same species, label ratios, and seal them; topcoat changes tone.
Use stain blending: mix compatible stains, adjust with dye or toner, and wipe consistently.
Follow label VOC limits and ventilation requirements.
Document your final formula.
What’s the Best Way to Dispose of Sawdust and Scrap Wood?
Bag sawdust to prevent blow-off, then check local rules: you can compost untreated sawdust in small amounts, or use municipal yard-waste pickup if allowed.
For scrap wood, sort by type and condition: reuse clean offcuts, take untreated lumber to recycling methods like construction-and-demolition facilities, and trash painted/treated pieces per code.
Never burn treated wood; it increases environmental impact.
Keep nails out, bundle safely.
Conclusion
You’ll master basic carpentry faster when you plan first: sketch the build, make a cut list, and stage tools in a clean, well-lit workspace. You’ll work safer by wearing eye/hearing protection, controlling dust, and clamping stock before cutting. Measure twice, mark with a sharp pencil, and confirm square before driving fasteners. If your shelf sags, like Jordan’s garage build, add a dado or pocket-hole frame, then glue, screw, and sand smooth.

