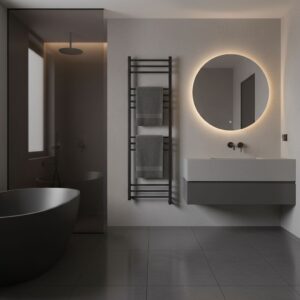
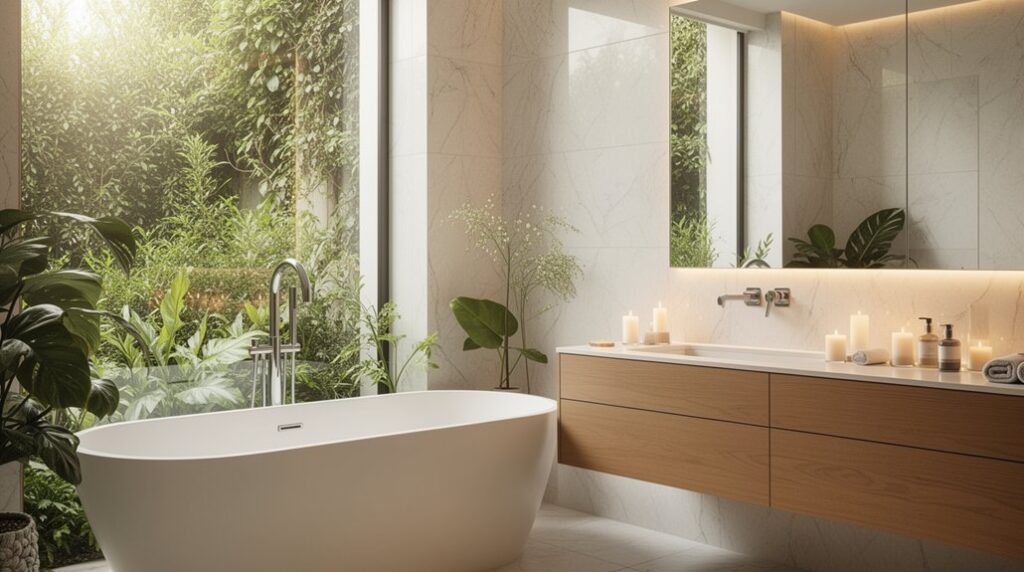
Make your bathroom feel brand new fast by swapping in a matte black or brushed nickel faucet, matching towel bar, and a thin-frame arch mirror. Switch harsh bulbs for warm, high-CRI LEDs on a dimmer for instant ambiance. Add waffle towels, a low-profile bath mat, and a stone tray to polish the look under $200. For bigger impact, paint with moisture-resistant satin and retile one “hero” zone. Keep going to see the easiest order to tackle it all.
Key Takeaways
- Swap faucets, showerheads, and hardware to a modern finish for an instant, cohesive upgrade under a small budget.
- Replace mirrors and lighting with thin-frame shapes and warm, high-CRI LEDs to make the room feel brighter and newer.
- Repaint with moisture-resistant satin or semi-gloss in a lighting-friendly color to refresh walls and visually expand the space.
- Update one “hero” tile area using modern patterns and properly sealed grout to create a high-impact, durable focal point.
- Improve organization with floating vanities, recessed medicine cabinets, and labeled bins, then finish with fresh caulk and coordinated textiles.
Start With Quick Bathroom Design Upgrades Under $200
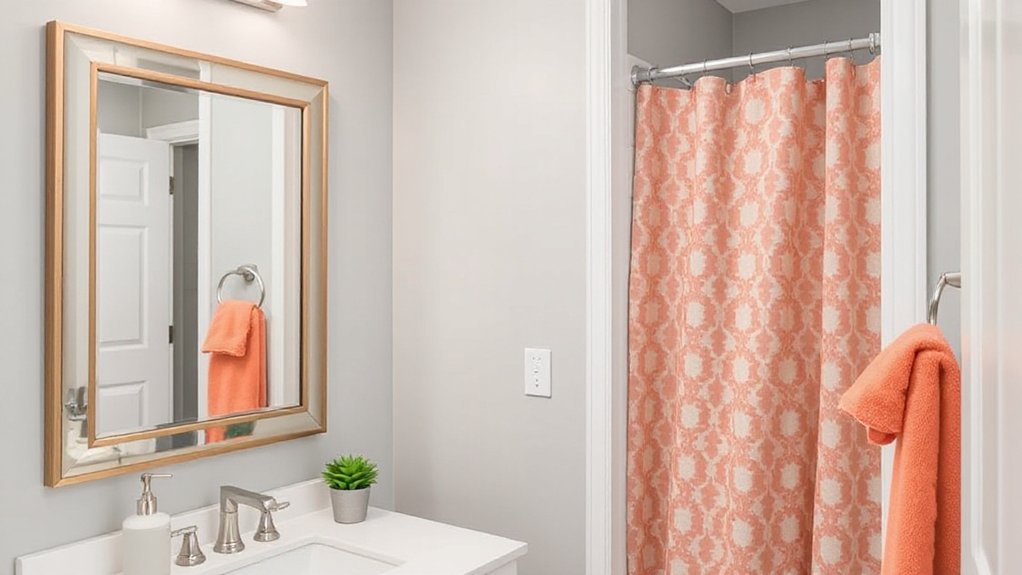
If you’re craving a bathroom refresh but don’t want a full remodel, you can make noticeable, trend-forward upgrades for under $200 by focusing on high-impact swaps.
Start with a new faucet in matte black or brushed nickel, then match it with a modern towel bar and toilet paper holder for a coordinated set.
Replace your mirror with a thin-frame arch or pill shape to echo current design trends.
Swap harsh bulbs for warm, high-CRI LEDs, and add a dimmer if your switch box allows it.
Upgrade textiles: a waffle towel set and a low-profile bath mat instantly elevate the room.
Finish with a streamlined soap pump, tray, and matching hooks—Budget friendly upgrades that deliver quick aesthetic enhancements.
Refresh Your Bathroom Design With Paint and Tile
Because paint and tile cover the largest visual surfaces in the room, updating them delivers the biggest design shift without changing your layout.
Start by choosing color schemes that fit your light: warm whites and greiges flatter north-facing baths, while dusty blues or sage read crisp under bright LEDs. Use moisture-resistant, scrub-friendly satin or semi-gloss, and paint the ceiling a half-step lighter to lift the room.
For tile, focus on one hero area—shower surround, tub deck, or a vanity backsplash—so the update feels intentional. Trend-forward tile patterns like vertical stacked subway, herringbone, or checkerboard add movement without clutter.
Keep grout lines tight, pick a grout color that matches for calm or contrasts for graphic punch, and seal everything for longevity.
Swap Fixtures and Hardware for an Instant Update
If you want a fast, high-impact refresh, swap your faucets and showerheads for updated finishes like matte black, brushed nickel, or champagne bronze. Choose water-efficient models with a modern profile to improve daily performance while sharpening the room’s look.
Then match the upgrade by replacing cabinet pulls and handles with coordinated hardware to make your vanity feel new without a full remodel.
Upgrade Faucets And Showerheads
While a full bathroom remodel can drag on for weeks, swapping in new faucets and showerheads delivers a high-impact update in a single afternoon. Choose luxury fixtures in brushed nickel, matte black, or warm brass to modernize the sink and shower instantly, and match finishes for a cohesive look.
Prioritize water efficiency with a WaterSense-labeled showerhead (1.8 gpm or less) and an aerated faucet to cut splash and save on bills without sacrificing pressure.
Before you buy, measure spout reach, hole spacing, and valve compatibility; a quick check prevents return trips.
Pick a handheld or rain-style head with adjustable spray settings for daily comfort.
Use new supply lines, wrap threads with PTFE tape, and test for leaks before caulking or sealing trim plates.
Refresh Cabinet Pulls And Handles
Fresh fixtures at the sink and shower set the tone, and new cabinet pulls and handles can carry that updated look across the whole bathroom for very little time or cost. Start by measuring your existing hole spacing (center-to-center) so replacements fit without patching.
If you want a bigger shift, choose handles with longer backplates to cover old marks. Match finishes to your faucet—brushed nickel for timeless, matte black for modern contrast, or warm brass for a trend-forward lift.
When selecting cabinet hardware, prioritize comfortable grip and corrosion-resistant metal. For easy pull updates, swap knobs for slim bar pulls to visually stretch small vanities. Use a template for straight alignment, pre-drill carefully, and tighten by hand to avoid stripping.
Upgrade Bathroom Lighting to Change the Mood
You can shift your bathroom’s vibe fast with a layered lighting plan—ambient overhead, targeted accent, and focused task light where you need it.
Add vanity task lighting at eye level on both sides of the mirror (or a bright, diffused bar) to cut shadows and sharpen grooming.
Finish with warm dimmer controls so you can go from crisp morning light to a soft, spa-like glow at night.
Layered Lighting Plan
Three lighting layers can instantly change how your bathroom looks and feels: ambient light for overall brightness, task light where you groom, and accent light to add depth.
Start with ambient layering using a dimmable ceiling fixture or low-profile LEDs, aiming for even, shadow-free coverage. Choose 2700K–3000K for warmth or 3500K for a crisp, modern look, and put it on a dimmer for fast mood enhancement.
Then add accent lighting to highlight tile, niches, or artwork with waterproof LED strips or small directional spots. Separate each layer on its own switch so you can tailor light to morning speed or evening wind-down.
Pick matte finishes and slim fixtures for today’s clean-lined spa vibe.
Vanity Task Lighting
Where does bathroom lighting go wrong most often? Right at the mirror, where a single overhead fixture throws harsh shadows and makes grooming harder. Fix it with vanity task lighting that targets your face evenly, not your ceiling.
Mount vertical sconces on both sides of the mirror at about eye level, spaced 28–36 inches apart, or choose a wide linear bar above the mirror when side space is tight. Aim for 75–100 CRI LEDs so skin tones look natural, and keep color temperature around 2700–3000K for a flattering, modern feel.
Size fixtures to the vanity: wider mirrors need longer bars or paired sconces. For crisp bathroom mirror illumination, place lights 3–4 inches off the mirror edge and avoid exposed bulbs.
Warm Dimmer Controls
One smart switch can make your bathroom lighting feel spa-calm at night and cleanly functional in the morning: add warm-dimming controls. Choose LED bulbs or fixtures labeled “warm dim” so color temperature shifts from crisp to candlelike as you lower brightness, not just darker.
Pair the dimmer with layered ambient lighting—ceiling, cove, or backlit mirror—so the whole room softens evenly without harsh shadows. Install a compatible dimmer (ELV or LED-rated) to prevent flicker and buzzing, and set a minimum trim so lights don’t drop out at low levels.
Program presets: 10% for late-night trips, 40% for baths, 100% for cleaning. This is instant mood enhancement with zero remodel.
Add Sleek Storage to Declutter the Bathroom Fast
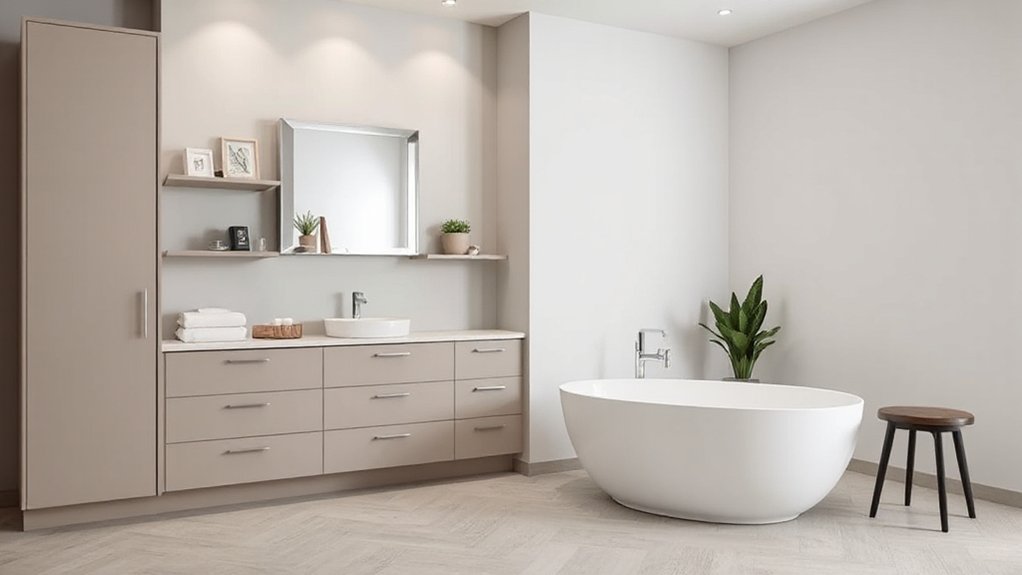
Even if your bathroom’s footprint is tiny, you can clear the counters fast by adding sleek, built-in-looking storage that hides daily clutter in plain sight. Start with a recessed medicine cabinet or mirror cabinet to stash skincare, razors, and chargers in Hidden compartments so nothing sits out.
Add wall mounted shelves over the toilet or beside the vanity for towels and baskets, and choose thin profiles in matte black or warm brass for a current look.
Swap a pedestal sink for a floating vanity with deep drawers; you’ll gain floor space and keep cleaning easy. Use drawer dividers for makeup and first-aid, then label bins under the sink for backups.
Finish by moving everyday items to one grab-and-go tray inside the cabinet.
Finish With Bathroom Design Details That Look Custom
After you’ve nailed the layout and storage, custom-looking details make the whole bathroom feel intentionally designed. Swap builder-grade hardware for matching pulls in brushed nickel or matte black, and align them across drawers for a tailored look.
Add a shallow trim kit or filler strips so custom cabinetry sits tight to walls and reads built-in.
Frame the mirror with a slim metal surround or add a picture-light style sconce above it to create a boutique vibe. Upgrade switches to modern screwless plates, and coordinate towel bars, hooks, and toilet paper holders so finishes don’t fight.
Use decorative accents with purpose: a stone tray for soap, matching canisters, and a small art print in a moisture-safe frame.
Finish with fresh caulk lines and crisp paint edges.
Frequently Asked Questions
Do I Need a Permit to Remodel My Bathroom?
You might need a permit to remodel your bathroom, depending on scope and local permit requirements. If you’re moving plumbing, adding electrical circuits, altering walls, or changing ventilation, you’ll typically need renovation approval.
Cosmetic updates like paint, fixtures, or tile often don’t require permits.
Check your city or county building department, HOA rules, and contractor licensing.
Trend-wise, adding heated floors or smart fans can also trigger inspections and permits.
What’s the Best Bathroom Layout for a Small Space?
You’ll get the best small-bath layout by keeping a straight, single-wall or galley run: vanity, toilet, then shower at the end, so plumbing stays tight and circulation stays clear.
Use a wall-hung vanity, pocket door, and recessed niches as space-saving solutions.
Choose a curbless shower with glass to open sightlines.
Add luxury fixtures like a compact rain head and slimline faucet for polish.
How Can I Improve Bathroom Ventilation to Prevent Mold?
You’ll prevent mold by moving moist air out fast: run a properly sized exhaust fan for 20 minutes after showers, and crack a window for natural ventilation when weather allows.
I once watched a foggy mirror clear like a traffic jam finally breaking—airflow matters.
Aim for 1 CFM per square foot (minimum 50 CFM).
Vent to the exterior, clean the grille quarterly, and keep the door ajar.
Which Materials Are Safest for Slip-Resistant Bathroom Flooring?
You’ll get the safest slip-resistant bathroom flooring from textured porcelain non slip tiles, rubber safety flooring, and modern LVT with high-grip wear layers.
Choose finishes rated R10–R12 (or DCOF ≥0.42 wet) and avoid polished stone.
Pick smaller tiles with more grout lines for traction, and use epoxy or mildew-resistant grout.
Seal natural stone if you use it, and add a slip-resistant coating.
What Should I Budget for a Full Bathroom Renovation?
You should budget $12,000–$30,000 for a full bathroom renovation, with $30,000–$60,000+ if you choose Luxury fixtures or move plumbing.
You’ll spend most on labor, tile, and waterproofing, so don’t cut corners there.
You can save by keeping the layout, refinishing instead of replacing, and using Eco friendly materials like recycled tile or low-VOC cabinetry.
Set aside 10–20% for surprises and permits.
Conclusion
You don’t need a full remodel to make your bathroom feel brand new—you just need smart, targeted upgrades. Start under $200, then layer paint, tile, and modern hardware for a crisp, updated look. Swap in warmer LEDs and you’ll instantly shift the mood from harsh to spa-like. Add streamlined storage to clear the counters fast. And remember this: nearly 70% of buyers value updated bathrooms, so these details won’t just look custom—they’ll pay off.