
You’ll handle most interior repairs with a compact kit: a 25-foot tape measure, combination square, pencil, level, utility knife, putty knife, drill/driver with bits, stud finder, and assorted screws and wall anchors. Patch drywall using joint compound, mesh tape, and sanding sponges (120–220 grit), then spot-prime. For clean paint touch-ups, use an angled sash brush, small foam roller, and low-tack painter’s tape. Add a dripless caulk gun, PPE, and dust control—more tips are ahead.
Key Takeaways
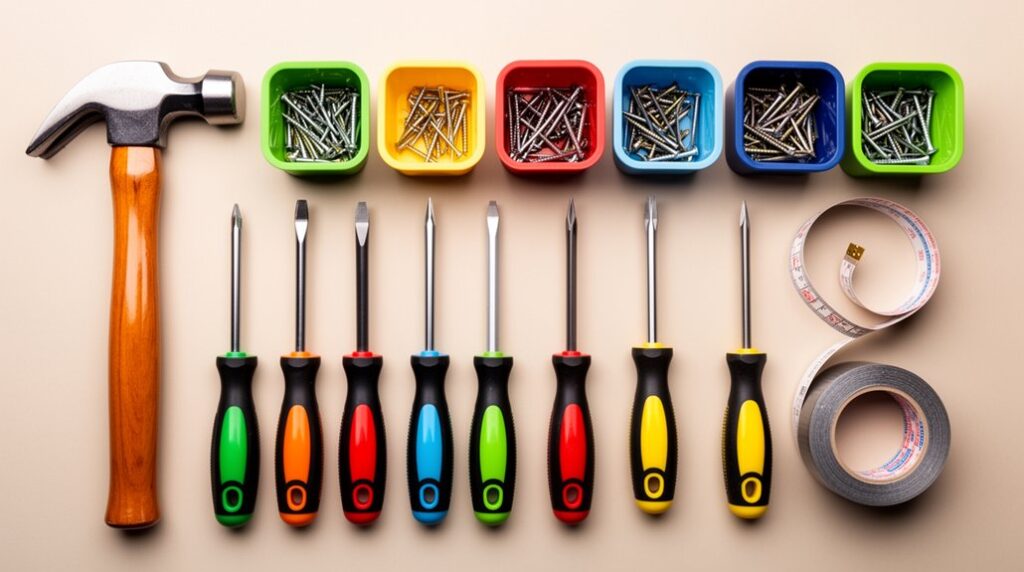
- Start with measuring essentials: 25-foot tape measure, combination square, pencil, and level for accurate layouts and clean results.
- Cover cutting and fastening with a utility knife, compact handsaw, clamps, drill/driver, and bit set for controlled repairs and installs.
- Use drywall repair basics: putty knife, mesh tape, joint compound, sanding sponge or pole sander, plus vacuum or tack cloth for dust control.
- Make paint touch-ups seamless with an angled sash brush, small foam roller, low-tack painter’s tape, and sample cards for quick color matching.
- Prioritize safety and cleanup using safety glasses, hearing protection, respirator, non-contact voltage tester, drop cloths, and microfiber cloths for a safer workspace.
Start With These Core Interior Repair Tools
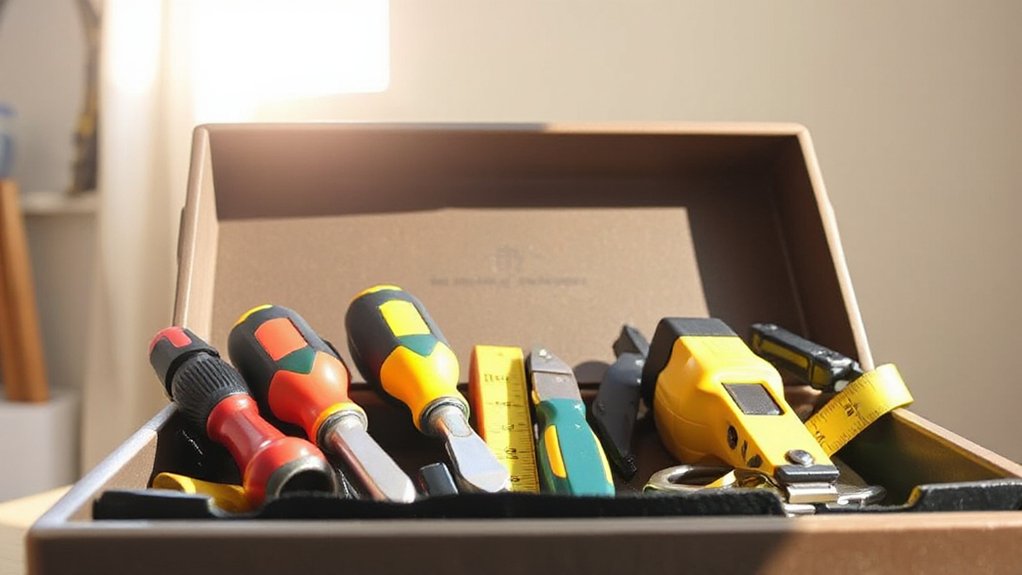
Before you tackle any patch, trim, or touch-up, stock a small set of core tools that let you measure accurately, cut cleanly, fasten securely, and finish safely.
Start with a 25-foot tape measure, combination square, and pencil for repeatable marks.
Use a utility knife with fresh blades and a compact handsaw for controlled cuts; clamp workpieces so they can’t shift.
Keep a drill/driver, bit set, and stud finder for hanging shelves, Decorative accents, and hardware without guessing.
Add a level, assorted screws, and wall anchors matched to load.
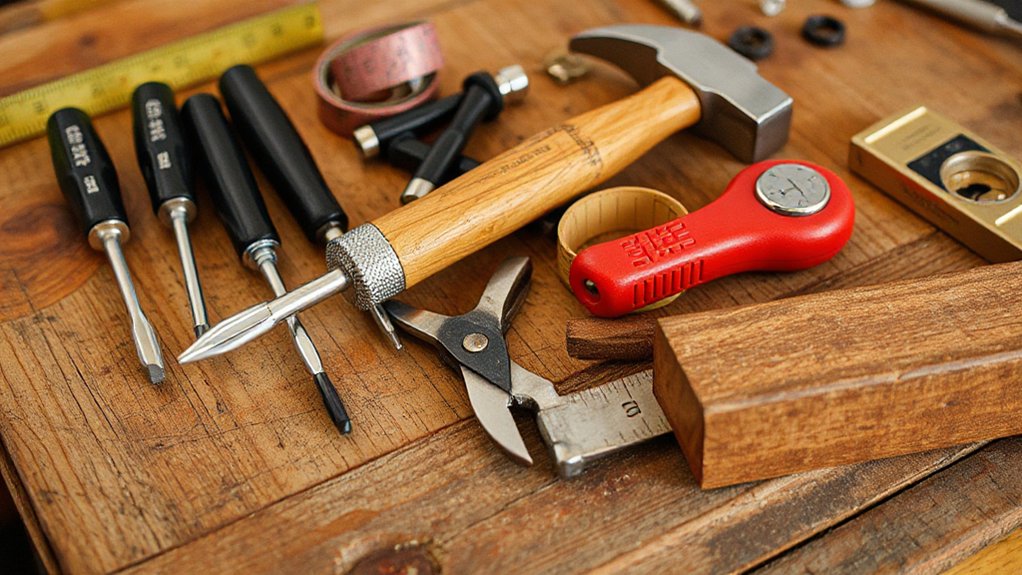
For finishing, carry a putty knife, caulk gun, and sanding block, plus safety glasses, hearing protection, and a respirator.
A non-contact voltage tester and headlamp help with lighting adjustments safely.
Keep everything in a small tote.
Interior Repair Tools for Drywall Holes and Dents
For drywall holes and dents, you’ll reach first for essential patching tools like a putty knife, joint compound, mesh tape or a patch kit, and a utility knife for clean edges.
You’ll also need sanding and finishing gear—sanding sponge or pole sander, a dust mask, safety glasses, and a vacuum or tack cloth—to keep dust controlled and surfaces smooth.
Keep blades sharp, cut away from your body, and sand lightly between coats so you don’t gouge the wall.
Essential Patching Tools
Although small drywall holes and dents look minor, they’ll show through paint if you don’t patch them with the right tools. Start with a utility knife to trim torn paper and bevel ragged edges so compound bonds.
Use a putty knife set (1–6 inches) for tight divots and wider dents; keep blades clean to avoid ridges. For deeper damage, press in setting-type joint compound with a mud pan, or use lightweight spackle for shallow fixes.
Cover nail pops or small punctures with a self-adhesive mesh patch, then feather compound past the patch perimeter. Wear safety glasses and a dust mask while cutting and mixing.
Once cured, plan primer application and color matching so the repair disappears completely.
Sanding And Finishing Gear
Once your patch compound cures, you’ll need the right sanding and finishing gear to level high spots without gouging the paper face. Start with a sanding sponge (120–150 grit), then switch to 180–220 to feather edges tight to the wall.
Use a pole sander for broad areas and a hand block near corners so you don’t round them over. Wear safety glasses and a dust mask or respirator, and vacuum with a HEPA attachment between passes to keep dust from telegraphing through paint.
For a paint-ready surface, skim with a wide knife, then spot-prime. If you’re blending into stained trim, use grain filler on dents, sand smooth, and lay on finish with a clean varnish applicator for a seamless match.
Interior Repair Tools for Paint Touch-Ups and Clean Lines
When you’re fixing scuffs, nail holes, or small patches, the right paint touch-up tools keep the repair from telegraphing through the finish. Use a high-quality angled sash brush for cutting in, and a small foam roller for blending sheen on flat areas.
For Color matching, keep sample cards, a labeled stir stick, and a clear mixing cup so you can measure ratios and replicate them later.
Feather edges with a mini blending brush and work in thin coats to avoid ridges.
Mask with low-tack painter’s tape and burnish the edge with a putty knife for crisp lines.
Wear gloves and ventilate.
For brush cleaning, rinse immediately, comb bristles, and dry flat to preserve shape.
Interior Repair Tools for Caulking and Sealing Trim
Paint touch-ups look sharper if you seal the gaps that cast shadow lines around trim, and the right caulking tools make that job cleaner and faster. Use smooth-rod Caulk guns for steady pressure and fewer blobs; choose a dripless model to prevent messes on floors.
Cut the nozzle at a shallow angle, then pierce the inner seal and test your bead on scrap. Keep a damp rag and a small cup of water nearby for quick wipe-downs.
For tight corners and crisp edges, use sealant knives to press caulk into the joint and feather it flush without smearing paint. Wear nitrile gloves, ventilate the room, and avoid silicone where you’ll paint.
Let it cure before sanding or painting over.
Interior Repair Tools for Tightening and Rehanging Hardware
Although loose hinges and wobbly knobs seem minor, the right tightening and rehanging tools keep doors, cabinets, and towel bars aligned without stripping screws or cracking drywall.
Start with a quality screwdriver set (Phillips, slotted, and square) and a stubby driver for cramped corners. Use an impact-rated bit holder only for stuck fasteners, and keep hand pressure straight to avoid cam-out.
For Hardware adjustment, carry a small hex-key set and nut drivers for set screws and threaded posts.
During door hinge repair, support the door with shims, then swap in longer screws to bite framing.
A drill/driver with a clutch prevents over-torquing; pre-drill pilot holes in trim.
Wear eye protection when removing anchors or springs.
Finishing Tools for Sanding, Cleanup, and Protection
To finish an interior repair cleanly, you’ll rely on precision sanding essentials like sanding sponges, detail sanders, and the right grits to level patches without gouging surrounding surfaces.
You’ll also need dust control and cleanup tools—shop vac with a HEPA filter, tack cloths, and a respirator—so you don’t spread fine particles through the room.
Before you paint or seal, set out surface protection supplies like drop cloths, painter’s tape, and plastic sheeting to protect floors, trim, and furniture.
Precision Sanding Essentials
When you need a patch or trim repair to disappear, precision sanding is where the finish is won or lost. Start with a firm sanding block for flats and a flexible foam pad for profiles; they keep pressure even and prevent divots.
Use abrasive abrasives in a sensible progression—120 to shape, 180 to refine, 220 to prep for paint—then stop before you burn through edges. Keep grit gauges or clearly labeled discs on hand so you don’t guess and accidentally step backward.
For tight corners, use detail sanding sticks or a folded sheet backed with a putty knife.
Wear eye protection, a properly fitted respirator, and gloves, and keep cords clear to avoid slips.
Dust Control And Cleanup
Precision sanding leaves a fine dust that can ruin adhesion, telegraph through paint, and hang in the air long after you’ve stopped. Control it at the source with sanders that accept vacuum attachments and a HEPA-rated shop vac; you’ll capture particles before they spread through the room and HVAC returns. Keep the hose short, check seals, and empty canisters outdoors to avoid re-aerosolizing dust.
Backstop what escapes with portable Air filtration: place the unit near your work, aim airflow across the surface, and run it during sanding and for 30–60 minutes after.
Use a brushless handheld vacuum for corners, then wipe with a slightly damp microfiber cloth. Wear a fitted N95 or P100 respirator and eye protection throughout.
Surface Protection Supplies
Even if you’ve got dust under control, you still need surface protection supplies to keep primer, paint, and sanding grit off everything that shouldn’t get touched.
Start with Drop cloths: use canvas for floors you’ll walk on, and plastic for furniture and cabinets. Tape seams so grit can’t migrate, and weight edges to prevent slips and trips.
Use Masking tape to seal trim, hinges, and outlet covers, and press it down with a putty knife for a tight edge. Choose painter’s tape for clean removal, and remove it while paint is slightly tacky to avoid tearing.
Add rosin paper for hardwood paths and a peel-and-stick floor film for high traffic.
Wear gloves when handling solvents and adhesives.
Frequently Asked Questions
What Safety Gear Is Essential for Common Interior Repairs?
You’ll need Safety equipment and Protective gear that cover eyes, lungs, hands, hearing, and feet. Wear ANSI-rated safety glasses or goggles, a respirator or N95 for dust and fumes, and cut-resistant work gloves.
Add hearing protection when drilling or sanding. Use knee pads for flooring, and sturdy closed-toe shoes or boots.
Keep a basic first-aid kit nearby, and use a headlamp for clear, safe visibility.
How Do I Choose Tools for Renters Versus Homeowners?
Choose tools by matching permissions and permanence: as a renter, you’ll favor removable, low-damage options; as a homeowner, you can invest in heavier-duty, long-life gear.
When choosing tools, do a tool comparison on cordless drills, stud finders, and patch kits for versatility.
Renters should pick compact, multi-use sets and non-marring fasteners.
Homeowners should add a level, saw, and torque settings.
Wear eye protection.
Which Tools Are Best for Minimizing Dust in Occupied Rooms?
You’ll nip dust in the bud with a zippered dust barrier, a shop vac paired to your sander, and a HEPA air scrubber for air filtration.
Add dust containment basics: painter’s plastic, masking tape, and tack mats at doors.
Use a spray bottle to mist drywall before scraping.
Run a box fan exhausting out a window, and wear an N95.
Clean with a HEPA vacuum, not brooms.
How Should I Store and Maintain Interior Repair Tools Long-Term?
Store and maintain interior repair tools long-term by using dry, labeled Tool storage: pegboards for hand tools, sealed bins for accessories, and padded cases for power tools. You’ll prevent rust by wiping metal with light oil, and you’ll protect motors by blowing out vents after use.
Follow Maintenance routines: inspect cords, replace dull blades, calibrate levels, and recharge batteries to 40–60% for storage.
Lock chemicals and wear gloves.
When Should I Hire a Professional Instead of Using DIY Tools?
Hire a professional when the repair involves electrical wiring, gas lines, plumbing inside walls, structural changes, mold, asbestos, or permits—your DIY safety margin’s too small.
Call one if you can’t confidently diagnose the cause, your tool selection can’t meet specs, or mistakes could cause water, fire, or injury.
You should also outsource jobs requiring specialized calibration, heavy lifting, or warranty compliance.
If you’ve tried twice, stop.
Conclusion
With these core tools close at hand, you’ll tackle interior fixes fast and safely. Patch punched drywall with a putty knife and sanding sponge, then paint with a quality brush and crisp-edged tape for clean corners. Seal sneaky seams with a smooth caulk gun, and snug loose latches with a driver set. Finish with fine-grit sanding, a shop vac, and drop cloths. Wear goggles, gloves, and a dust mask—small steps, solid results.

