
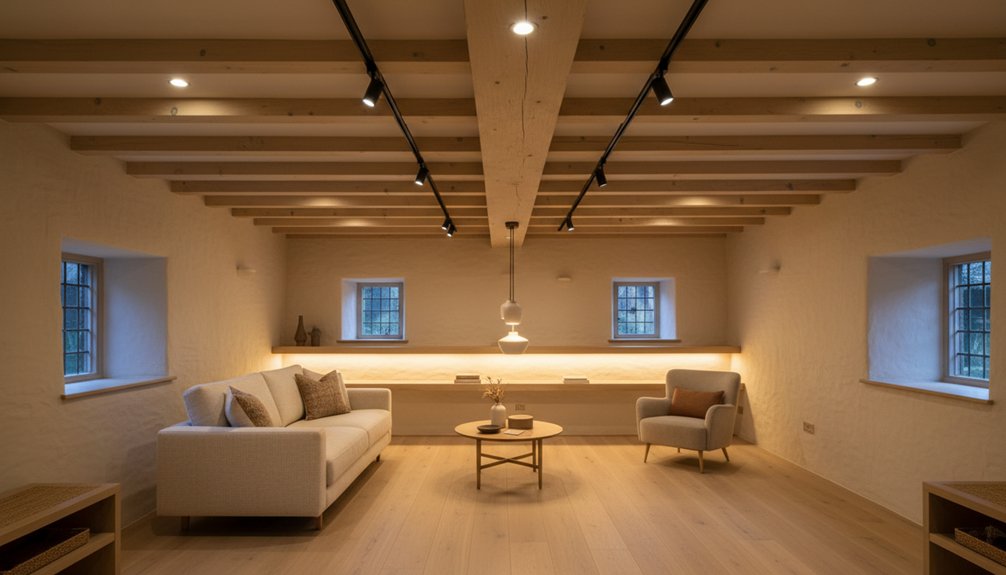
In one cottage renovation, replacing a single central pendant with several modest lights made the ceiling feel noticeably higher—like opening a cramped window. You can achieve the same effect by layering discreet recessed or flush fixtures with wall sconces, picture lights, table lamps, and carefully placed task lighting. Warm, dimmable sources and reflective finishes will preserve the cottage’s character while improving comfort, but placement matters most. Start with the ceiling, then work outward to see where the room still feels closed in.
Key Takeaways
- Layer wall sconces, table lamps, and picture lights instead of relying on one central fixture.
- Choose recessed downlights and flush fittings to provide even illumination without reducing headroom.
- Use slim sconces and uplights to brighten upper walls, emphasize cottage textures, and create a greater sense of height.
- Position compact pendants carefully above tables and worktops, preserving clear sightlines and comfortable headroom.
- Install warm, dimmable lighting with separate switches, using pale finishes and reflective surfaces to distribute light effectively.
Layer Low-Ceiling Cottage Lighting
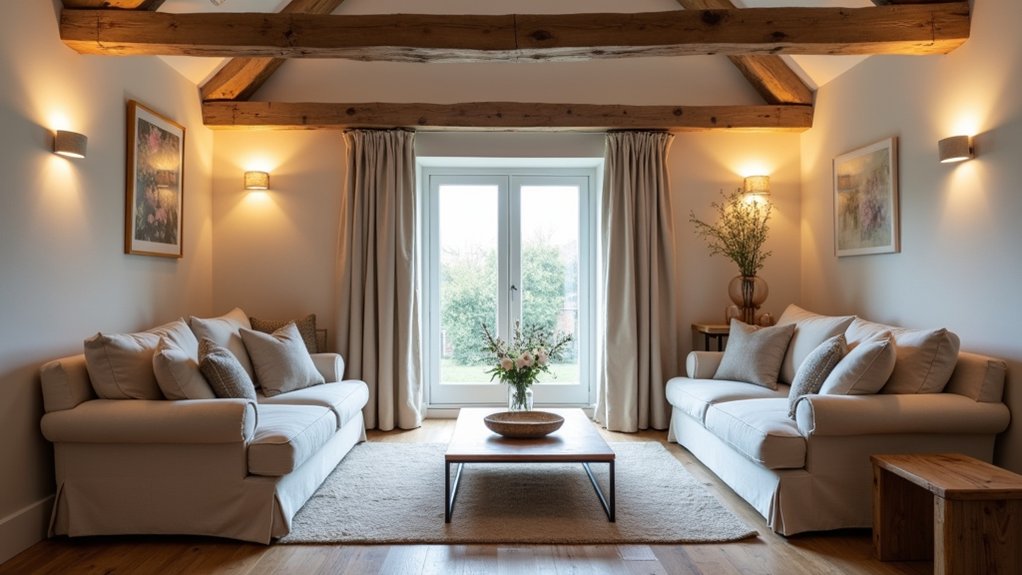
Layer low-ceiling cottage lighting by combining several modest sources instead of relying on one central fixture. Start with wall-mounted lamps beside seating, beds, or a narrow sideboard, positioning them where they’ll serve a clear task without crowding the room.
Add a table lamp on a dresser or console, choosing a linen shade that echoes your cottage’s period character. Use picture lights to highlight beams, plaster texture, or inherited artwork; their gentle spread builds an ambient glow while preserving valuable floor space.
Aim a small adjustable lamp toward a pale wall or ceiling to create ceiling illusions, making the room feel taller without altering its structure. Keep finishes consistent with the home’s heritage, such as aged brass, painted wood, or ceramic.
Connect layers to separate switches or dimmers, so you can adjust the mood easily.
Choose Discreet Recessed and Flush Fixtures
Choose recessed and flush fixtures when you need reliable overhead light without lowering the visual height of a cottage room.
Select shallow LED downlights for kitchens, passages, and work areas, spacing them evenly to prevent harsh pools or shadows.
In bedrooms and sitting rooms, choose a close-to-ceiling fitting with a simple linen shade, opal glass, or aged metal trim. These finishes can echo your cottage’s period details without pretending to be original.
Use warm, dimmable bulbs to create an ambient glow, then adjust brightness for cooking, reading, or entertaining.
Keep the fixture scale modest, especially beneath exposed beams or low joists.
Reserve ornate chandeliers for rooms with more clearance, and let furniture, textiles, and decorative accents supply character without crowding the ceiling plane or competing with your room’s traditional proportions.
Raise the Eye With Sconces and Uplights
When ceiling height is limited, direct light upward or across the walls with compact sconces and discreet uplights. You’ll draw the eye vertically, making each room feel taller without sacrificing precious headroom.
Choose wall mounted fixtures with slim profiles, warm finishes, and shapes that respect your cottage’s period details. Opal glass shades soften glare, while aged brass, painted metal, or ceramic can echo original hardware and joinery.
Position sconces beside doorways, fireplaces, or built-in cupboards, keeping them clear of trim and artwork. Aim uplights toward a pale ceiling or upper wall to create gentle ambient illumination and highlight texture in limewash, plaster, or exposed masonry.
Where wiring is difficult, consider surface-mounted cable in a neat, heritage-friendly finish. Use dimmers so you can adjust the mood without adding visual clutter.
Place Pendants and Task Lights Correctly
Hang pendants high enough to preserve headroom, but low enough to illuminate a table or work surface effectively. Over a dining table, leave roughly 30 inches between the tabletop and shade, adjusting for sightlines and family height. Choose compact, shallow fittings that suit the cottage’s period without crowding the ceiling.
For kitchen counters, position task lights where cabinet doors and your head won’t collide. A pair of small pendants can define a worktop, while a discreet under-cabinet fitting covers preparation areas. Use separate switches to create practical lighting zones: brighten the sink or desk when you’re working, then soften the rest for an ambient glow.
Keep wiring routes simple, following existing beams or service paths where possible. If the ceiling is exceptionally low, consider flush-mounted task fixtures beside, rather than directly above, key work areas.
Reflect Light With Finishes and Dimmers
Once task lighting is in the right place, use finishes and dimmers to make the room feel brighter without adding bulky fittings.
Choose soft, warm wall colours that bounce natural light around a cottage interior while respecting its age. A limewashed finish can preserve breathable, traditional walls; satin paint on carefully selected joinery adds gentle lift without looking glossy or modern.
Use reflective surfaces sparingly: a framed mirror opposite a window, glazed tiles behind a sink, or polished hardware can stretch light through compact rooms.
Fit dimmers to ceiling and wall lights so you can lower brightness in the evening and avoid glare beneath a low ceiling.
Select warm-white lamps, ideally around 2700K, to keep timber, stone, and plaster looking inviting.
Keep switches accessible, and match plates to existing heritage details.
Frequently Asked Questions
How Can Lighting Layouts Accommodate Uneven Ceiling Heights in Older Cottages?
You can accommodate uneven ceilings by zoning circuits, placing recessed or surface-mounted fittings where headroom changes, and using Decorative fixtures selectively. Layer Ambient lighting with wall sconces and portable lamps, preserving heritage details while saving space and glare.
What Wiring Considerations Matter When Renovating a Cottage Without Existing Electrical Infrastructure?
Plan wiring upgrades before closing walls: map circuits, add grounded outlets, protect cables, and provide accessible junctions. You’ll preserve historic fabric, safely support Vintage fixtures, minimize surface disruption, and allow future repairs without dismantling finishes.
Are Smart Lighting Systems Practical for Small, Low-Ceilinged Cottage Rooms?
Yes, smart lighting works well in small rooms: “less is more.” Choose Smart bulbs for flexible control, Energy efficiency, and compact fittings; you’ll preserve ceiling height, protect cottage character, and avoid unnecessary rewiring.
How Should Lighting Plans Address Moisture in Cottage Bathrooms or Kitchens?
Use moisture resistant fixtures rated for wet areas, and plan ventilation integration to reduce condensation. You’ll preserve cottage character with discreet fittings, sealed finishes, and compact placement away from splashing, while improving safety and durability.
What Permits May Be Required for Installing New Lighting During a Cottage Renovation?
You’ll usually need an electrical permit for new wiring, circuits, or relocated fixtures; check your local authority. Confirm heritage approval, especially for protected cottages. Choose compatible Lighting fixture styles and energy efficiency options before submitting plans.