
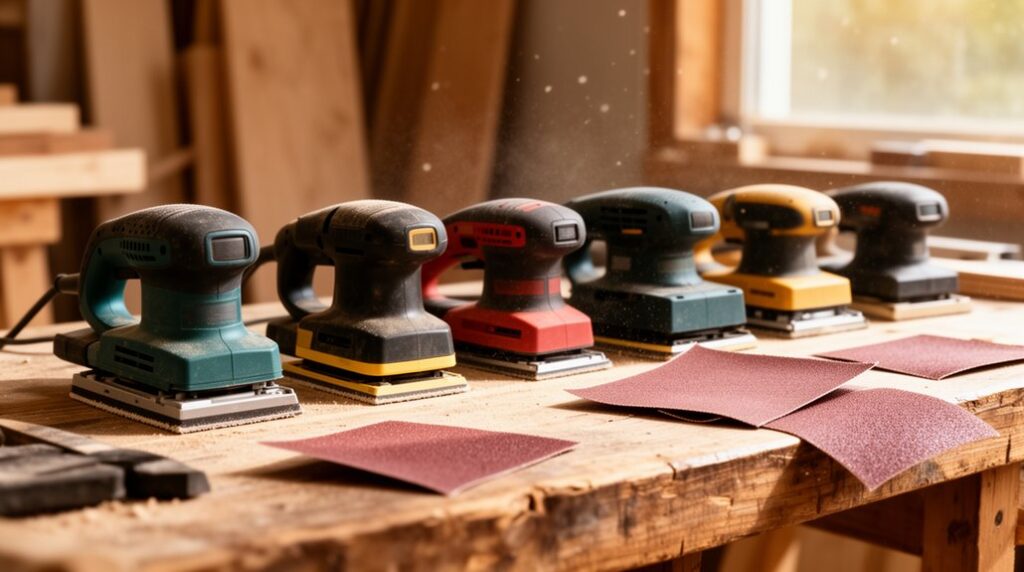
Choose your sander by matching the surface and setting. Indoors, use a compact, low-vibration random-orbit or orbital sander with strong dust collection for trim, doors, and furniture, and a vacuum-ready pole sander for drywall patches. Outdoors, pick a higher-power, weather-tolerant random-orbit with variable speed and plan on frequent disc changes for siding and decks. Use detail sanders for corners, start with the least aggressive grit, and wear a respirator—you’ll pick up finer grit and technique tips next.
Key Takeaways
- For interior work, choose compact, low-vibration sanders with strong dust collection for trim, doors, furniture, and enclosed spaces.
- For exterior work, pick higher-power, weather-tolerant sanders with variable speed and robust dust ports for siding, decks, and broad surfaces.
- Match sander type to task: random-orbit for most surfaces, belt/drum for heavy removal, and detail sanders for corners, edges, and profiles.
- Select the right grit progression: 36–60 for stripping, 80–120 for shaping, 150–180 for bare-wood finishing, and 180–220 for scuffing.
- Prioritize ergonomics and technique: balanced grip, manageable weight, keep the pad flat, and change discs early to prevent swirls and clogging.
Quick Sander Picker by Project (Interior/Exterior)
Whether you’re sanding trim indoors or stripping paint outside, you’ll get better results (and fewer headaches) if you match the sander to the job and the work area.
For interior trim, doors, and furniture, pick a compact, low-vibration sander with strong dust collection so you don’t grind grit into finishes.
For drywall touchups, use a pole sander and a vacuum-ready head to control powder.
For exterior siding or decks, choose a weather-tolerant, higher-power sander and plan for frequent paper changes as coatings clog.
For tight corners, grab a pointed pad sander and keep pressure light.
Prioritize Tool ergonomics: balanced grip, reachable switch, manageable weight.
Follow safety precautions: respirator, eye protection, hearing protection, and lead-safe practices.
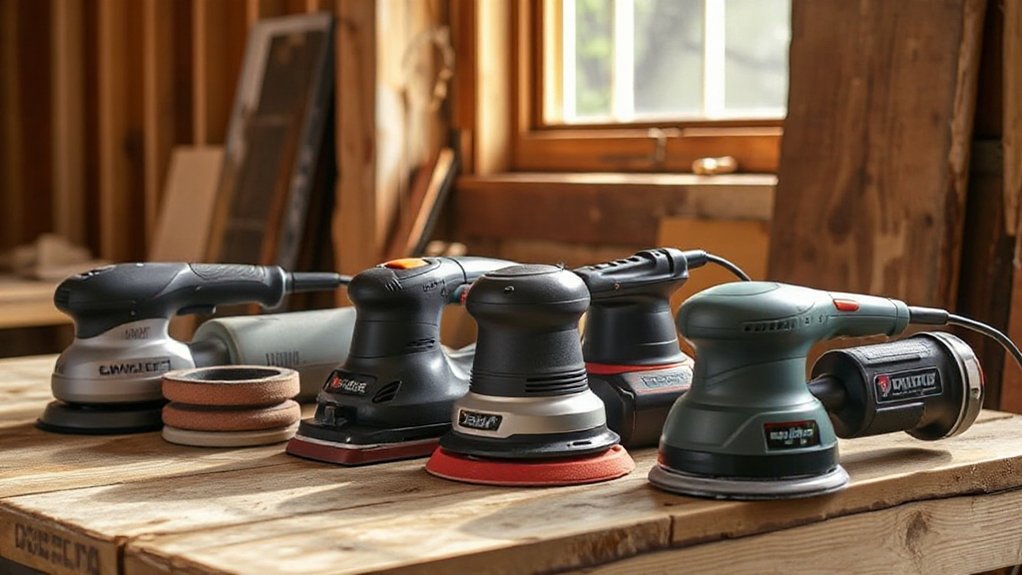
Orbital vs Random-Orbit vs Belt vs Detail Sanders
Before you pick up sandpaper, you should know how each sander moves and what that motion does to the surface: orbital sanders vibrate in a fixed pattern for controlled, light stock removal; random-orbit sanders combine spin and orbit to cut faster while reducing swirl marks; belt sanders drive an abrasive loop for aggressive flattening and rapid stripping; and detail sanders use a small pointed pad to reach corners and profiles.
Match grit and pressure to the tool: let the motor do the work, and keep the pad flat. Prioritize dust control—hook up a vacuum or sealed bag, and wear eye, hearing, and respirator protection.
Check Sander ergonomics so you can keep steady control without wrist strain. Compare noise levels, especially outdoors near neighbors, and avoid over-revving.
Inspect cords, tighten belts, and secure the workpiece.
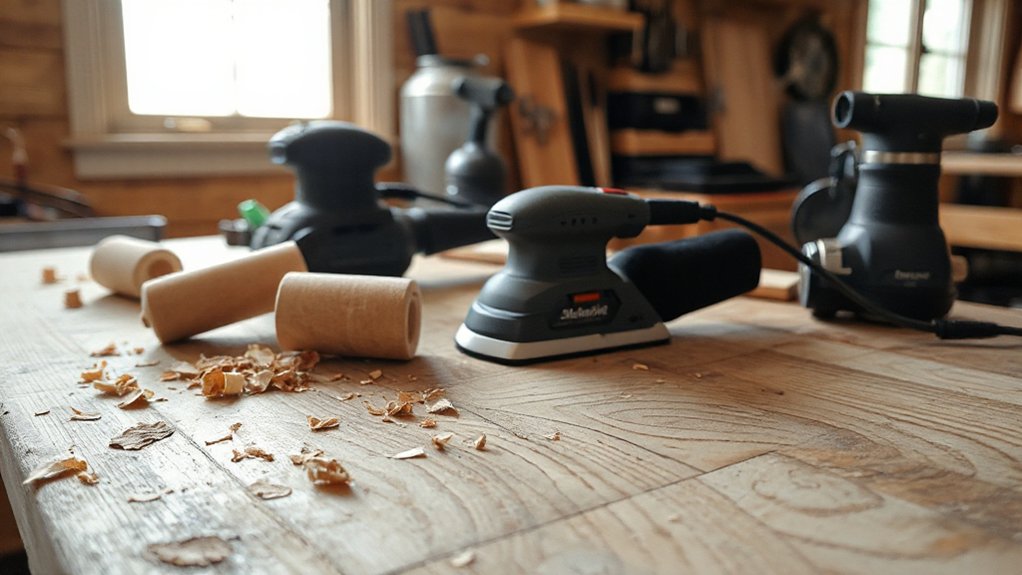
Best Sander for Trim, Walls, and Drywall Patches
Because trim, painted walls, and drywall patches all sand differently, you’ll get the cleanest results by matching the tool to the surface: use a 5–6″ random-orbit sander with vacuum hookup for most flat wall work and blended patch edges. Switch to a detail sander or sanding sponge for tight trim profiles and inside corners. Reserve a belt sander for rare cases like stripping thick buildup on sturdy, removable trim.
Start with 120–150 grit on paint, then finish 180–220 for primer-ready smoothness. On patches, feather with light pressure to avoid dish-outs and paper burn-through. For trim, hand-sand with the grain to keep profiles crisp.
For sanding safety, wear a respirator, eye protection, and control dust at the source. Lower environmental impact by using HEPA extraction and reusable sanding sponges.
Best Sander for Floors (and When to Rent One)

When you’re sanding floors, you’ll typically choose between a drum sander for fast stock removal, a belt sander for more control, and an edger to reach tight perimeters—each can gouge hardwood if you rush or tilt it.
You should rent if it’s a one-time refinish or you need pro-grade dust collection and power, but buying can make sense for frequent projects and easy access to pads and parts.
Start with the least aggressive grit that still cuts the finish, match the correct pad to the machine, and change abrasives early to prevent heat marks and swirl scratches.
Floor Sander Types
Even if you’ve used a palm or random-orbit sander on furniture, floors call for heavier, purpose-built machines that remove material fast and evenly without gouging the wood. For major refinishing, you’ll use a drum sander to level cupped boards and strip old finish, but you must keep it moving to avoid burn marks.
A belt floor sander is a bit more forgiving and suits most solid hardwoods. Use an edger to reach perimeter boards and under toe-kicks, and a corner/detail sander for tight angles.
For screening between coats, choose a floor buffer with a sanding screen. Prioritize dust containment, Eco friendly options like low-VOC finishes, and strict safety precautions: respirator, hearing protection, and careful cord management at all times.
Rent Vs Buy Decision
Although a floor sander rental can look pricey at the counter, it’s often the safest, most cost-effective way to get a pro-grade drum or belt sander for a one-time refinish without committing to storage, maintenance, and abrasives inventory.
You’ll also get access to newer models shaped by Power tool innovations, like better dust capture, softer starts, and steadier tracking.
Buy if you’ll refinish multiple rooms, tackle rentals regularly, or want your own machine tuned to your workflow. Renting makes sense when you need peak performance for a weekend, don’t want repairs, and prefer swapping units if something fails.
Before you decide, confirm power requirements, weight, transport, and included accessories.
Don’t skip safety gear considerations: hearing protection, eye protection, respirator, and proper footwear reduce risk and fatigue.
Choosing Grit And Pads
Once you’ve decided whether you’ll rent or buy a floor sander, match it with the right grit sequence and pad type so you remove finish efficiently without gouging the wood.
Start with Grit selection based on condition: 24–36 for heavy cupping or thick finish, 40–60 for moderate wear, then 80–100 to refine. Don’t jump more than one grit step, or you’ll chase scratches later.
Use the same grit on the edger to keep the surface uniform.
Confirm Pad compatibility with your machine: drum sanders use abrasive belts; random-orbit floor sanders use hook-and-loop or clamp-on screens over a drive pad.
Replace glazed pads, keep discs centered, and vacuum between passes.
Wear hearing, eye, and N95 protection, and keep cords behind you always.
Best Sander for Siding, Decks, and Exterior Doors
When you’re sanding siding, decks, or exterior doors, you need a tool that removes weathered paint and rough fibers fast without gouging the surface or throwing dust everywhere. For broad, flat runs, reach for a 5- or 6-inch random orbital sander with variable speed and a strong dust port connected to a vacuum. You’ll keep swirl marks down and control removal on softer woods.
For tight profiles, rails, and door panels, switch to a detail sander or an oscillating multi-tool with a sanding pad so you can stay on edges without rounding them over.
Do surface prep in sections, and check for nails, screws, or loose boards before you start. Wear safety gear: eye protection, hearing protection, and a respirator rated for paint dust.
Sandpaper Grit Chart + Grit Sequences That Work
You’ll get cleaner results and fewer burn-throughs when you pick the right grit range for the job and your sander. Use a simple grit chart and follow proven progression sequences (for example, 80→120→180) so each step removes the previous scratches without over-sanding.
Match the grit to the material—coarser for stripping and leveling, finer for hardwoods and finishes—and wear eye and dust protection every time.
Common Grit Ranges
Although sandpaper looks straightforward, grit selection drives both your finish quality and your safety, because the wrong jump can force you to press harder, overheat the surface, or leave deep scratches you can’t hide later.
Use 36–60 grit for heavy stock removal, paint stripping, and flattening cupped boards; expect aggressive scratch patterns and manage heat with light pressure and dust extraction.
Choose 80–120 grit for shaping, feathering edges, and removing mill marks on wood or filler.
Reach for 150–180 grit to prep bare wood for stain or clear coats, and 180–220 grit to scuff between finish coats without cutting through.
Reserve 240–320 grit for final smoothing on sealed surfaces and delicate trims.
Prioritize grit durability and sanding ergonomics: sharp, clog-resistant abrasives and comfortable control reduce fatigue and slip risk.
Grit Progression Sequences
Even if you’ve picked the “right” grit, the sequence you run matters more than most people expect, because each step must fully erase the scratch pattern from the last without forcing you to bear down and generate heat.
Use a simple grit progression: don’t jump more than 2x in grit size. Reliable sanding sequence examples: 60→80→120→180; or 80→120→150→220 for lighter refining.
For finishing passes, stop and inspect under raking light, then vacuum and wipe before moving up—leftover grit creates deep random scratches.
Keep the sander flat, let the tool’s weight do the work, and change discs when they glaze.
Wear eye protection and a respirator; fine dust builds fast indoors.
Matching Grit To Material
A solid grit progression only works if the starting grit matches the material and the job, because the wrong first cut either wastes time or leaves damage you can’t hide later. Check grit compatibility first: for rough exterior wood or paint removal, start 40–60; for weathered siding that just needs leveling, 80; for bare interior wood prep, 100–120; for between-coat scuffing, 180–220; for hardwood finishing, 150→180→220; for metal de-rusting, 60–80 then 120; for drywall, 120–150 then 180.
Move up 1–2 steps at a time, and stop when scratches from the prior grit disappear. For sanding safety, wear a respirator, vacuum dust, and don’t over-sand edges.
Dust Collection and Swirl-Mark Mistakes to Avoid
When you run a sander without solid dust collection and good technique, you don’t just make a mess—you create health hazards and bake swirl marks into the surface that show up under stain or gloss.
Connect a shop vac or extractor with the right hose, use a clean filter, and seal leaks so suction stays strong.
Don’t let dust buildup clog the pad holes or load the disc; it forces heat, reduces cut, and scratches. Change discs early, and tap or brush the pad between passes.
Keep the sander flat, start it on the work, and move at a steady pace without tipping edges. Don’t bear down; let the abrasive do the work.
On interior jobs, wear a P100 or N95 and ventilate; outside, control wind-driven dust too.
Frequently Asked Questions
Can I Use a Sander on Painted Lead-Based Surfaces Safely?
You shouldn’t sand painted lead-based surfaces unless you can fully control exposure. Sanding Lead based paint creates toxic dust you can’t reliably contain with basic tools.
If you must, use EPA RRP methods: wet sanding, HEPA vacuum attachments, and sealed plastic barriers for Dust containment.
Wear a P100 respirator, disposable coveralls, and gloves. Keep children and pregnant people away.
Collect debris, HEPA-vacuum, and dispose per local rules.
How Loud Are Different Sanders, and What Hearing Protection Is Best?
Like a town crier, your sander can get loud: random-orbit and palm sanders often run ~80–90 dB, belt sanders ~90–100 dB, and angle grinders higher.
For Noise level comparisons, check the tool’s dB rating and treat anything over 85 dB as hazardous.
Your Hearing protection options: use NRR 25–33 foam plugs, or earmuffs (SNR/NRR rated) for quick on/off; double up for high-dB work.
What Extension Cords Are Safe for Sanders, and How Long Can They Be?
You’ll stay safe using heavy-duty, grounded extension cords rated for outdoor/contractor use (SJTW/SOOW) and matching your sander’s amperage.
For Extension safety, choose 12-gauge for most sanders; use 10-gauge for high-draw tools or long runs.
For Cord length considerations, keep cords under 50 ft when possible; if you must go 100 ft, upsize the gauge.
Avoid damaged cords, overheating, and daisy-chaining.
How Do I Know When a Sanding Pad or Platen Needs Replacing?
You’ll know it’s time to replace the sanding pad or platen when you see torn hook-and-loop, uneven wear, glazing, cracks, melted spots, or the disc won’t stay centered.
If sanding feels “bouncy,” leaves swirl marks, or the tool vibrates more, you’re losing flat contact.
For Sanding pad longevity, keep dust holes clear and don’t overheat.
For Platen maintenance, inspect backing screws and replace warped plates promptly.
Are Cordless Sanders Powerful Enough for Whole-Room Refinishing Projects?
Yes, today’s cordless sanders can handle whole-room refinishing—like a workhorse without a cord. You’ll need enough Battery life: keep two to four high-capacity packs and a fast charger to avoid downtime.
Choose a model with strong Dust collection; connect a HEPA vac and wear a respirator to reduce exposure.
Use fresh abrasives, check pad/platen wear, and let the tool’s weight do the work safely.
Conclusion
Pick your sander the way you pick your grit: match it to the job, then work in steps. Coincidentally, the projects that look “quick” are the ones that punish shortcuts—so you’ll save time by sanding slower and smarter. You’ll control swirls with the right pad and pressure, and you’ll protect your lungs by hooking up dust collection and wearing a respirator. Start coarse, finish fine, and stop when the surface tells you.

