Start by inspecting for rot, cupping, and bounce; probe soft spots with an awl and locate joists to confirm the floor’s stable. Stage your sander, scraper, drill/driver, and HEPA vacuum, then seal doorways, cover vents, and wear eye, hearing, and respirator protection. Mark squeaks, drive angled trim screws into joists, and add adhesive or blocking from below if possible. Fill moving gaps with flexible filler, replace damaged boards, sand flat, then refinish in thin coats with full cure times. Keep going to pick the right products and sequence.
Key Takeaways
- Inspect for rot, warping, loose boards, and excessive joist deflection; identify and fix moisture sources before starting repairs.
- Prepare tools and safety gear, seal doorways and vents, and use HEPA dust control to keep the workspace clean and safe.
- Eliminate squeaks and bounce by driving countersunk screws into joists and adding adhesive, blocking, or shims where movement persists.
- Fill stable cracks with appropriate filler, replace severely damaged boards, and treat deep stains or pet odors using targeted cleaners and sealers.
- Sand with proper grit progression, vacuum between steps, apply thin finish coats with a wet edge, and allow full curing before heavy use.
Inspect for Rot, Warping, and Board Movement

Before you pull a single board, inspect the floor systematically for rot, warping, and movement so you don’t lock hidden damage under a fresh finish.
Probe suspect areas with an awl near sinks, exterior doors, radiators, and along baseboards; if the tip sinks easily or fibers crumble, you’re seeing Wood decay. Check for discoloration, musty odor, and soft edges around nail holes.
Lay a straightedge across multiple boards to spot cupping, crowning, or twisting, then trace the pattern to moisture sources.
Walk the room in a grid and mark squeaks, bounce, and gaps; movement often signals loose fasteners, undersized subflooring, or joist issues.
Verify Structural stability by locating joists and measuring deflection; excessive flex means you must correct support before refinishing.
Gather Tools, Safety Gear, and Dust Control
Since sanding and board repairs can throw fine dust and sharp debris into every corner of the room, set up your tools and safety gear first and treat dust control as part of the repair, not a cleanup step.
Stage a random-orbit sander, scraper, nail set, pry bar, drill/driver, vacuum with HEPA filter, and labeled containers for fasteners.
Keep sharp blades capped and cords routed to prevent trips.
For Protective gear, wear safety glasses with side shields, hearing protection, cut-resistant gloves, and a P100 respirator; add knee pads for long sessions.
Seal doorways with plastic and painter’s tape, cover vents, and run a box fan exhausting outdoors if you can.
Use a vacuum shroud on sanders and empty the canister outside.
Fix Squeaks and Tighten Loose Floorboards
Even if the boards look flat, a squeak usually means movement between the flooring and the subfloor or joists, so you’ll fix it by eliminating that play rather than masking the noise.
Start with loose board identification: walk the area, mark noisy spots with tape, and note the board direction and nearby fasteners.
Determine squeak causes by checking for lifted nails, shrunken boards, or joist gaps from below if you’ve got safe access.
Wear eye protection and hearing protection when drilling.
Drive trim screws at an angle into joists, countersinking just below the surface; don’t overtighten and split the tongue.
If you can reach the underside, add construction adhesive and install blocking or shims, then clamp until cured.
Re-test under load.
Fill Gaps, Cracks, and Replace Missing Wood
Next, you’ll assess each gap and crack for movement, moisture damage, and depth. Mark any areas that can’t be stabilized.
Then you’ll choose a wood filler matched to the joint size and floor type, using proper ventilation and gloves to limit dust and skin contact.
If boards are missing or too deteriorated to patch, you’ll cut out the damaged sections safely and fit replacement boards flush to prevent trip hazards and future splitting.
Assess Gaps And Cracks
Before you reach for filler, inspect the floor closely to determine what you’re dealing with: seasonal gaps between boards, true cracks through the wood, or missing/rotted sections that require replacement.
Measure gap widths with feeler gauges and note patterns near exterior walls and heat registers; those often track humidity swings and wood expansion. If gaps close in humid months, don’t force boards tight.
Probe suspected damage with an awl. A sharp, clean split indicates a crack; soft fibers, dark staining, or crumbling edges signal rot and justify cutting out and patching.
Check for movement: step nearby and watch joints; deflection suggests loose fasteners or subfloor issues.
Vacuum debris, then mark repair zones in chalk to guide crack prevention and safe, minimal removal.
Choose Wood Fillers
Once you’ve mapped the problem areas, pick a filler system that matches the gap size, the floor’s movement, and your final finish so the repair doesn’t crumble or telegraph through stain.
For hairline cracks, use a solvent-based or latex wood filler that sands flush and accepts stain; test on a scrap to confirm color shift.
For wider seasonal gaps, choose a flexible, tintable acrylic or polyurethane seam filler so it won’t pop out as boards expand and contract.
If you need to blend repairs, mix fine sanding dust with compatible binder to mimic the wood grain and grain pattern, but avoid over-packing soft areas.
Wear gloves and a respirator when using solvent products, ventilate well, and keep sparks away.
Let filler cure fully before sanding.
Replace Missing Boards
With the right filler chosen for small defects, tackle any areas where filler won’t hold—missing chunks, broken tongues, or boards that have rotted through—and replace the wood so the repair stays stable under foot traffic.
Isolate the damaged section, set a depth stop on your saw, and cut along the board’s length without nicking joists or adjacent planks. Pry up pieces with a flat bar, then vacuum debris and check the subfloor for moisture before you install anything new.
Mill a matching species and profile, aiming for historical accuracy, and dry-fit for tight joints. For color matching, pre-stain a test offcut.
Glue and face-nail where necessary, set nails below the surface, then sand flush and seal.
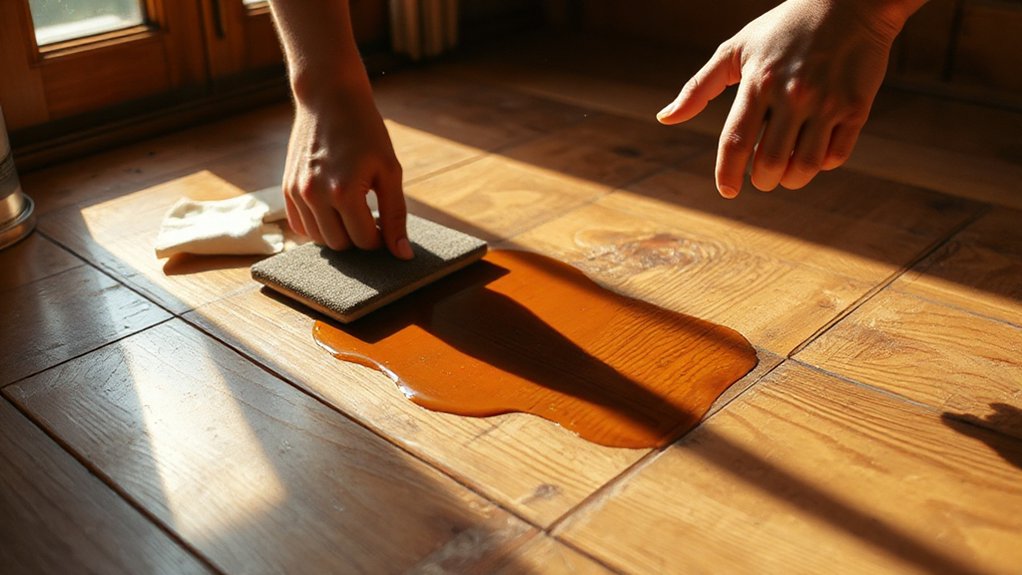
Treat Deep Stains, Gouges, and Pet Damage
Although surface scuffs usually sand out, deep stains, gouges, and pet damage often penetrate past the finish and into the wood fibers, so you’ll need targeted repairs instead of more sanding.
Start with stain removal: vacuum debris, then wipe with mineral spirits to identify true discoloration. For water or iron stains, apply an oxalic acid solution, keep it wet 10–15 minutes, then neutralize with baking-soda water and dry completely. Wear gloves, goggles, and provide ventilation.
For gouges, clean the cavity, undercut loose fibers with a sharp chisel, then pack in a compatible wood filler or epoxy putty; overfill slightly and level with a scraper once cured.
For pet damage urine, enzymatic cleaner helps, but if odor persists, seal the area with shellac-based primer before refinishing.
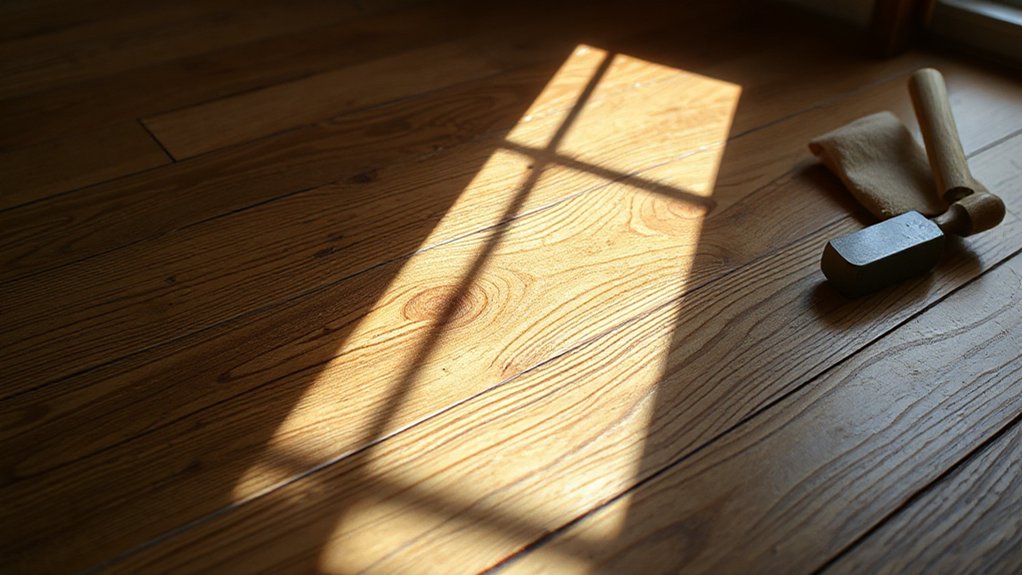
Sand the Wood Floor Flat and Smooth
Before you touch a sander, confirm the floor is structurally ready and set up your sanding plan, because aggressive machines will telegraph every raised nail and loose board. Set nails below the surface, tighten squeaks, and vacuum grit. Fit a respirator and hearing protection, then isolate dust with plastic and keep cords clear.
Start with a drum or belt sander using the least aggressive grit that levels cupping. Move continuously, overlap passes, and lift the drum before stopping to avoid divots. Follow wood grain with your final cuts, and switch to an edger for perimeters, feathering into the field.
Use a random-orbit sander to blend chatter marks. Work through grits consistently; don’t skip steps. After each grit, vacuum and tack to prevent stray grit from carving tracks.
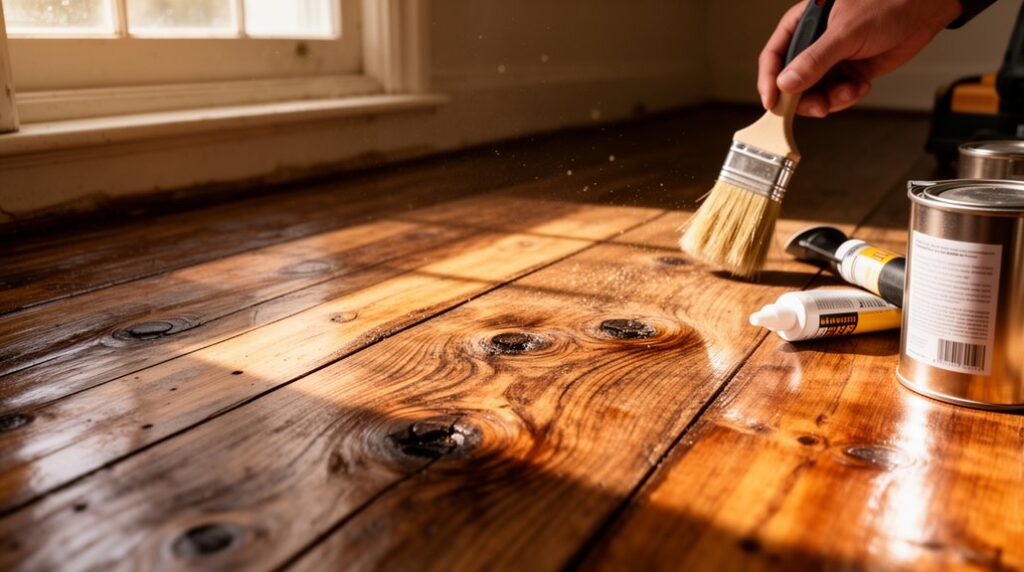
Choose a Finish and Refinish for Durability
How do you pick a finish that’ll survive foot traffic, spills, and seasonal wood movement? Start by matching Finish options to use: water-based polyurethane dries fast and stays clear; oil-based polyurethane builds thicker and resists abrasion; hardwax oil spot-repairs easily but needs reapplication; penetrating sealer suits low-wear rooms.
For kitchens and entries, choose high-solids poly or a two-component waterborne system for tougher protective coatings.
Before you refinish, vacuum dust, tack with microfiber, and control humidity (35–55%) to limit edge bonding and cupping. Wear a respirator rated for organic vapors, assure cross-ventilation, and eliminate ignition sources.
Apply thin coats with a T-bar or pad, keep a wet edge, and scuff-sand between coats. Let cure fully before rugs.
Frequently Asked Questions
How Do I Identify the Wood Species and Plank Age?
You’ll identify wood species by examining the wood grain under bright light and a hand lens, noting pore pattern, ray fleck, and color. Compare to a reputable ID guide.
Measure plank thickness with calipers at a heat register or drilled pilot hole you’ll later plug.
Estimate plank age by checking cut marks (sawn vs. planed), nail type (square vs. wire), and subfloor or joist dates.
Wear eye protection.
Do I Need Permits or Inspections for Major Floor Restoration?
You might need permits or inspections if you change structure, joists, subfloor, add radiant heat, or work in a designated Historical restoration district.
You usually don’t for sanding/refinishing, but check local building and historic-preservation offices.
You should schedule inspections when you modify load paths, fire ratings, or egress.
You must also document Environmental considerations: lead/asbestos testing, dust containment, VOC limits, and legal disposal requirements.
Call before you demo.
How Can I Match New Boards to Existing Patina and Color?
You’ll match new boards by testing stain blends on offcuts and comparing under the same lighting for accurate color matching. Choose similar species, grain, and cut, then precondition and seal evenly.
Use aging techniques: tint your sealer, add a light glaze, or fume/oxide-treat oak to warm tones.
Feather finishes into old boards, don’t sand the patina away.
Wear a respirator, ventilate, and handle solvents safely.
What Should I Do if My Floor Contains Asbestos-Backed Underlayment?
Treat it like a sleeping dragon: don’t disturb it until you know what you’re facing.
Stop sanding, cutting, or prying. Arrange Asbestos testing through a certified inspector or lab to confirm contents.
If it’s positive, you’ve got two safe paths: encapsulate and cover, or hire licensed abatement for Safe removal.
Seal the area, control dust, and follow local disposal rules—never bag it casually or vacuum with a standard shop vac.
How Long Should I Wait Before Placing Rugs and Furniture on Refinished Floors?
You’ll typically wait 24–48 hours before placing furniture and at least 7–14 days before laying rugs, depending on finish type, humidity, and cure specs. You should confirm the manufacturer’s cure schedule and keep ventilation running.
Use felt pads, lift (don’t drag) items, and avoid heavy loads early. For Decorative accents, choose breathable pads.
For Cleaning tips, dry-dust only; don’t wet-mop until fully cured.
Conclusion
Restore that old wood floor and it’ll look like you’ve shaved decades off your entire house. You’ve inspected for rot and movement, locked down squeaks, filled gaps, swapped bad boards, and erased stains like they never existed. Now sand it flat—dust control and PPE aren’t optional—and choose a tough finish that can take real abuse. Follow cure times, ventilate, and keep sparks away from solvents. Do it right, and it’ll outlast you.