
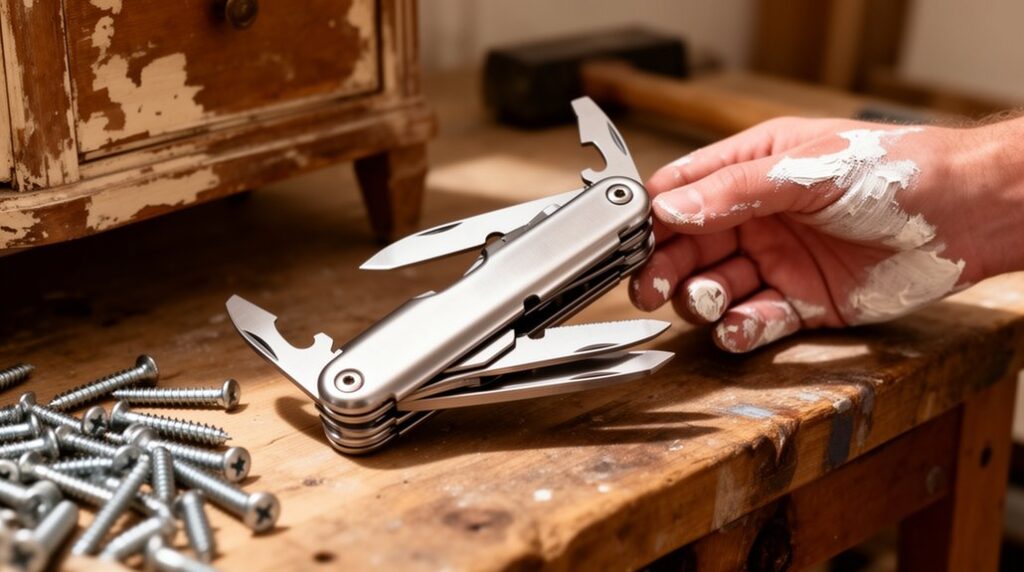
Start by fitting the right accessory and locking it tight, then wear eye protection, a dust mask, and hearing protection. Brace or clamp the work, grip the tool with two hands, and keep the shoe flat while you use light, steady pressure. Run faster for soft wood and drywall, slower for hardwood and metal (add cutting oil), and use carbide/diamond grit for tile or grout. Pause often, clear dust with a vacuum, and swap worn blades—next you’ll pick up cleaner cuts and faster fixes.
Key Takeaways
- Choose the right accessory for the material, lock it firmly, and confirm it’s seated before starting to prevent slip or chatter.
- Wear eye protection, dust mask, and hearing protection; work ventilated, keep the area clean, and avoid gloves that could snag.
- Match speed and pressure to the material: high for drywall/PVC, mid-high for soft wood, slow for hardwood and metal.
- For precise plunges and flush cuts, mark lines, clamp the work, start slow, use two hands, and control depth with a stop.
- Prevent overheating and dust: clear chips, pause every 20–30 seconds, use cutting oil on metal, and hold a vacuum near the cut.
Set Up the Oscillating Multi-Tool (Speed, Grip, PPE)

Before you make a cut or plunge, set your oscillating multi-tool up so it’s controllable and safe: start by fitting the correct accessory and locking it firmly. Then choose a moderate speed (low for delicate materials and tight control, higher only when you need faster cutting or sanding).
Wrap your main hand around the body, keep your index finger off the switch until you’re positioned, and brace the nose with your other hand to reduce chatter. Stand balanced, route the cord clear, and clamp the workpiece so it can’t shift.
Wear eye protection, hearing protection, and a dust mask; add gloves only if they won’t snag.
Do quick Battery maintenance: charge, inspect contacts, and seat the pack fully.
Finish with Multi tool storage: remove the accessory, cool it, and store dry.
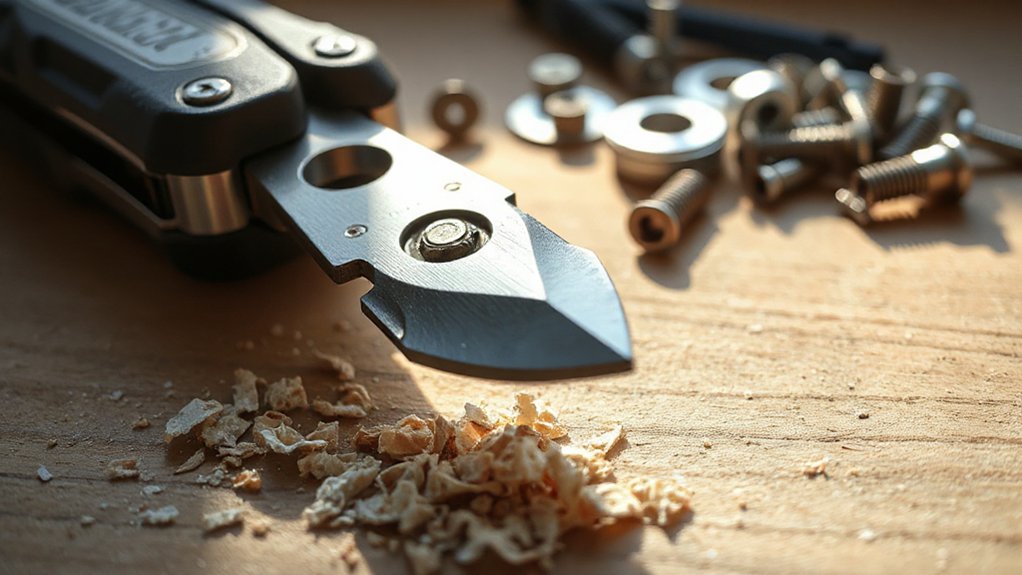
Match Multi-Tool Blades to Wood, Metal, Tile
How do you know which multi-tool blade won’t stall, burn, or shatter on the job? You match blade types to material compatibility before you pull the trigger.
For wood, grab a high‑carbon steel or aggressive bi‑metal plunge blade with coarse teeth; it clears chips and stays controllable in studs and trim.
For metal, switch to a fine‑tooth bi‑metal blade rated for nails, screws, and thin steel; avoid wood blades that can snag and kick.
For tile and grout, use a carbide‑grit or diamond‑grit blade; toothed blades will chip glaze and dull fast.
Inspect blades for cracks or missing grit, lock them in fully, and keep spares so you won’t force a worn edge.
Dial In Multi-Tool Speed and Technique by Material
Because the same blade behaves very differently at 5,000 OPM than it does at 20,000, you’ll get cleaner cuts (and fewer burnt edges) when you match speed and pressure to the material. Start low, then increase until chips clear without smoking.
On soft wood, run mid-high speed with light pressure and keep the tool moving to prevent glazing.
On hardwood, slow slightly and let the teeth bite; forcing it kills Blade durability.
For metal, use low speed, steady pressure, and cutting oil; too fast overheats and ruins temper.
For PVC and drywall, use high speed but feather the trigger to avoid melting or crumbling edges.
On grout or tile, use medium speed, minimal pressure, and frequent pauses to limit heat and preserve Material compatibility.
Always clamp work and wear eye/ear protection.
Make Clean Plunge Cuts With a Multi-Tool
Start with the right blade for the material, and inspect it for damage before you mount it and tighten the clamp.
Mark your cut line clearly, clamp or brace the work so it can’t shift, and keep your hands out of the blade’s path as you begin the plunge.
Control depth with light pressure and short passes, then stop to check your progress and square up the edges for a clean finish.
Choose The Right Blade
Before you make a plunge cut with a multi-tool, pick a blade that matches the material and the finish you need, since the wrong tooth pattern or grit will tear fibers, overheat, or kick the tool off your line.
For wood, use a sharp bi-metal or high-carbon steel blade with fine teeth for clean edges; save coarse teeth for fast, hidden cuts.
For metal, choose bi-metal or carbide teeth and expect slower feed to prevent burning.
For grout, masonry, or fiberglass, go carbide grit to avoid snagging.
Check Blade materials ratings and don’t mix them across tasks.
For blade safety, inspect for cracks, dull teeth, or bent hubs, then lock the blade fully and wear eye protection.
Mark And Secure Cut Line
With the right blade locked in, your next job is to control the cut so the tool doesn’t wander or tear out the surface. Start with crisp marking techniques: use a sharp pencil or knife line, then square it across the work so the plunge starts exactly where you intend.
On painted trim, score the line with a utility knife to reduce chipping; on tile, use painter’s tape and mark on the tape for visibility.
Next, apply securing methods so nothing shifts. Clamp the workpiece to a stable bench, or brace it against a solid backer. If you can’t clamp, screw a straightedge guide to sacrificial wood, or tape a guide block in place.
Clear the area, secure cords, and wear eye protection.
Control Depth And Finish
Once your line is marked and the piece won’t move, control the plunge by setting a clear depth target and using the tool’s shoe and your hands to limit travel. Tape the blade for a visual stop or clamp a scrap as a depth fence. Start at low speed, tip the blade into the kerf, then level out; don’t force it.
Keep two hands on the tool so vibration doesn’t walk the cut.
For finish quality, let the teeth do the work and keep the blade square to the surface. Pause to clear dust, and back the blade out before you change angle.
If you’re flush-cutting, protect adjacent surfaces with a shim. You’ll get cleaner edges and precision control with fewer burn marks.
Make Flush Cuts on Trim, Nails, and Screws
Although a standard saw can chew up nearby surfaces, a multi-tool lets you make clean flush cuts on trim, protruding nails, and screws right where they sit. Fit a flush-cut wood/metal blade, then set the tool flat to the work so the blade rides the surface like a sled.
Protect Decorative molding by taping a thin shim or putty knife behind the cut line, and keep the shoe fully supported to prevent chatter. Start slow, let the oscillations do the work, and don’t force the blade or you’ll scorch trim or snap teeth.
For Nail removal, cut the fastener off flush, then pull the remaining stub once the piece is free.
Wear eye protection, gloves, and hearing protection always.
Cut Drywall Openings for Outlets and Vents
When you need to add an outlet box, return vent, or low-voltage plate, a multi-tool gives you tight control so you can cut clean drywall openings without blowing out the paper face.
Kill power at the breaker before any outlet installation, then scan for studs, wires, and plumbing. Mark the cutout with a template, score the perimeter lightly, and keep the oscillating blade flat to the wall to avoid overcutting.
Plunge slowly at a corner, then trace your lines in short passes, letting the tool do the work. Vacuum dust as you go and wear eye and hearing protection.
Test-fit the box or grille, and trim tight spots. Save the cutout for drywall patching if plans change later.
Scrape Caulk, Adhesive, and Grout With a Multi-Tool

Clean openings are only half the battle—you also need solid, contaminant-free surfaces before you recaulk, reset trim, or patch drywall.
For Caulk removal, fit a rigid scraper blade, run the tool at a low-to-medium speed, and keep the blade flat so you don’t gouge tile, fiberglass, or painted trim. Score the bead first with a utility knife, then work in short passes and lift softened strips with a putty knife.
To strip adhesive, switch to a wider scraper and approach from an edge; stop often to check you’re not digging into drywall paper.
For Grout cleaning, use a carbide grout blade, stay centered in the joint, and let the oscillation do the work. Wear eye protection and a respirator, and vacuum debris as you go.
Fix Blade Slip, Chatter, Overheating, and Dust
If your multi-tool starts slipping, chattering, overheating, or kicking up a dust cloud, stop and correct the setup before you push harder. Tighten the accessory clamp, confirm the blade’s seated flat, and match the blade to the material. Blade slip often comes from a worn arbor, dirty flange, or wrong tooth pattern.
Reduce speed on metal and dense hardwood, and let the tool oscillate—don’t lever it. For chatter, brace your wrists, start the cut with light pressure, and keep the shoe or guard contacting the surface when possible.
Prevent overheating by clearing chips, pausing every 20–30 seconds, and using a fresh blade. Control dust with a vacuum nozzle held near the cut, a mask, and eye protection always.
Frequently Asked Questions
Can a Multi-Tool Replace a Jigsaw or Reciprocating Saw for Most Repairs?
A multi-tool can cover many repairs, but it won’t fully replace a jigsaw or reciprocating saw for most jobs. You’ll get great repair versatility for plunge cuts, trimming, and flush cuts in tight spots, especially with good blade compatibility.
However, you’ll cut slower and struggle with thick stock, long straight cuts, or heavy demolition. Wear eye protection, clamp workpieces, and choose the right blade to prevent kickback.
Which Multi-Tool Brands Share Blade Compatibility Across Different Mounting Systems?
Like a keyring that opens many doors, you’ll get the broadest blade compatibility with OIS/Starlock systems.
Bosch, Fein, Makita, and Milwaukee accept Starlock (often with Starlock blades).
Many brands—DeWalt, Ridgid, Ryobi, Porter‑Cable, and older Bosch—use or include OIS-style mounts that share most aftermarket blades.
For brand comparisons, check the flange pattern and adapter fit, and always unplug/remove batteries before swapping blades.
How Do I Maintain and Lubricate an Oscillating Multi-Tool for Longer Life?
Unplug or remove the battery, then blow out dust and wipe the housing after each use.
For blade maintenance, clean pitch with solvent, replace dulled blades promptly, and keep mounts tight.
Use safe lubrication techniques: add a drop of light machine oil to the accessory clamp and pivot points, not the motor vents.
Inspect the cord, brushes, and bearings regularly, and store it dry to prevent rust.
What’s the Safest Way to Use a Multi-Tool Around Hidden Electrical Wiring?
You’ll often find Hidden wiring exactly where your blade wants to go, so you can’t guess—verify. Shut off the breaker, lock it out, and confirm dead with a noncontact tester plus a plug-in/load test.
Scan the wall with a stud/wire finder, then open a small inspection hole before cutting. Use shallow cuts, keep both hands on the tool, and wear insulated PPE.
Prioritize Electrical safety.
Are Cordless Multi-Tools Powerful Enough for Sustained, Heavy-Duty Home Projects?
Yes, you can tackle sustained, heavy-duty home projects with a cordless multi-tool, but you’ll need the right setup. Choose a high-voltage platform and high-amp Battery life packs, and keep a spare to avoid overheating.
Match blades to material so Cutting capacity stays consistent. Let the tool do the work, don’t force it, and take breaks.
Wear eye/hearing protection and check fasteners often.
Conclusion
Now you’ve got your multi-tool set up, you’re matching blades to the job, and you’re controlling speed and pressure for cleaner cuts. Remember the rhythm: fit the right blade, set the right speed, cut with control. Keep your hands clear, clamp the work, and wear eye, hearing, and dust protection every time. If the blade slips, chatters, or heats up, stop and reset. Work smart—your tool will follow.

