You can make your kitchen feel new fast without spending much. Stick on LED under-cabinet lights, re-caulk the sink and backsplash, and vacuum fridge coils or replace worn gaskets. Swap cabinet knobs and pulls for an instant style upgrade, and organize drawers with cheap bins or liners. If you’ve got a weekend, paint walls or cabinets for the biggest payoff. Add rails, risers, or peel-and-stick backsplash tile to finish—more smart upgrades are ahead.
Key Takeaways
- Add stick-on LED under-cabinet lights to brighten prep areas and instantly improve kitchen function for under $50.
- Swap cabinet knobs and pulls to modernize the space quickly; match finishes to fixtures and measure existing hole spacing first.
- Re-caulk around sinks and backsplashes to stop leaks and refresh grime-darkened edges with a cheap tube of caulk.
- Paint cabinet doors or walls after degreasing and sanding; prime first and use durable satin or semi-gloss for lasting impact.
- Improve storage with drawer bins, cabinet risers, rails, or peel-and-stick backsplash tiles to add organization and style cheaply.
5 Quick Kitchen Upgrades Under $50
Even if you’re short on time and cash, you can still make your kitchen look and work better with a few targeted upgrades under $50.
First, add stick-on LED under-cabinet lights to boost task visibility.
Second, tackle appliance maintenance: vacuum refrigerator coils, replace a cracked dishwasher gasket, and run a descaling cycle to improve efficiency.
Third, re-caulk the sink and backsplash; a $6 tube prevents leaks and brightens edges.
Fourth, organize drawers with dollar-store bins or a cut-to-fit liner so utensils stop sliding.
Fifth, refresh flooring options: replace one damaged vinyl tile, add peel-and-stick floor accents, or drop a washable runner to hide wear and reduce slipping.
Measure first, buy only what fits, and keep receipts.
Swap Cabinet Hardware for a Fast Refresh
You can refresh your kitchen fast by swapping cabinet knobs and pulls, starting with a hardware style that matches your faucet and lighting without blowing your budget.
Measure the existing hole spacing (center-to-center) on each door and drawer so you can buy replacements that fit and avoid extra drilling.
With a screwdriver or drill, a tape measure, and a simple template, you’ll install the new pieces in minutes and get a cleaner, updated look.
Choose A Hardware Style
Where should you start when you want your kitchen to look updated without touching the cabinets? Pick a hardware style that matches your home’s vibe and your budget. Decide if you want modern (slim bar pulls), transitional (simple arch pulls), or classic (cup pulls and knobs).
Then choose finishes that play well with what you already have—faucet, lights, and appliances—so style coordination feels intentional, not random. For longevity and cost, compare hardware materials: solid brass costs more but wears well; stainless resists rust; zinc alloy stays affordable; aluminum feels light; matte black finishes hide fingerprints.
Keep it consistent across doors and drawers, or use knobs on uppers and pulls on lowers for balance.
Measure Hole Spacing Carefully
Before ordering new knobs or pulls, measure your existing hole spacing so the swap stays truly “no-drill” and low-cost. For pulls, measure center-to-center between screw holes, not the overall length. Write down each size you find, because older kitchens often mix standards across drawers and doors. Check a few pieces in every run, since one off-size can force pricey returns.
Aim for measuring accuracy: use a tape with clear markings, read at eye level, and measure twice. Confirm hole alignment by placing the tape across both holes and verifying the centers line up on the same plane. If holes are slightly worn or chipped, measure from the most consistent edge and average two readings. Keep a quick list so you can match hardware exactly.
Install With Simple Tools
With your hole spacing notes in hand, swapping cabinet hardware comes down to basic hand tools and a steady workflow. Grab a screwdriver, a bit driver, painter’s tape, and a small level; skip pricey jigs unless you’re drilling new holes.
Tape around each hole to protect the finish, then remove one door at a time so hinges stay aligned and you don’t mix screws.
Test-fit a pull, hand-thread both screws, then snug them evenly—don’t over-tighten or you’ll strip MDF.
If you’re converting knobs to pulls, use a cheap template and a brad-point bit for clean entry.
Choose finishes that complement your custom cabinet design, and consider eco friendly materials like recycled metal hardware or FSC wood knobs.
Reuse existing holes whenever possible.
Paint Cabinets or Walls for the Biggest Change
Although a full kitchen remodel can drain your budget fast, paint delivers the biggest visible change for the least money—especially on cabinets and walls.
Start by choosing a palette using Color psychology: soft whites and warm greiges calm the room, while deep blues or greens add richness without new materials.
Clean, degrease, and scuff-sand surfaces so the coating bonds and lasts.
For cabinets, remove doors, label hinges, and fill dings with wood filler.
Prime with a stain-blocking primer, then roll or spray thin coats.
Pick durable paint finishes: satin or semi-gloss cleans easily and resists moisture.
For walls, use eggshell to hide minor flaws yet wipe down well.
Budget tip: buy sample pots first to test undertones in your light.
Upgrade Kitchen Lighting With Plug-In Options
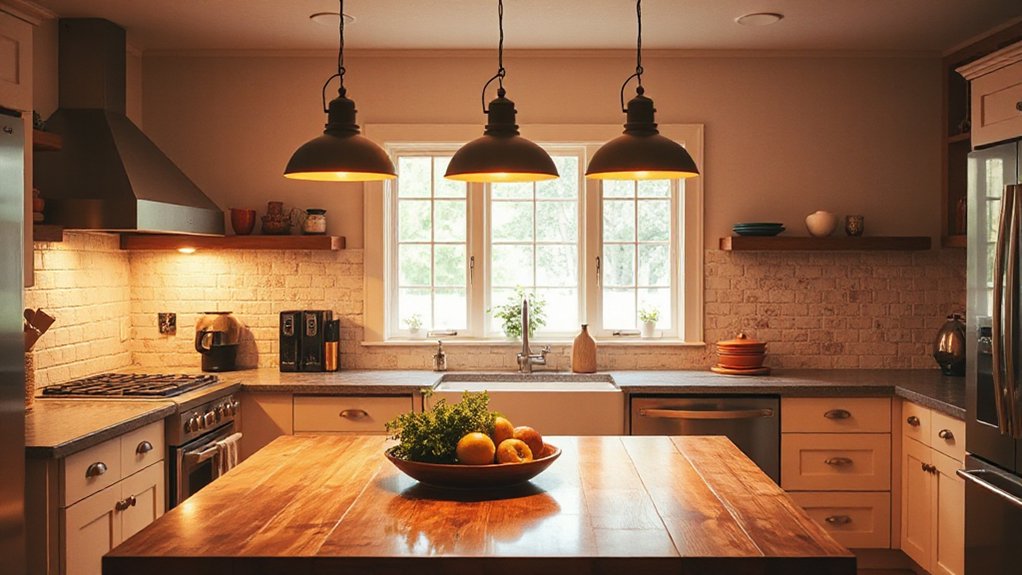
Since overhead fixtures can feel dim and dated, you can upgrade your kitchen’s look and function fast by adding plug-in lighting where you actually work. Start with plug-in LED under-cabinet light bars or puck lights for counters; choose kits with adhesive strips or screws so you can install in minutes.
Run cords neatly along cabinet edges with paintable cord covers, then plug into a switched outlet or a smart plug. Add a plug-in pendant or wall sconce where you need focused light, and use warm-white bulbs (2700–3000K) to soften glare.
For Smart lighting, pick app-controlled bulbs or strips so you can dim for dinner and brighten for prep. LEDs deliver strong energy efficiency, last longer, and cut heat and costs.
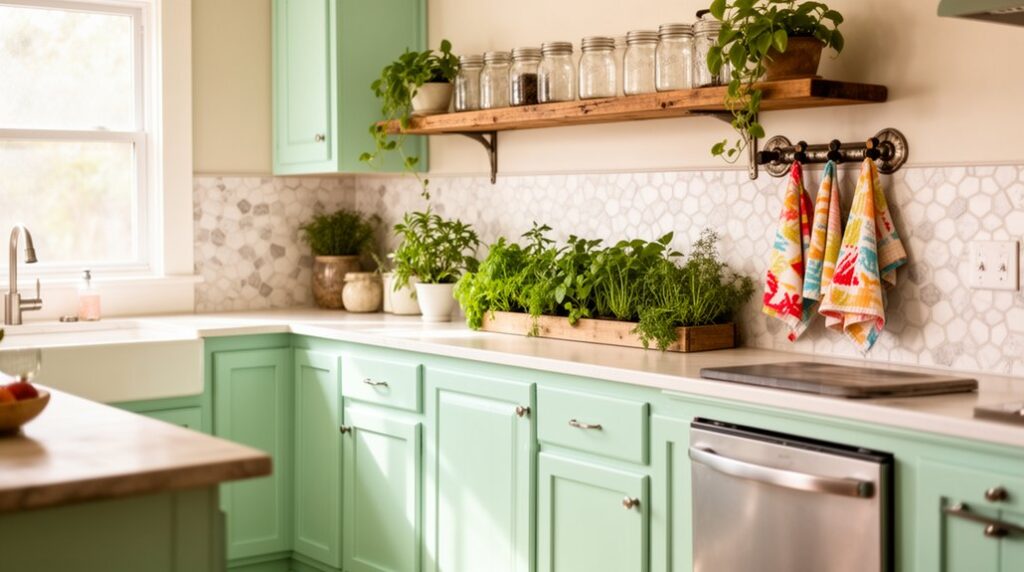
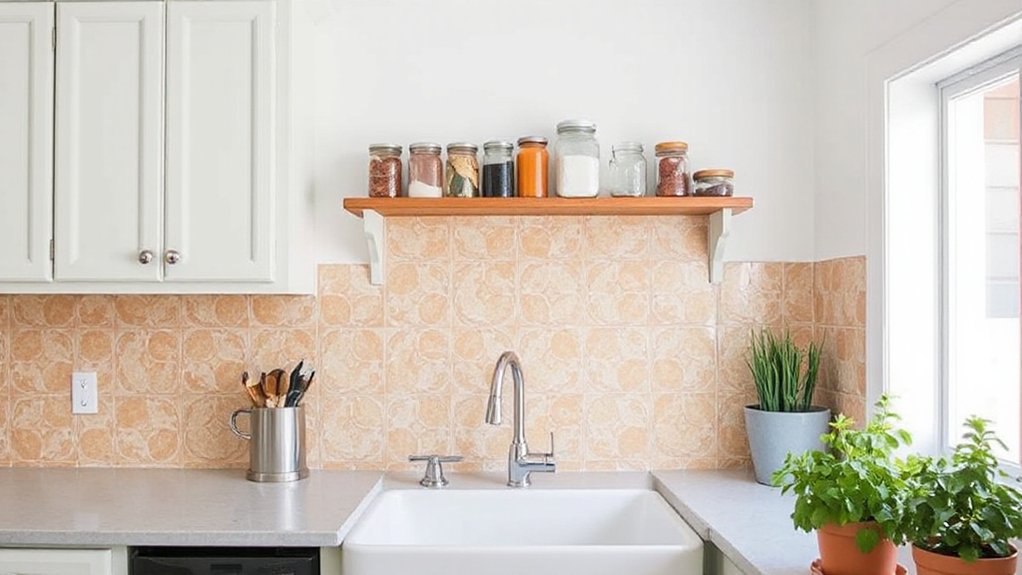
Add DIY Kitchen Storage (Shelves, Rails, Organizers)
Where does your kitchen actually run out of space—on the counters, inside cabinets, or on the walls? Start by measuring the dead zones: above the sink, beside the fridge, or over a narrow prep strip.
Install Open shelving with basic brackets and 1×10 boards, or repurpose sturdy planks you already own. Keep shelves shallow (8–10 inches) so they don’t swallow the room, and anchor into studs for safety.
Add a simple rail under a shelf for mugs, utensils, or paper towels using S-hooks.
Inside cabinets, stackable risers double dish capacity fast.
Finish with wall organizers: a pegboard for tools, a magnetic strip for knives, and labeled bins for snacks. You’ll clear counters without costly cabinetry upgrades.
Refresh Your Kitchen Backsplash With Peel-and-Stick Tile
If your backsplash looks dated but a full tile job isn’t in the budget, peel-and-stick tile gives you a clean, modern update in an afternoon with minimal tools. Start by degreasing the wall with a strong cleaner, then dry it fully so the bond holds.
Measure your run, mark a level line, and dry-lay a few sheets to choose a tile pattern you won’t regret once it’s up. Cut pieces with a utility knife and straightedge, and use a small roller to press seams tight.
Pay attention to adhesive types: some stick best to smooth paint, others to sealed drywall or existing tile. Seal edges near sinks with silicone to prevent peeling and moisture damage.
Frequently Asked Questions
Do I Need a Permit for Minor Kitchen DIY Updates?
You usually don’t need a permit for minor cosmetic updates, but you might if you move plumbing, alter wiring, add outlets, remove walls, or change ventilation.
Check your city’s Home renovation rules and your HOA before you spend.
Pull permits when required; it protects resale value and keeps inspections smooth.
For DIY safety, shut off power and water, use GFCIs, and don’t hide uninspected connections.
How Do I Avoid Damaging Rental Kitchens While Upgrading?
You’ll avoid damaging a rental kitchen by choosing reversible upgrades: peel-and-stick backsplash, removable wallpaper, stick-on LED under-cabinet lights, and tension-rod shelving.
Use painters tape for layouts, and test adhesives in a hidden spot first.
Keep hardware you remove labeled and bagged.
Prioritize Personal safety and Tool safety: cut away from yourself, wear goggles, and shut off power before lighting installs.
Clean surfaces so products release later.
What Tools Are Essential for Beginner-Friendly Kitchen DIY Projects?
You’ll need a tape measure, level, pencil, and stud finder for accurate layout. A cordless drill/driver with bits; a small hammer; a utility knife; and a basic screwdriver set.
Add painter’s tape, removable hooks, and a putty knife for clean, low-cost installs.
For Kitchen organization, grab a labeler and bins.
For cooking techniques, keep a sharp knife, honing rod, and thermometer handy too.
Don’t overspend.
Which Upgrades Add the Most Resale Value Without a Full Remodel?
You’ll boost resale value most by targeting visible, high-wear surfaces: repaint cabinets, swap dated cabinet hardware, and add a clean Kitchen backsplash.
Upgrade lighting to bright, modern fixtures and install an efficient faucet; buyers notice both fast.
Replace worn flooring with durable vinyl plank if needed.
Stick to neutral colors, consistent finishes, and quality caulk lines.
Keep receipts and before/after photos to justify upgrades during listing.
How Long Should I Wait Before Using Painted Surfaces Near Food Prep Areas?
Wait at least 7 days before regular use near food prep areas, even if it feels dry sooner. Most paints hit touch-dry in hours, but full paint drying time and cure take longer, especially in humid kitchens.
For countertops or cutting areas, don’t use them for 14–30 days, or choose certified food safe coatings and follow their label cure time.
Keep fans running, avoid scrubbing early, and use paper barriers.
Conclusion
You don’t need a fairy godmother to transform your kitchen—just a $50 budget and a free afternoon. Swap tired hardware, roll on fresh paint, and plug in brighter lighting to change the whole mood fast. Add shelves or rails to keep tools where you’ll actually use them, then finish with peel-and-stick tile for that “new kitchen” feel. Like a good recipe, small tweaks stack up—measure twice, shop sales, and get it done.