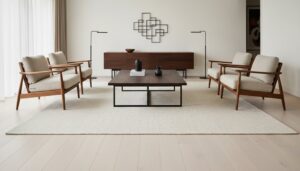
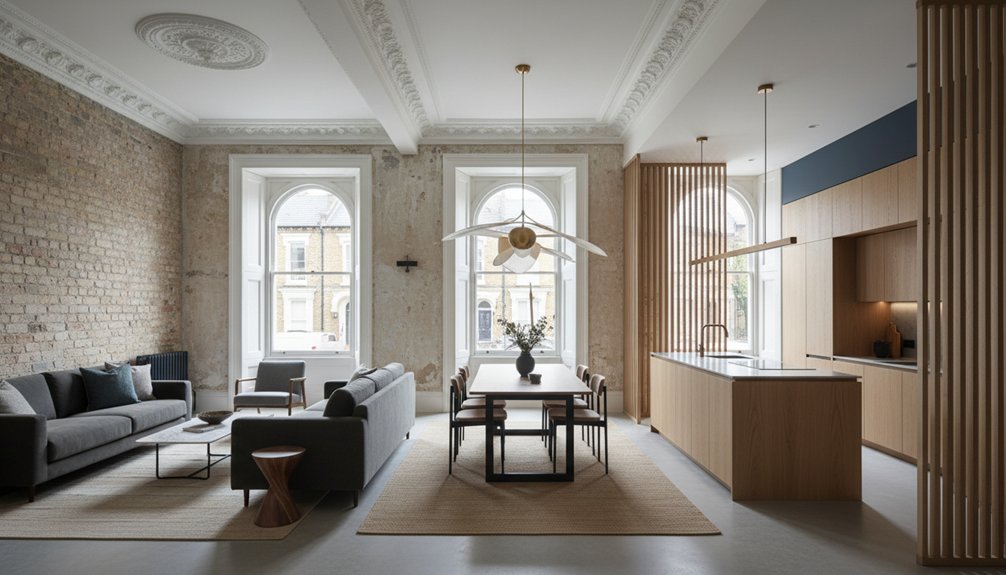
An open-plan Victorian terrace should feel like a conversation between past and present, not a compromise between them. You’ll need to assess light, circulation, and original details before assigning practical zones for living, dining, and work. Thoughtful furniture placement, layered lighting, and restrained shifts in colour or flooring can create definition without disrupting flow. Protect the fireplaces, cornices, and timber floors, and the right balance begins to emerge—but one misplaced boundary can unsettle the whole arrangement.
Key Takeaways
- Preserve Victorian features by using fireplaces, cornices, sash windows, ceiling roses, and original flooring as layout anchors.
- Assign zones according to natural light, circulation, and daily activities, keeping quieter functions toward the front.
- Define spaces with carefully scaled furniture, rugs, lighting, and movable screens instead of permanent partitions.
- Create cohesion through layered lighting, complementary colours, and flooring transitions aligned with architectural lines.
- Protect historic integrity by repairing original materials, concealing wiring, and avoiding oversized cabinetry that blocks important details.
Assess Light, Flow and Victorian Features
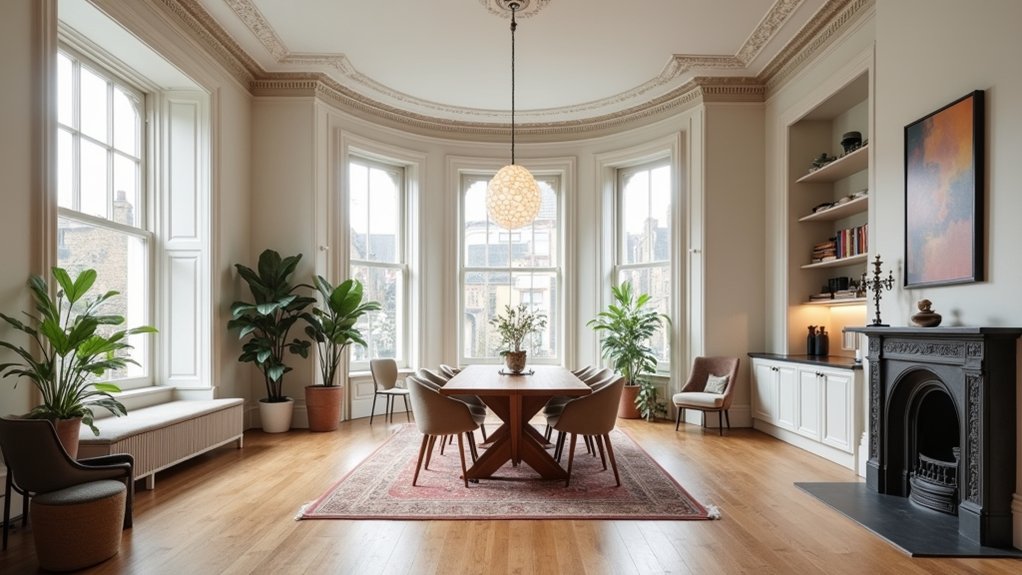
Assess how daylight moves through the terrace before deciding where to zone living, dining and work areas. Track brightness from the front sash windows to the rear extension at morning, midday and afternoon. Natural light often fades dramatically through the long plan, so note which surfaces remain gloomy and which receive direct sun.
Keep your circulation route legible by observing how doors, fireplaces and chimney breasts interrupt movement. Protect Victorian details, including cornices, ceiling roses, timber joinery and original floorboards, rather than treating them as obstacles to conceal. Let these features guide furniture placement and preserve clear sightlines.
Check ceiling heights, radiators and window openings before fixing any partitions or built-in elements. You’ll create a more respectful framework for later decisions without compromising the terrace’s historic character or visual rhythm.
Plan Zones for Everyday Living
Start by assigning each room or section a clear daily purpose, then arrange living, dining and work zones around the terrace’s natural light and existing circulation.
Let the front room support quieter activities, preserving its proportions and period details, while the rear can accommodate cooking, eating and informal gatherings.
Use the middle of the plan for flexible, lower-noise tasks, such as reading, homework or remote work.
Creative zoning should respond to how you actually live, not impose a showroom layout.
Consider Functional division through changes in use, lighting requirements and acoustic needs rather than permanent construction.
Keep sightlines open where possible, and protect fireplaces, cornices and original joinery as organising features.
Test your plan at different times of day before committing to finishes or structural changes.
Position Furniture to Define Each Zone
Arrange furniture so each piece reinforces the room’s purpose without blocking the terrace’s natural circulation.
Use a sofa to anchor the sitting zone, positioning its back to create gentle Spatial division without severing sightlines between the front and rear rooms.
Place a dining table beneath the room’s strongest architectural feature, while keeping chairs clear of fireplaces, skirting boards, and original cornices.
In a work area, float a compact desk near daylight, but preserve a comfortable route around it.
Thoughtful Furniture placement should respect the building’s proportions: choose pieces with slender legs and appropriate scale rather than bulky units that overwhelm high ceilings.
Keep pathways at least 900 millimetres wide where possible, and let rugs clarify boundaries without covering decorative floorboards unnecessarily.
You’ll create distinct, flexible zones while protecting the terrace’s heritage character.
Use Lighting to Mark Open-Plan Areas
Use layered lighting zones to distinguish dining, living and circulation areas without compromising your Victorian terrace’s character.
Choose a pendant as a focal point, keeping its scale and finish sympathetic to the room’s heritage.
Add dimmable task lighting so you can adjust brightness for reading, cooking and evening entertaining.
Layered Lighting Zones
Layered lighting can define open-plan areas without compromising a Victorian terrace’s architectural character. Start with ambient layering: use discreet ceiling fixtures or carefully positioned wall lights to provide even illumination throughout your kitchen, dining, and sitting zones.
Then add task lighting where you prepare food, read, or work, keeping each activity visually distinct without erecting walls. Install controls separately so you can adjust brightness and shift the room’s emphasis from day to evening.
Decorative accents, such as picture lights or low-level joinery lighting, can draw attention to original cornices, fireplaces, or restored brickwork while reinforcing each zone’s purpose. Choose fittings with finishes that complement existing metalwork, timber, and plaster details.
Keep wiring concealed wherever possible, and avoid drilling into fragile mouldings or historic fabric.
Pendant Focal Points
Pendant lights can give each open-plan area a clear visual anchor while preserving the terrace’s sense of flow. Use one above the dining table, kitchen island, or reading corner to signal each zone without erecting partitions.
Choose pendant focal points with proportions that suit the room: an oversized shade can overwhelm a narrow Victorian plan, while a cluster may add presence without visual heaviness. Let the fitting complement original details, such as ceiling roses, cornices, and timber floors, rather than compete with them.
Opal glass, aged brass, or painted metal can connect contemporary function with the terrace’s period character. Hang fixtures at a considered height, keeping sightlines open between areas.
Treat decorative lighting as architecture in miniature, defining purpose and rhythm while respecting the home’s historic envelope.
Dimmable Task Lighting
Because open-plan Victorian terraces often serve several purposes at once, dimmable task lighting lets you adjust each area without disrupting the overall flow. Fit directional, dimmable fittings above a kitchen island, reading chair, or compact desk, so you can brighten practical zones when you’re working and soften them when you’re relaxing.
Keep controls separate, allowing task flexibility without flooding the entire room with light. Choose discreet brass, aged bronze, or painted finishes that complement original fireplaces, cornices, and joinery rather than competing with them.
Warm-white LEDs create an ambient glow that supports the period character, while high colour-rendering lamps keep food, fabrics, and artwork looking natural.
If you’re protecting historic ceilings, use surface-mounted fittings or carefully planned wiring routes, and position switches at each zone’s entrance for effortless control.
Link Zones With Colour and Flooring
Use complementary colours to connect each zone while respecting your terrace’s period character.
Define areas with carefully chosen flooring, then soften changes with borders that make shifts feel intentional.
Coordinate Complementary Colour Palettes
Tie Victorian terraces together by carrying a complementary colour palette from one zone to the next, rather than treating each room as an isolated space. Start with a heritage-led base, such as warm white, muted stone, or soft sage, then introduce related tones to distinguish living, dining, and kitchen areas.
Harmonization schemes create rhythm without making the open plan feel disjointed. Use one dominant shade throughout, repeat a secondary colour in furnishings or joinery, and reserve a richer accent for focal points.
Thoughtful colour blocking can define a reading nook or dining setting, provided edges follow architectural lines rather than ignoring them. Respect original cornices, fireplaces, and timberwork by framing, not competing with, these features.
Test samples in changing daylight before committing, and keep transitions deliberate, restrained, and visually connected.
Define Areas Through Flooring
When walls and furnishings share a complementary palette, flooring can define each zone while keeping a Victorian terrace visually connected. Choose durable finishes that suit each room’s use without ignoring the building’s character.
In a reception area, restore original timber boards where possible, then use their direction and scale to reinforce the room’s architectural length.
In the kitchen, consider practical porcelain or encaustic tiles, selecting flooring patterns that echo Victorian geometry without creating visual noise.
Material contrasts can distinguish cooking, dining, and sitting areas: pair warm boards with cool, hard-wearing tile, while keeping tones closely related.
Use rugs sparingly to clarify furniture groupings and soften acoustics.
Before replacing anything, inspect existing floors; repair, lift, or sympathetically match them rather than erasing valuable historic fabric.
Keep plank widths and tile sizes proportionate to the terrace’s narrow rooms.
Blend Transitions With Borders
A carefully chosen border can ease the change from one flooring material to another while preserving the terrace’s visual rhythm. Use a narrow stone, timber, or encaustic-tile band to mark the threshold between kitchen, dining, and sitting areas without creating a harsh break.
Match the border’s tone to existing skirting boards, fireplaces, or stained joinery, so your update respects the building’s Victorian character. For effective border blending, repeat its colour in nearby upholstery, paintwork, or cabinetry. You’ll create continuity while keeping each zone distinct.
Consider transition techniques such as a darker perimeter tile, a herringbone strip, or a flush brass inlay where levels meet. Keep patterns restrained; elaborate motifs can compete with original features.
Align borders with door openings or architectural lines, and guarantee every junction remains safe, durable, and easy to clean.
Make the Most of Period Features
Period features should lead your zoning strategy, not compete with it. Let original cornices, ceiling roses, fireplaces, timber floors, and sash windows define each area’s character.
Position seating to frame a fireplace, rather than conceal it, and use a dining table to reinforce the room’s proportions.
If you’re creating a kitchen zone, choose cabinetry that respects existing sightlines and keeps decorative plasterwork visible.
Echo the home’s Vintage charm through restrained finishes, such as painted timber, aged brass, or softly veined stone.
Use Architectural details as visual anchors, then support them with consistent flooring and carefully selected lighting.
You’ll create distinct zones without erasing the terrace’s history.
Where restoration is needed, match materials and profiles accurately, and retain original imperfections that give the interior authenticity.
Avoid Common Open-Plan Zoning Mistakes
Open-plan zoning works best when each area feels connected, not cluttered or arbitrarily divided. Avoid pushing every piece against the walls; thoughtful furniture placement can define sitting, dining, and cooking zones while preserving generous circulation.
Don’t block original fireplaces, cornices, sash windows, or sightlines with oversized cabinetry. Instead, let period features anchor the layout and choose furnishings that respect their scale.
Use rugs, lighting, and changes in ceiling colour to signal each function without adding permanent partitions. Privacy screens can help separate a study or sleeping area, but select slim, movable designs that won’t compete with Victorian detailing.
You’ll also need to protect daylight: tall storage and dense planting can make a terrace feel narrow. Finally, maintain a clear route from front to back, so your scheme feels intentional, flexible, and welcoming.
Frequently Asked Questions
Can Open-Plan Victorian Zoning Work in a Narrow Terrace?
Yes, you can: a 1.2-metre passageway can transform movement. Preserve Victorian details, then use furniture, lighting, and flooring for Space division, maintaining Interior flow without enclosing rooms or sacrificing daylight, character, or functionality.
How Can I Improve Acoustics Between Adjoining Living Zones?
Improve acoustics by adding rugs, upholstered furniture, bookcases, and heavy curtains as soundproofing techniques. Use acoustic zoning: position noisy activities away from quiet areas, install discreet ceiling panels, and preserve original cornices and joinery.
What Heating Solutions Suit Zoned Open-Plan Victorian Interiors?
You’ll transform chilly, sprawling rooms with discreet zoned heating: retain period radiators where possible, refine radiator placement beneath windows, and add underfloor heating selectively. Smart thermostats provide precise control without compromising Victorian character or joinery.
How Much Does Professional Open-Plan Zoning Typically Cost?
You’ll typically pay £1,500–£5,000 for professional open-plan zoning, depending on complexity, surveys, and bespoke joinery. Request itemised quotes for accurate cost estimation, then include heritage-sensitive materials and contingency in budget planning.
Which Planning Permissions Might Affect Structural Changes?
You’ll face a mountain of permissions: Building regulations approval for structural alterations, and planning consent if your works affect protected features. A Listed building also requires listed-building consent; check conservation-area controls before starting construction.