
You build strong, straight frames by locking in final outside/inside dimensions, accounting for material thickness, and making a labeled cut list with 1/8–1/4 inch trim allowance. Pick flat lumber by sighting for crown, bow, and twist, and avoid damp boards. Tune your saw to cut square, use a fence and stop blocks for repeatability, and support long stock. Dry-fit on a flat surface, clamp, match diagonals, then glue and reinforce. Keep going to learn simple fixes for stubborn out-of-square frames.
Key Takeaways
- Plan finished frame dimensions, account for material thickness and joinery, and create a cut list with small trim allowances for accuracy.
- Select straight, dry lumber by checking for crown, bow, and twist; mark the crown and reject badly warped boards.
- Choose joints based on forces: use half-laps or mortise-and-tenon for racking, and maximize glue area with well-aligned fasteners.
- Set up saws square and fences parallel; use stop blocks and a single reference edge to make repeatable, identical cuts.
- Dry-fit on a flat surface, clamp evenly, measure diagonals to confirm square, then glue and reinforce joints before final fastening.
Plan a Straight Frame: Dimensions, Square Layout, Cut List
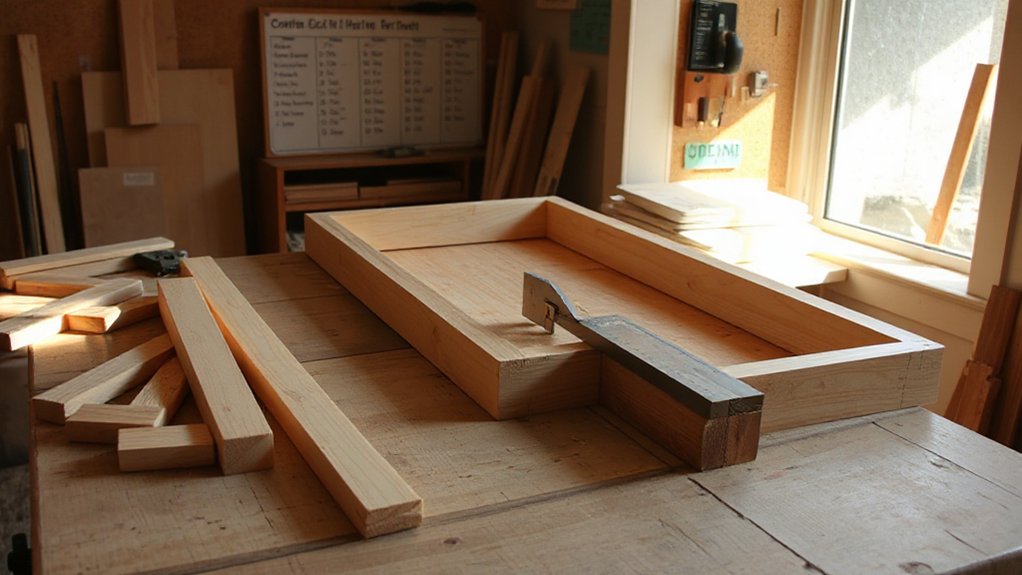
Before you cut a single board, lock in the frame’s finished dimensions, then translate them into a square layout and a clear cut list. Confirm outside and inside measurements, plus the thickness of your frame material, so parts land where you expect.
Sketch the frame full-size or on graph paper, label every member, and note joinery allowances for laps, rabbets, or pocket-screw setbacks.
Apply design considerations like load direction, span, and attachment points, then choose member widths accordingly.
Build a cut list that includes quantity, final length, and orientation marks; add 1/8–1/4 inch for trim cuts.
Lay out a square using diagonal checks or a framing square.
Keep hands clear, clamp stops, and cut with eye and hearing protection.
Choose Straight Lumber: Crown, Twist, Moisture Checks
Before you cut anything, sight down each board’s edge and face to spot crown, twist, or bow, and set aside any piece that won’t lay flat.
Use a moisture meter (or check for cold, damp-feeling wood) and avoid lumber that’s wet, since it can warp as it dries and throw your frame out of square.
Handle and stack boards carefully on a flat surface so they don’t pick up new bends that can cause binding cuts and kickback at the saw.
Spot Crown And Twist
Even if the stack looks clean, you’ll save yourself a lot of frustration by spotting crown, twist, and excess moisture before you buy lumber.
To find crown, stand the board on end and sight down its edge like you’re aiming a rifle. A gentle, consistent arc is workable; a sudden bow or kink isn’t. Mark the high side with a pencil so you can keep crowns oriented the same way during assembly, the way you’d align pieces for crown molding.
To spot twist, set one end on the floor and hold the other at eye level, then compare opposite corners; they shouldn’t “wind” out of plane. Reject severe twist—twist correction wastes time and can create unsafe kickback during cutting.
Check Moisture And Warp
How do you know a “straight” 2×4 won’t turn into a propeller after you get it home? You check moisture before you buy. Grab a pin meter if you’ve got one; aim for 8–12% Moisture content for indoor frames, and avoid anything much higher. If you can’t meter it, feel for cool, damp weight, look for dark end grain, and reject boards with fresh sap or wet stickers marks.
Next, scan for early warp signs: tight end checks, raised grain, and uneven color that hints at uneven drying.
Remember Wood expansion: wet lumber shrinks as it dries, pulling fasteners and opening joints. Stack boards flat, sticker them, and acclimate in your shop before cutting.
Wear gloves around splinters.
Choose the Right Joint for Your Frame’s Load
Choose your joint based on how the frame will be loaded—racking forces need mechanical interlock (like half-laps or mortise-and-tenon).
Light compression can handle simpler butt joints with fasteners.
Compare each option for real-world strength and buildability, factoring in glue surface area, screw or bolt shear, and whether you can clamp it square without slipping.
Don’t overreach your tools or skill level, because a weaker joint installed correctly is safer than a strong joint cut poorly.
Match Joint To Load
Because every frame fails at its joints first, you need to match the joint type to the loads it’ll actually see—compression, tension, shear, and racking—before you cut anything.
For compression (legs, posts), use joints that keep faces fully seated so fibers bear directly, not fasteners.
For tension (hanging frames, pull-apart forces), prioritize long-grain glue surfaces and mechanical capture so parts can’t separate.
For shear (shelves, rails), align fasteners across the load path and avoid end-grain-only screws.
For racking (side loads), add triangulation, blocking, or gussets to improve load distribution and joint reinforcement.
Test-fit dry, then clamp square while adhesive cures. Don’t “muscle” a joint closed; fix the fit so you don’t pre-stress the frame.
Compare Strength And Ease
Even if you’ve matched a joint to the forces it’ll see, you still need to balance strength against the tools, time, and accuracy you can realistically bring to the build.
Pocket screws go fast and clamp well, but they depend on good pilot holes and can split stock if you overdrive.
Half-laps and bridled joints add glue surface and resist racking, yet they demand careful layout and safe, guarded cuts.
Mortise-and-tenon is strongest for heavy frames, but it’s slow and unforgiving without sharp tools and test fits.
Consider frame aesthetics: exposed fasteners may look busy, while concealed joinery stays clean.
Track material cost too—extra stock for laps or tenons, plus glue and clamps.
When in doubt, prototype and load-test safely.
Cut Square Parts for a Straight Frame (Saw Setup + Stop Blocks)
When your frame pieces aren’t cut dead square and to matching lengths, the whole assembly will twist no matter how careful your glue-up is.
Start by verifying Saw blade alignment: unplug the saw, raise the blade, and use a reliable square to set the blade 90° to the table, then lock the bevel and recheck.
Confirm the fence is parallel to the blade to prevent binding and kickback.
Use smart Measuring techniques: mark from one reference edge, then cut all like parts in one session.
Add a stop block on a miter saw or crosscut sled so every repeat cut matches without remeasuring.
Keep hands clear, use clamps for short parts, and support long stock so it doesn’t tip or pinch the blade.
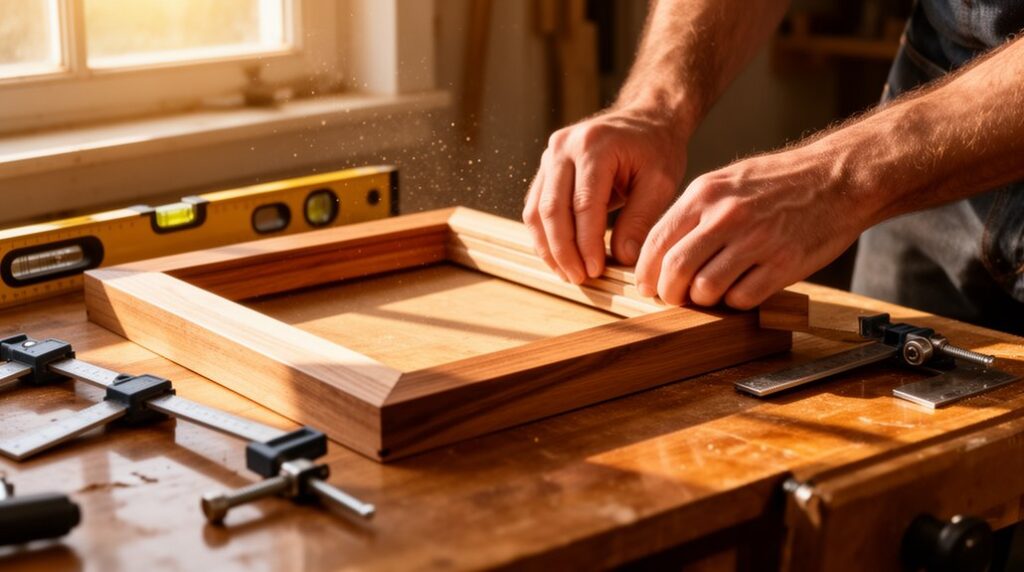
Assemble a Straight Frame: Clamp, Measure Diagonals, Brace
Now that your parts are cut square and to identical lengths, lay them on a flat surface and dry-fit the frame so you can clamp it without forcing anything into place. Add corner clamps or band clamps, protect faces with scrap pads, and tighten evenly so joints close without bowing the rails.
Check both diagonals with a tape; they should match before you drive fasteners or leave glue to cure. Keep your hands clear of pinch points and wear eye protection when shooting brads or driving screws.
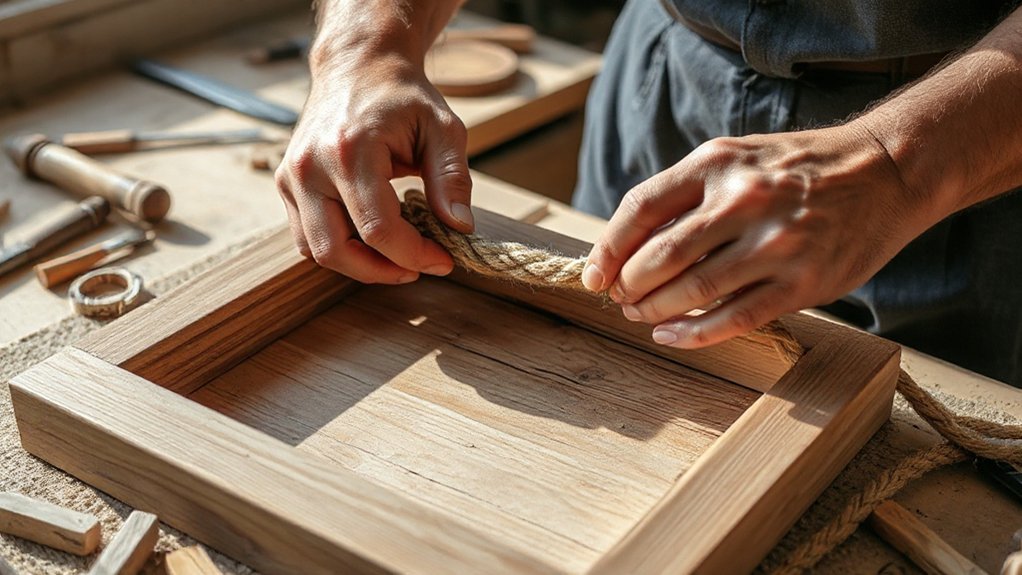
For frame reinforcement, add glue blocks, pocket screws, or small corner braces while it’s still clamped. If you’ll add decorative embellishments, mark their locations now so bracing won’t interfere later.
Recheck diagonals after bracing tightens.
Fix an Out-of-Square Frame: Pull, Shim, Re-Fastening
If your diagonals don’t match after clamping and bracing, correct the racking before the glue sets or the fasteners lock the error in. Recheck both diagonals, then pull the long diagonal shorter with a ratchet strap or clamp across corners. Protect edges with scrap pads, and keep fingers clear as tension rises.
If one corner won’t close, loosen screws, tap the joint with a mallet, and add thin shims until the faces are flush. Re-tighten fasteners in stages, alternating corners to avoid twisting.
For nailed frames, pull nails, reset with a square, and re-nail or add screws for frame reinforcement. Confirm square again, then add corner blocks or decorative accents only after the alignment holds.
Frequently Asked Questions
What Wood Species Works Best for Frames Exposed to Outdoor Weather?
For outdoor frames, you’ll get the best results with naturally durable, weather resistant wood like cedar, redwood, or white oak; they’re suitable species for rain and sun.
If you can source it, teak or ipe lasts even longer but costs more and dulls tools faster.
Avoid untreated pine.
Seal end grain, predrill to prevent splitting, and use stainless or coated fasteners so corrosion doesn’t weaken joints over time.
Can I Build a Straight Frame Without a Miter Saw or Table Saw?
Yes—you can build a laser-straight frame without a miter saw or table saw, even if it feels impossible at first.
Use alternative cutting methods like a circular saw with a speed square guide, a handsaw in a miter box, or a jigsaw with a clamped straightedge.
Prioritize measuring accuracy: mark both faces, verify diagonals, and cut proud, then plane/sand to fit.
Clamp, wear eye protection, and secure your workpiece.
How Do I Prevent a Finished Frame From Warping Over Time?
You prevent a finished frame from warping by controlling moisture, strengthening joints, and keeping it supported. Use kiln-dried lumber, let it acclimate, and seal all faces and end grain with weather resistant coatings.
Add frame reinforcement: glue plus screws, corner blocks, or a center brace, and clamp until fully cured.
Store and mount it flat, avoid direct sun and heaters, and recheck fasteners periodically.
Wear eye protection when drilling.
Should I Seal or Finish Frame Parts Before Final Assembly?
Yes—seal or finish parts before assembly, or you’ll worship the Moisture Gremlins and their warping gospel.
Do your frame sanding first, then apply paint sealing or a clear sealer to all faces, especially end grain, to equalize moisture uptake.
Let coats cure fully so glue bonds don’t fail; mask glue zones if needed.
Work in ventilation, wear a respirator for fumes and dust, and keep rags flat to prevent fires.
What’s the Best Way to Attach a Frame to a Wall or Floor?
Attach your frame by fastening it into studs or joists whenever possible. If you can’t, use rated wall anchors.
Mark your layout, predrill, and use a level plus shims as leveling techniques to keep it plumb and square.
For floors, anchor to concrete with sleeve anchors or Tapcons, and to wood with structural screws.
Check for wires/pipes first, wear eye protection, and don’t overtighten fasteners.
Conclusion
Now you’ve built a frame so straight it could embarrass a ruler. You planned the cuts, rejected twisty “bananas,” picked joints that match the load, and cut parts square with stop blocks—because guessing is how projects become modern art. Clamp tight, measure both diagonals, and brace before fastening. If it’s out of square, pull it true, shim, and re-fasten. Keep fingers clear, wear eye protection, and let tools—not luck—do the work.

