
Start by checking what’s moving: the screw, the anchor, or the surface itself. Shut off power or water before working near wiring or plumbing, and look for cracks, rust, stains, or soft spots. Use the right screwdriver bit and tighten fasteners snugly, not stripped. If screws spin, upgrade to toggle/molly anchors or pack wood holes with splints and glue. Re-align latches, hinges, and brackets, then retest—there’s more to help you tackle each fixture type.
Key Takeaways
- Identify what’s loose (screw, anchor, or surface) by gently wiggling the fixture, and check for cracks, rust, or soft spots.
- Shut off power or water before working near wiring or plumbing, and wear safety glasses and gloves.
- Use the correct screwdriver bit and tighten fasteners snugly; replace stripped screws with longer ones or add washers for better grip.
- If screws spin in wood or drywall, fill holes with wood splints and glue or upgrade to toggle/molly anchors, then reattach.
- Re-align moving parts like door latches, hinges, and brackets using a level, then test operation repeatedly and recheck after a day.
Diagnose Looseness: Screws, Anchors, or Damage
Before you grab a screwdriver and start tightening, figure out what’s actually moving: the screw, the anchor, or the surface it’s mounted to. Hold the fixture body steady and gently wiggle it; if the screw head turns without biting, you’ve got stripped threads.
If the whole fastener shifts in and out, the wall anchor’s failing or the hole’s oversized. If the surface flexes, crumbles, or sounds hollow, you’re dealing with damaged drywall, rotted wood, or loose masonry that threatens structural stability.
Check for cracks, rust, water staining, or soft spots around the mount. For Electrical safety, shut off power before touching any fixture near wiring and confirm nothing’s warm, arcing, or scorched.
Gather Tools to Fix Loose Fixtures Fast
Once you’ve pinpointed what’s loose, gather the right tools so you can fix it in one pass instead of making the hole worse with the wrong bit. Start with a quality screwdriver set (Phillips, flat, Torx) and a bit driver with clutch.
Add a stud finder, level, tape measure, and pencil for accurate resets of decorative fixtures. Keep an assortment of wall anchors, toggle bolts, wood screws, and washers, plus a small putty knife and spackle for minor wall repair.
For plumbing fittings, bring an adjustable wrench, channel-lock pliers, basin wrench, plumber’s tape, and a rag to catch drips. Use safety glasses, gloves, and a headlamp.
Shut off power at the breaker and water at the valve before you tighten anything.
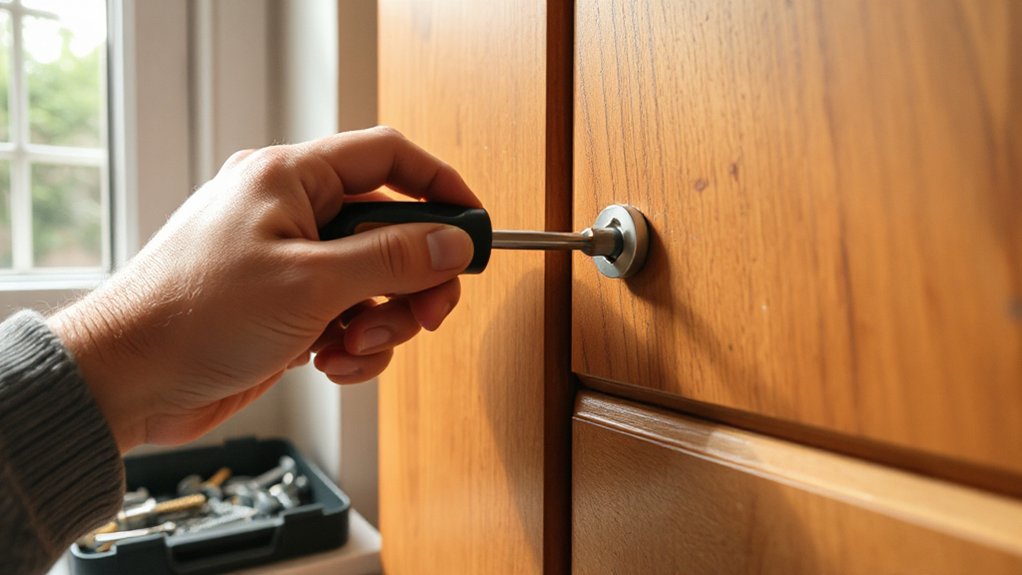
Fix Loose Door Handles, Knobs, and Locks
If your door handle wiggles or the lock feels sloppy, tighten it right away so the spindle and latch don’t wear out or strip the screws. Open the door, support the handle, and remove trim plates if needed.
Snug the through-bolts first, then the rose screws, using the correct driver to avoid cam-out. If screws won’t bite, swap to slightly longer ones or add wood splints and re-drive.
For lever sets, tighten the set screw on the handle to secure the spindle.
Check the strike plate and latch alignment; adjust only if rubbing causes sticking.
Choose replacements with Fixture material compatibility, especially on hollow-core doors.
For Decorative hardware, protect finishes with tape and don’t overtighten.
Test lock operation repeatedly.
Tighten Loose Cabinet Hinges and Drawer Fronts
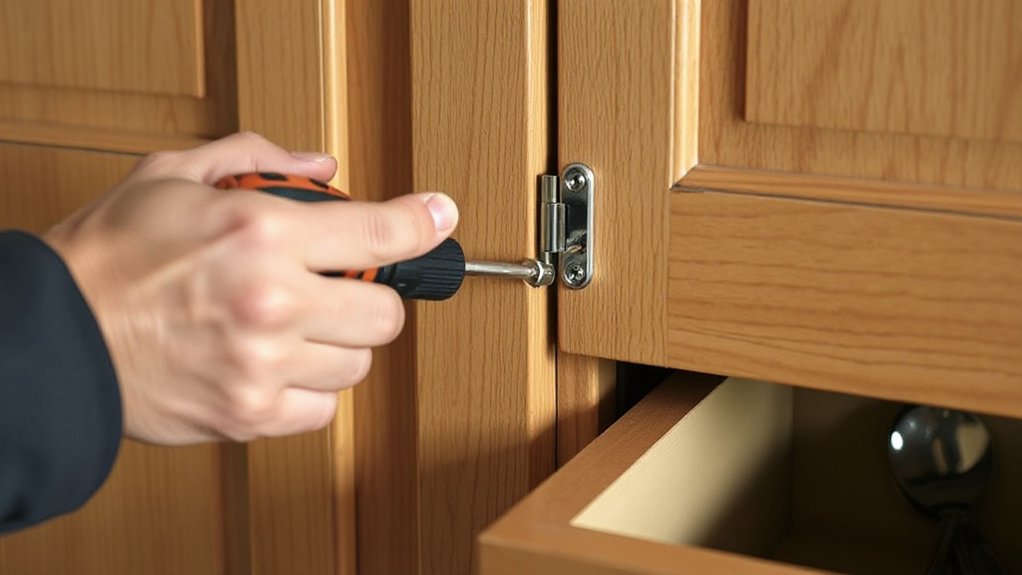
Because cabinet doors and drawer fronts take constant side-load from daily use, even slightly loose screws can quickly oval out the holes and throw everything out of alignment.
Start by emptying the cabinet or drawer so you’re not fighting weight, then support the door or front with one hand.
Use the correct screwdriver bit and tighten hinge and pull screws snugly—don’t over-torque and strip the threads.
If a screw keeps spinning, remove it and pack the hole with a sliver of wood and wood glue, let it set, then re-drive the screw.
Check hinge plates and adjustment screws, then align gaps before fully tightening.
Re-seat decorative hardware and confirm it doesn’t bind.
Finish fixture maintenance by rechecking all fasteners after a day of use.
Fix Loose Towel Rails on Drywall (Anchors + Holes)
Cabinet hardware may loosen from side-load, but towel rails often fail when drywall anchors creep, holes enlarge, or the rail gets yanked as a grab point.
First, remove the rail and inspect the bracket screws and anchors. If anchors spin, pull them out with pliers; don’t pry and tear paper.
Move the brackets onto a stud if possible; otherwise, enlarge the holes cleanly and install heavy-duty toggle or molly anchors rated for the load.
Patch blown-out holes with setting compound, let it cure, then re-drill pilot holes.
Refit brackets, tighten screws snug, and check the rail doesn’t rack.
Keep clear of nearby Electrical fittings and shut off power if you’re drilling close.
Re-caulk Decorative fixtures if you disturb seals.
Fix Loose Fixtures in Tile, Brick, or Concrete
While tile, brick, and concrete feel rock-solid, fixtures loosen when the wrong fastener strips out, the substrate cracks, or moisture works the hole wider over time.
First, remove the fixture and inspect the holes; don’t reuse rusty screws. If you’re in tile, avoid drilling through Tile grout lines—they crumble.
Mark the hole, tape the spot, and drill with a carbide bit at low speed, no hammer, until you’re through the tile. Switch to hammer mode only in masonry.
Vacuum dust, then set a proper masonry plug or sleeve anchor sized to the screw.
In brick, aim for brick mortar joints only if the brick face is sound; otherwise, drill into brick for better hold.
Tighten snug, not crushing. Wear eye protection.
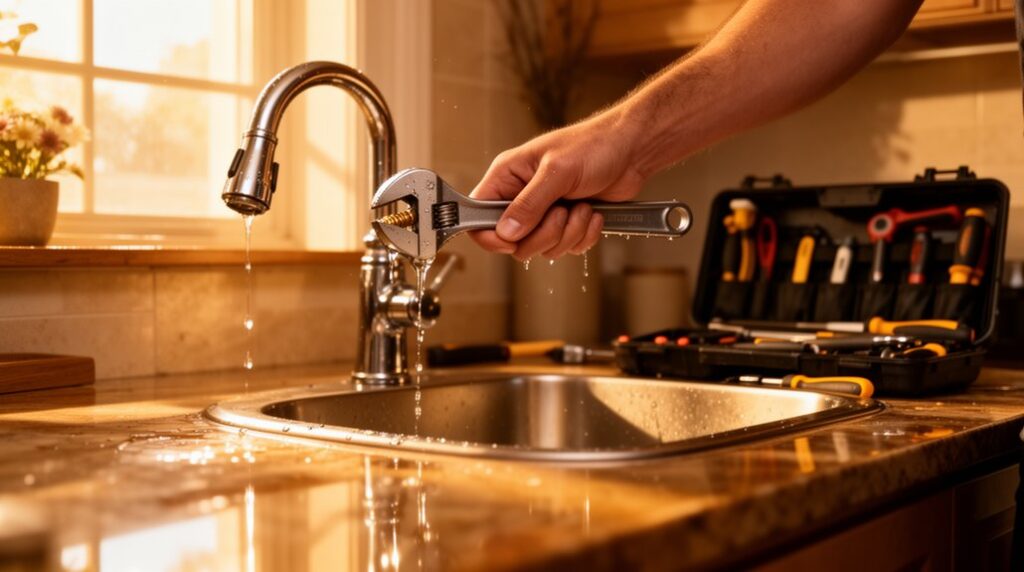
Tighten Loose Taps and Sink Fittings Without Leaks
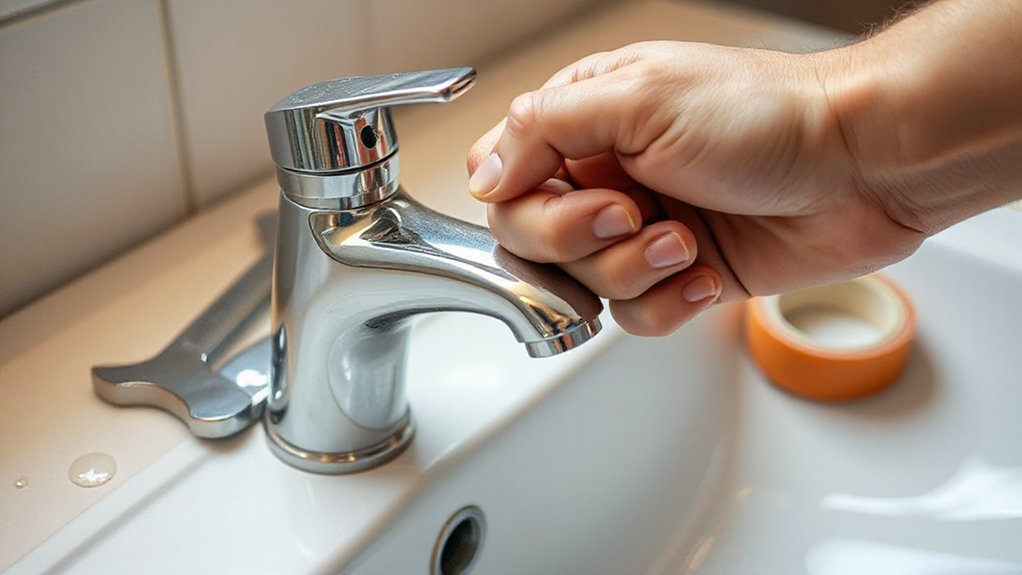
Even if a tap only wiggles a little, that movement can stress the supply lines and seals until you end up with a slow leak under the sink. Shut off the isolation valves, then open the tap to relieve water pressure. Place a towel and bucket below.
Under the sink, hold the tap body steady and snug the mounting nut with a basin wrench; don’t overtighten or you’ll crack a sink or deform a gasket. If the tap still shifts, replace the rubber washer or horseshoe plate.
Next, check the supply hoses: tighten compression nuts a quarter-turn, then dry everything and turn water back on slowly. Watch for drips and green/white buildup from fixture corrosion; replace affected parts. Test again after five minutes.
Frequently Asked Questions
How Do I Stop Fixtures Loosening Again Over Time?
To stop fixtures loosening over time, you’ll lock fasteners, match materials, and reduce movement.
Use the right anchor for your wall type, and choose screws sized for load to improve Fixture stability.
Add lock washers, nylon-insert nuts, or threadlocker (medium strength) where appropriate.
Check material compatibility to prevent corrosion or creep.
Tighten to snug—not over-torque—and recheck after 24 hours.
Shut off power/water before working, always.
When Should I Call a Professional Instead of DIY?
Call a professional when the fix could harm you or hide bigger damage, even if you picture “just one more turn” on that wobbling fitting.
If you smell gas, see sparking, hear buzzing, find wet wiring, or notice cracked studs, stop—DIY safety comes first.
You should also call for a professional inspection when repeat loosening suggests stripped threads, shifting framing, leaks, or load issues.
You’ll save time and avoid costly failures.
What’s the Best Filler for Stripped Screw Holes in Wood?
For stripped screw holes in wood, you’ll get the strongest hold by gluing in hardwood dowels or toothpicks, then re-drilling a pilot hole.
In this Wooden repair, that beats soft putty for load-bearing screws.
For a Filler comparison: epoxy wood filler works when you can’t dowel, but you must let it fully cure.
Wear eye protection, clamp parts, and don’t overtighten—stop when the fixture seats.
Are Threadlockers Safe to Use on Household Fixtures?
Yes, threadlockers are generally safe on household fixtures if you choose the right strength and use them correctly.
Is the “it’ll permanently glue everything” fear true? Not with removable (blue) formulas.
You should avoid high-strength red on small screws.
Apply a tiny drop to clean, dry threads, keep it off plastic and finishes, and ventilate.
For fixture maintenance, recheck torque after curing.
For decorating tips, wipe squeeze-out immediately.
How Do I Repair Wall Paint Damage After Fixing Loose Fittings?
Start by cleaning the area, then scrape off loose paint and spackle dents. After it dries, sand smooth and vacuum dust—proper Wall preparation prevents peeling.
Prime any bare drywall or patched spots, then do Paint touch ups with matching paint using a small roller or feathered brush. Work in thin coats, letting each dry fully.
Ventilate the room, wear a dust mask when sanding, and keep tools away from kids.
Conclusion
Now you’ve tracked the trouble, tightened the threads, and secured every shaky screw. Stay safe: shut off water before tap tweaks, support doors and drawers as you snug hardware, and wear eye protection when drilling tile, brick, or concrete. Swap stripped screws, reset solid anchors, and seal holes so fittings don’t slip again. With steady hands and smart checks, you’ll turn wobbly, weak fixtures into firm, fuss-free fittings for the long haul.

